Table of contents
TL;DR / [Geek Summary]:
- Zero-Cost Array: Ditch expensive RAID cards and leverage built-in Windows Disk Management for enterprise-grade redundancy and speed.
- Arch Trade-offs: Compare Spanned, Striped (RAID 0), Mirrored (RAID 1), and RAID 5 volumes to balance safety vs. performance.
- Disaster Recovery: Mastering the transition from Basic to Dynamic disks to build self-healing software-defined storage arrays.
Software RAID is a disk array function implemented through operating system-level software, eliminating the need for expensive hardware RAID controller cards. While it may not match hardware RAID in terms of extreme performance, it excels in being free of charge and easy to configure, making it a very stable low-cost storage and data redundancy solution.
In this article, we will use Windows Server 2022 as an example (though this method applies to Windows XP and all subsequent versions) to walk you through how to create and configure software-based RAID in Windows.
# Step 1: Prepare Hard Drives and Enter “Disk Management”
- Connect the prepared hard drives to your computer and boot into Windows.
- Right-click the Start icon at the bottom of the screen and select Disk Management from the system menu.
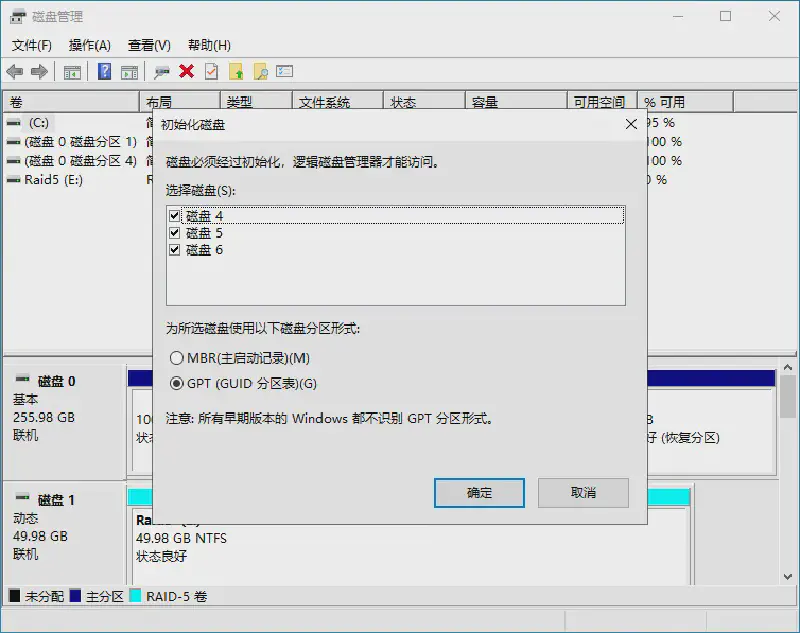
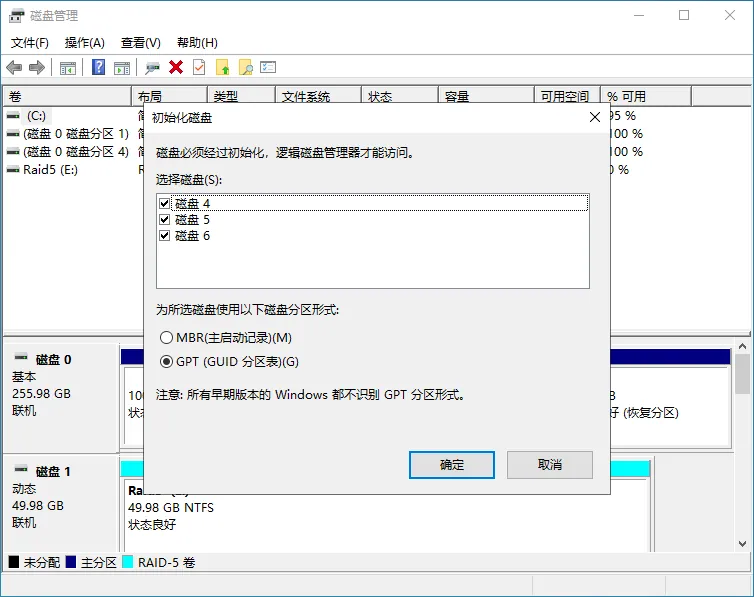
- If the newly connected disks are not yet initialized, a prompt will automatically appear. Choose either MBR or GPT partition style based on your capacity needs to complete the initialization.
# Step 2: Understanding Disk Volume Types in Windows
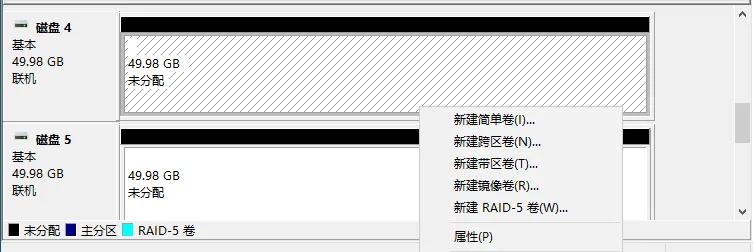
In the Disk Management interface, right-click the “Unallocated” space of any new disk. You will see several options for creating new volumes. Before proceeding, it is important to understand their differences and use cases:
- Simple Volume: The most basic partition type, created using free space on a single hard drive.
- Spanned Volume: Stitches space from two or more disks together into a single large drive letter. it provides no performance boost or data redundancy; if one disk fails, the data may be at risk.
- Striped Volume (Similar to RAID 0): Distributes data across multiple disks, significantly improving read/write (I/O) performance. The downside is that it provides no data redundancy or fault tolerance. If any one disk fails, all data in the entire volume will be lost. There is no limit on the number of disks.
- Mirrored Volume (Similar to RAID 1): Requires at least two disks. Data is written to both disks simultaneously, creating a mirror copy (50% space utilization). If one disk fails, the other takes over seamlessly. This offers high data security, but read/write performance improvements are negligible.
- RAID-5 Volume: Requires at least 3 disks. It offers a perfect balance between read/write speed and data fault tolerance. The usable capacity is calculated as
Capacity of single disk × (Total number of disks - 1). Note: In the Windows ecosystem, usually only Server editions support creating this volume type directly.
# Step 3: Hands-on: Creating a RAID-5 Volume
Now, let’s demonstrate how to configure a RAID-5 volume, which balances speed and safety.
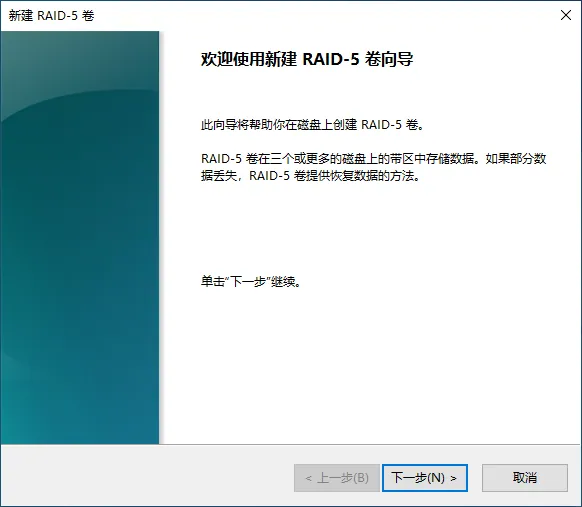
- Right-click the “Unallocated” space of any target disk, select New RAID-5 Volume, and click “Next” on the wizard welcome page.
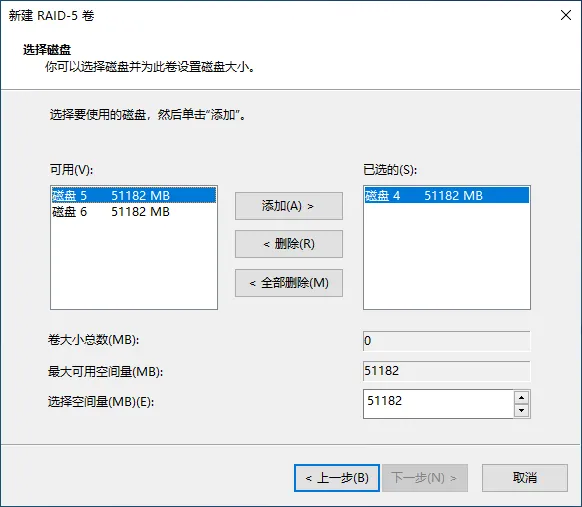
- Select Disks: In the disk selection interface, move the disks you want to include in the RAID 5 array from the “Available” list on the left to the “Selected” area on the right by clicking “Add.”
- Assign Drive Letter: Assign an easily identifiable drive letter (e.g., D:, E:) to the array you are about to create, or you can choose to mount it under an empty NTFS folder.

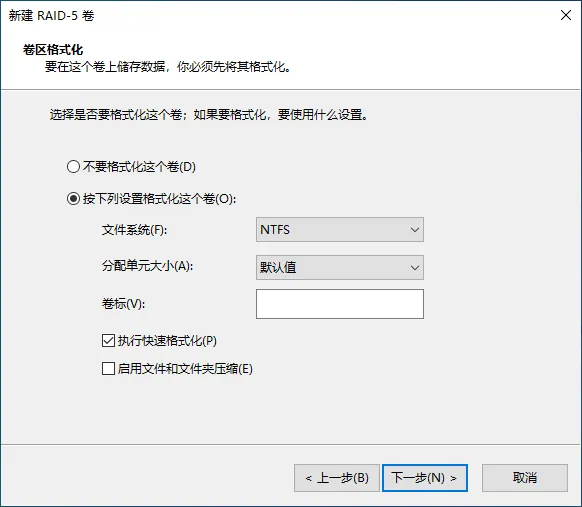
- Format Settings: Choose the file system (usually NTFS by default) and a Volume Label (the name of the drive, e.g., “Data_RAID5”). It is highly recommended to check “Perform a quick format” to save time, then click “Next.”
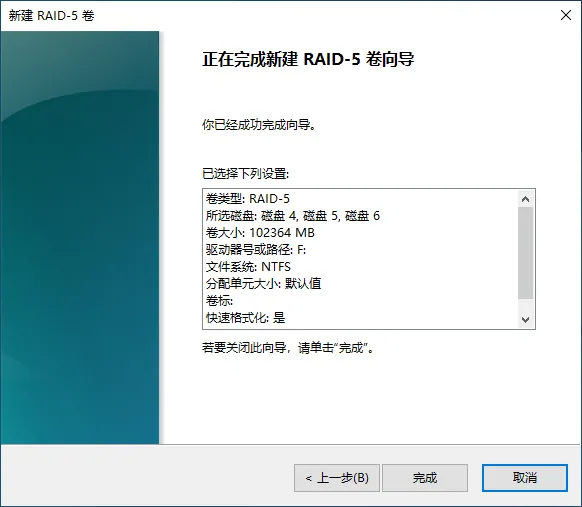
- Confirm Information: Review all settings and click “Finish.” (Note: A prompt may appear stating that the operation will convert basic disks to dynamic disks. This is a required step for software RAID; click “Yes” to proceed.)
# Step 4: Wait for Synchronization and Begin Usage
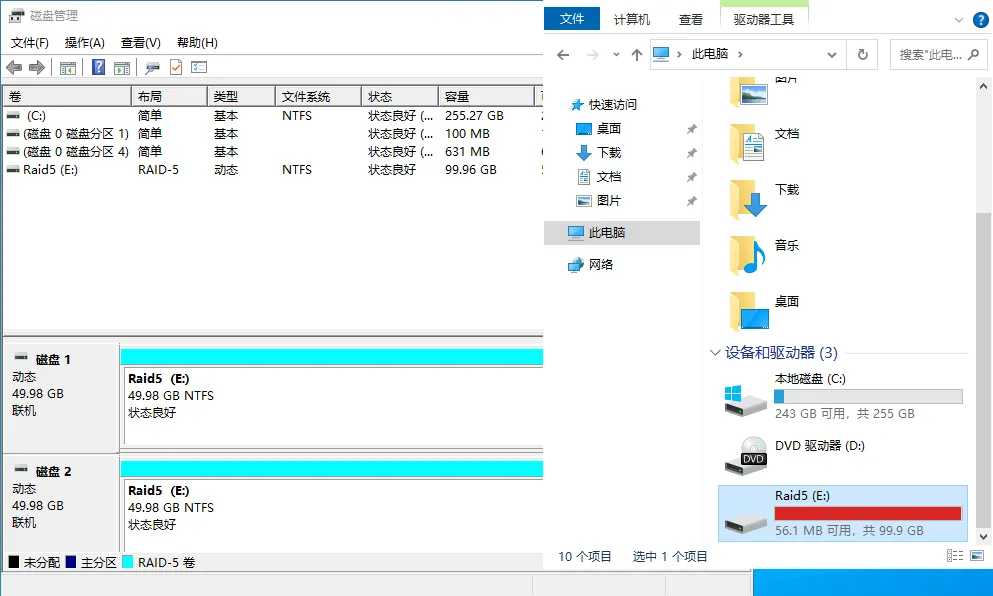
After completing the wizard, return to the main Disk Management interface. You will notice the disks have changed to a specific color representing the array (RAID-5 is typically cyan).
The system will perform a short formatting and data synchronization process in the background. Once the status shows as “Healthy”, your Windows software RAID array is ready. You can now use it in “This PC” just like a standard hard drive!