Table of contents
TL;DR / Geek Summary:
- Server Deployment: Step-by-step guide to hosting a Minecraft Java server on Ubuntu 22.04.
- Infrastructure: JDK versioning logic (v8 for <1.16, v17 for >1.18) and
screensession management for 24/7 uptime.- Optimization: Custom
start.shloop with G1GC garbage collection and memory allocation (Xmx/Xms) tuning for scalability.
# Setting Up a Minecraft Server on a VPS (Linux)
# I. Why Set It Up?
When playing Minecraft, we often want to play multiplayer. However, Minecraft Java natively only supports LAN multiplayer for local networks. This is when we need to set up a server so players from different regions can play online together.
The English version is currently in progress.
# II. Installation Environment
- Virtual Private Server (VPS) OS version:
Ubuntu 22.0464-bit - Minecraft International Edition version:
1.12.2JavaEdition
# III. Setup Steps
Connect to your server via SSH.
Enter the following commands to install the JDK environment.
If you don’t know how to use SSH, you can search for a guide on Baidu or Bing.
# JDK Environment
For 1.16 and earlier versions, you need to install JDK 8.
| |
For 1.17, you need to install JDK 16.
| |
For 1.18 and above, JDK 17 is required.
| |
# Server Software Download
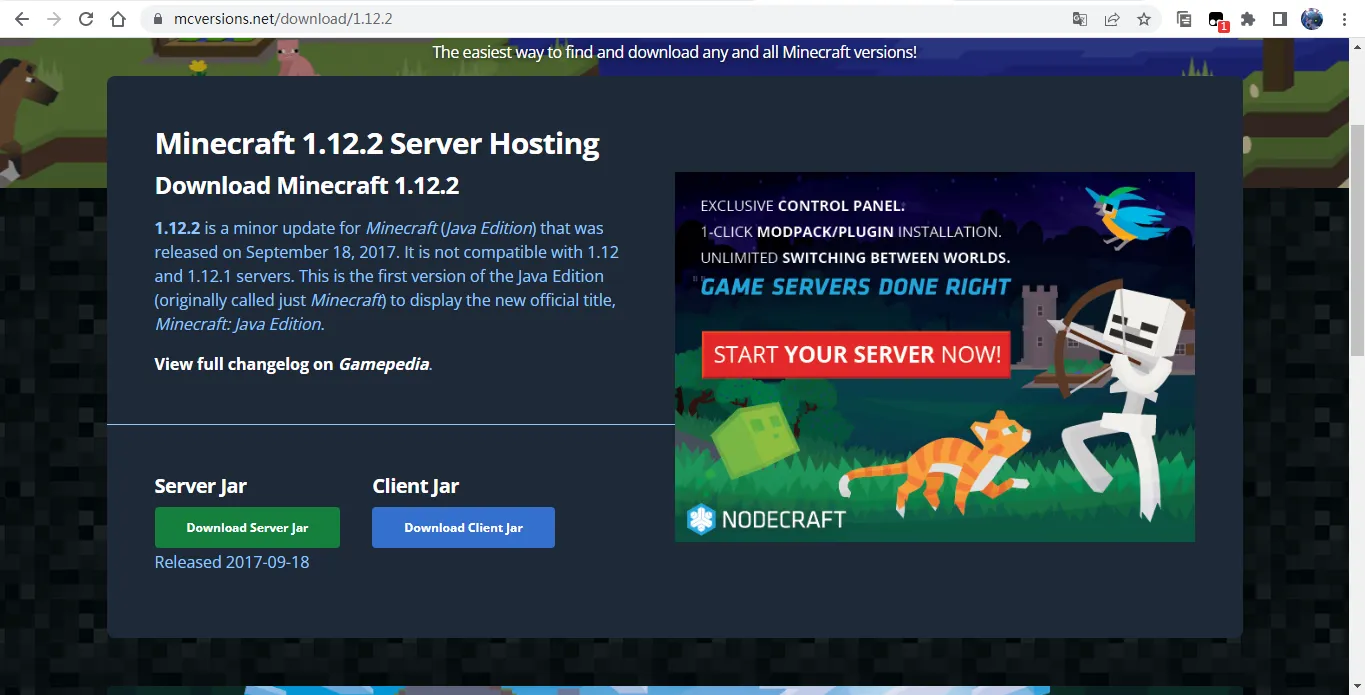
Go to https://mcversions.net/ and find the server version you want to download.
Copy the link for
server.jar.
For example, on the following page:
Enter the following command to download the Minecraft server software:
| |
Enter the following command to start the server:
| |
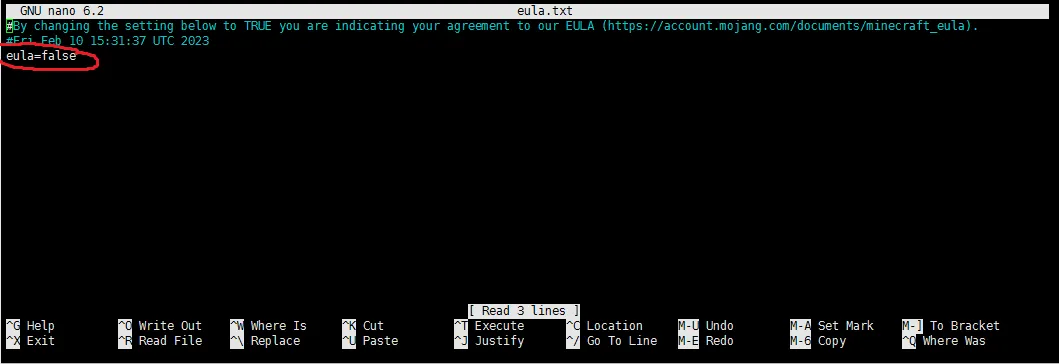
Open eula.txt and change the part in the red box to eula=true.
Edit the server.properties file and modify the following sections:
view-distance=10
max-build-height=256
server-ip=
level-seed=
gamemode=0 # 1 is Creative, 2 is Spectator
server-port=25565 # Server port, it is recommended to change this
enable-command-block=false
allow-nether=true
enable-rcon=false
op-permission-level=4
enable-query=false
generator-settings=
resource-pack=
player-idle-timeout=0
level-name=world
motd=A Minecraft Server # Server description (Message of the Day)
announce-player-achievements=true
force-gamemode=false
hardcore=false
white-list=false
pvp=true
spawn-npcs=true
generate-structures=true
spawn-animals=true
snooper-enabled=true
difficulty=1
network-compression-threshold=256
level-type=DEFAULT
spawn-monsters=true
max-tick-time=60000
max-players=20 # Maximum number of players the server can handle
use-native-transport=true
online-mode=true # Change to false to disable premium authentication (allow cracked accounts)
allow-flight=false
resource-pack-hash=
max-world-size=29999984
Create a screen session, and then write a startup script.
Create the script file:
| |
Fill in the script content:
| |
Press Ctrl+X to save.
Grant execution permissions:
| |
| |
# Note
If you need to stop the server, please enter the screen session and type the /stop command to gracefully shut down the server program.
You can use the following command to check if screen is already installed on your server:
| |
| |
# How to start a screen session
| |
Replace “name” with a meaningful name for your session (e.g., mc).
# Detaching from a screen session
To detach from the current screen session, you can press Ctrl-A followed by d. All screen sessions will remain active in the background, and you can reattach to them at any time later.
# Reattaching to a screen session
If you detached from a session, or if your connection was interrupted for some reason, you can reconnect using the following command:
| |
If you have multiple screen sessions, you can list them using the ls parameter.
| |
In our example, we have three active screen sessions. Therefore, if you want to restore a specific session, you can execute:
| |
| |
# Deleting a Screen
While inside the current screen, press Ctrl+D to delete that screen.
# What it looks like after the server is up
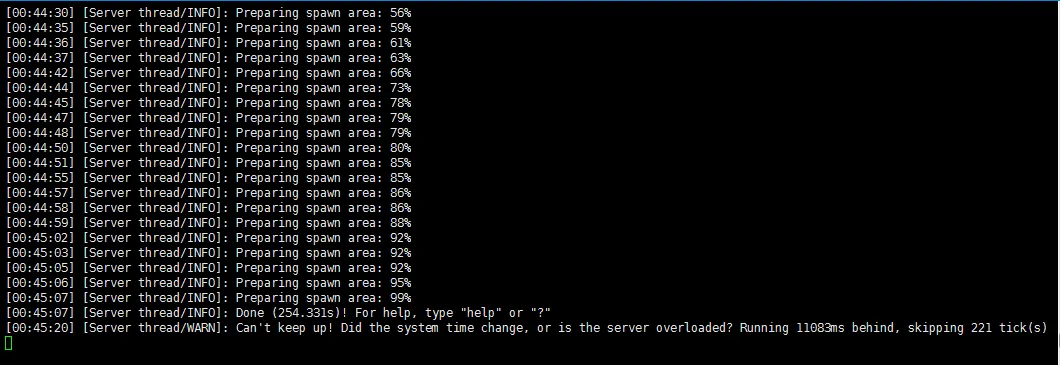
Press Ctrl+c to exit. Re-do the screen process mentioned above.
Then, type in your server’s public IP in the game client (for some servers, you need to turn off the firewall or open the ports in your security group first).
Enter the game and enjoy!