Table of contents
TL;DR / Geek Summary:
- Ultra-low-budget build (approx. 710 RMB) leveraging decommissioned server hardware: E5-2666V3 on an X99 “magic” modified motherboard.
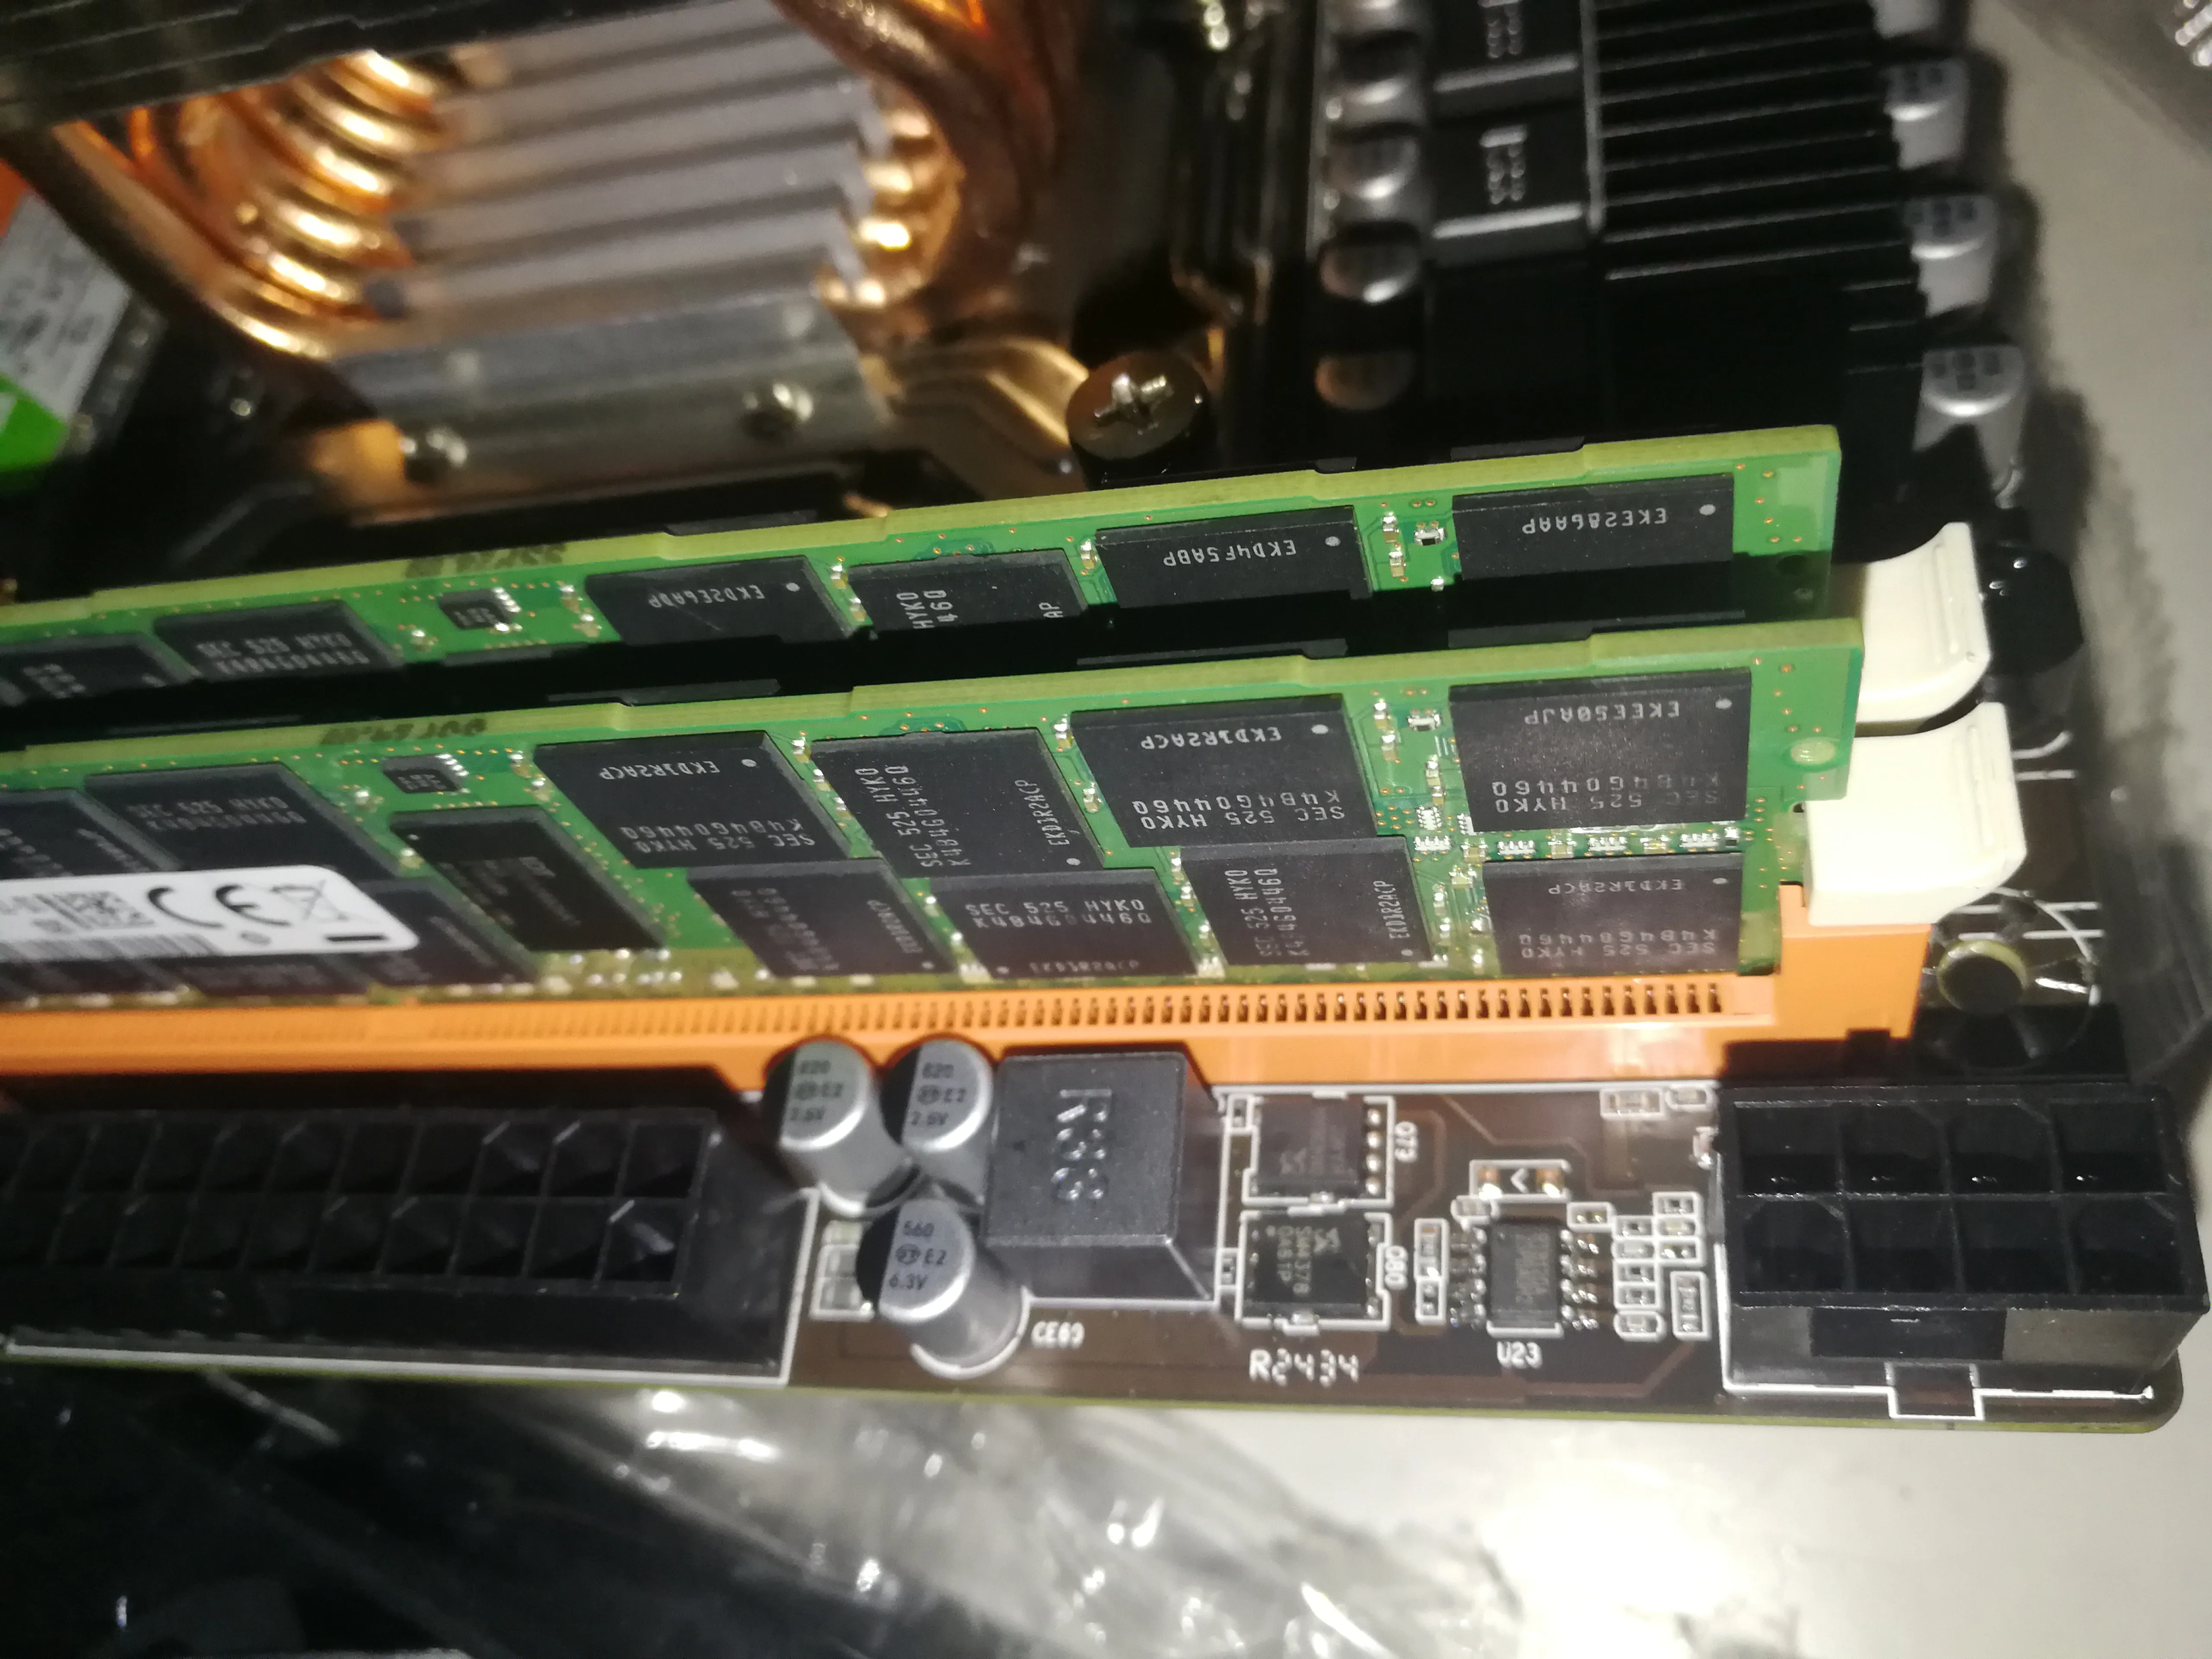
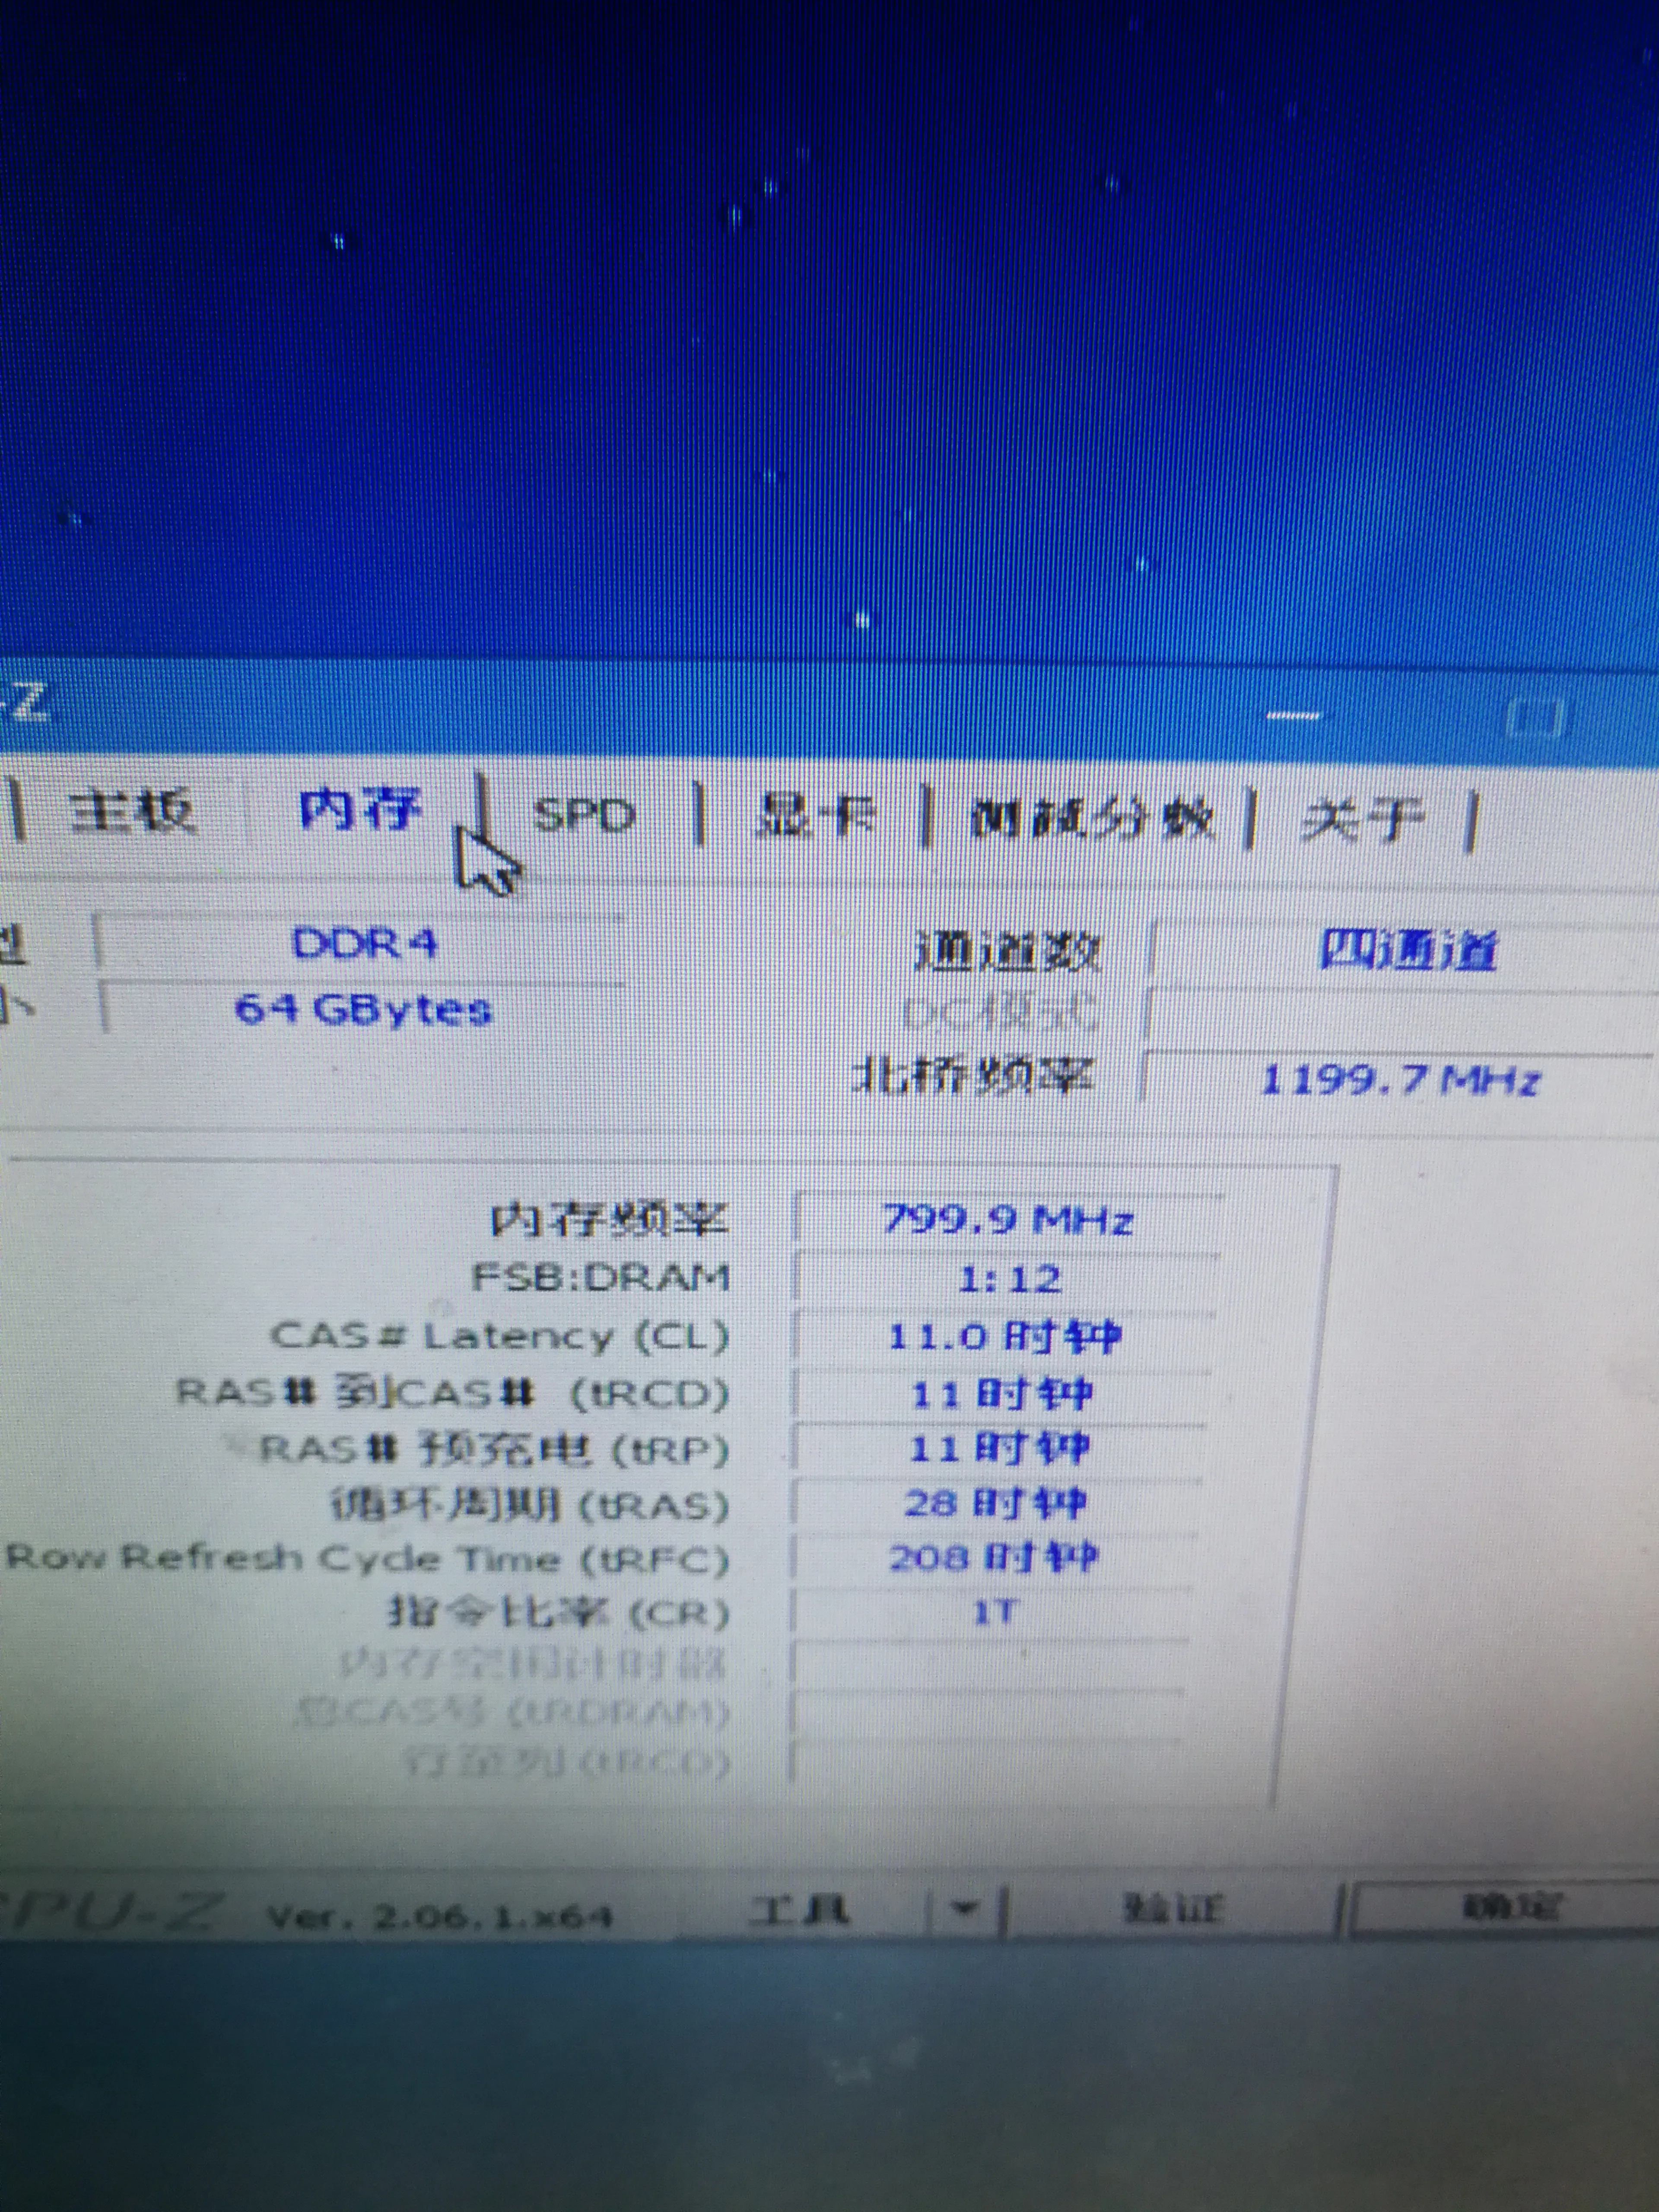
- Memory exploitation: Utilizes 64GB of quad-channel ECC REG (RECC) DDR3 modules, providing massive throughput for pennies on the dollar.
- Troubleshooting logs: Documenting the journey from M.2 NGFF identification errors to resolving BIOS-level POST failures and GPU driver instability.
# Computer assembly
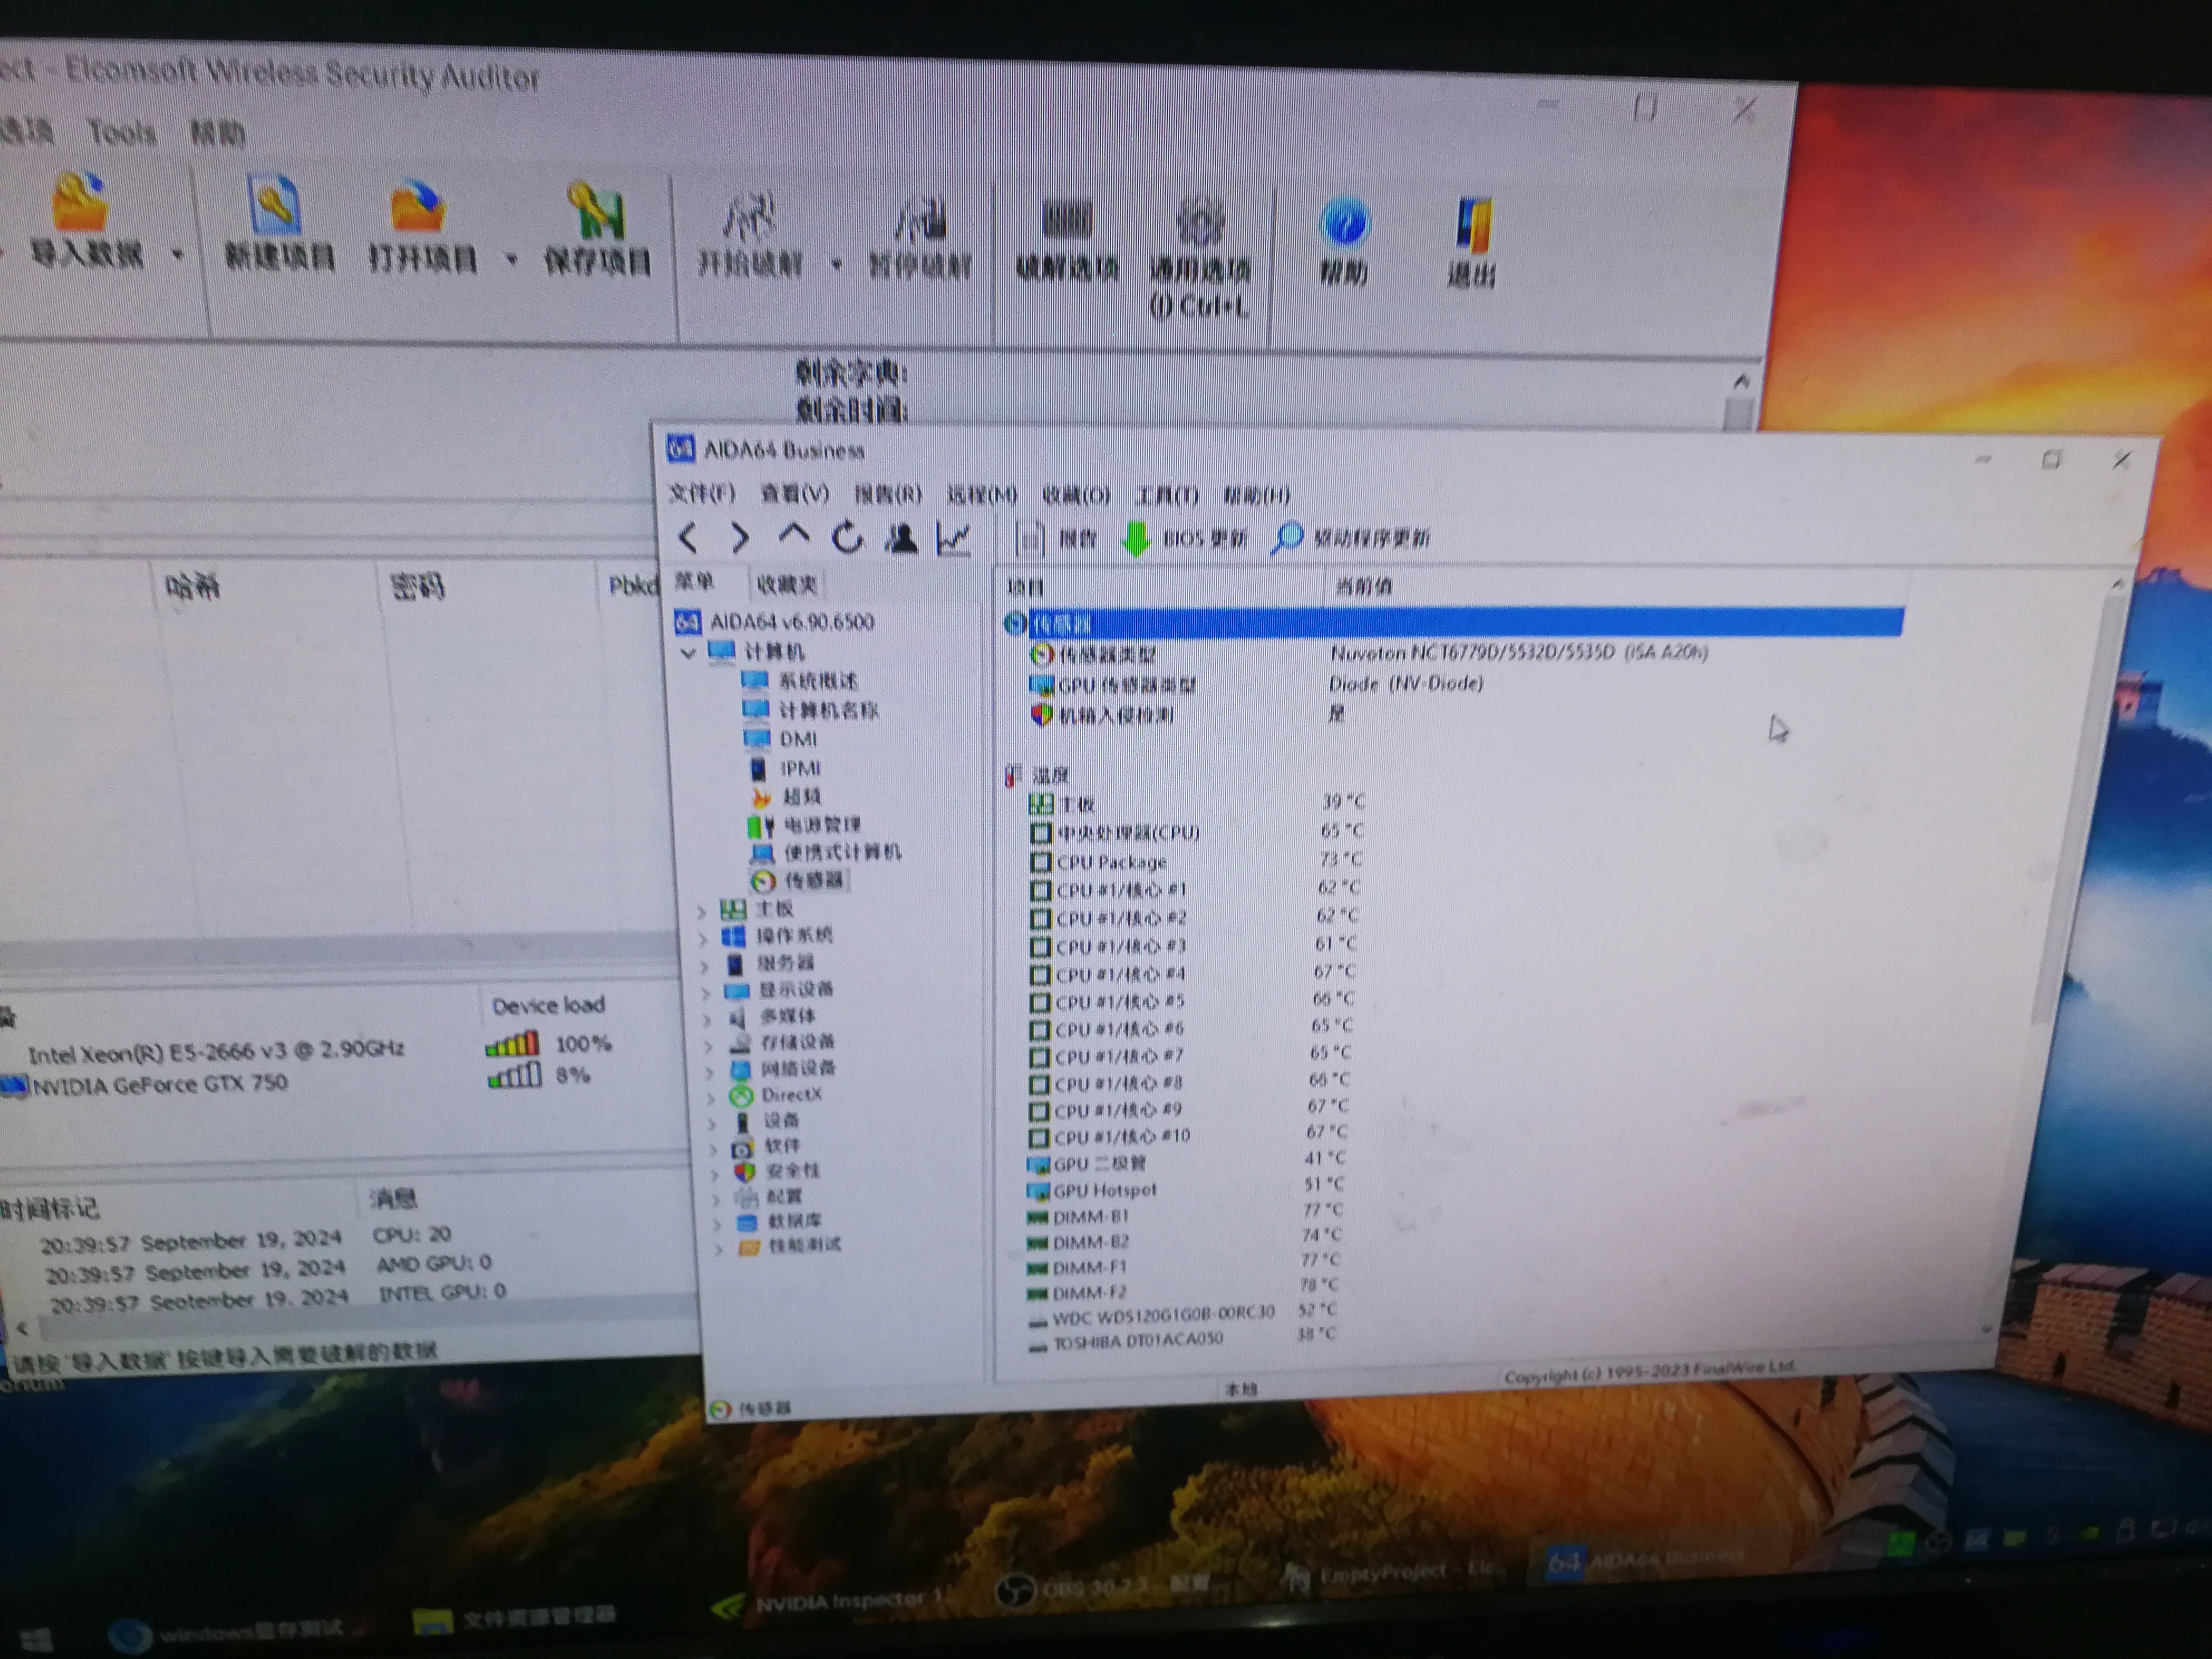
Since the performance of my laptop is already the performance of ten years ago, that is, the first generation of I3 390M, upgrading the memory can alleviate the lag, but after all, it has been there for years.
# Computer configuration
The following is a table based on the information you provided:
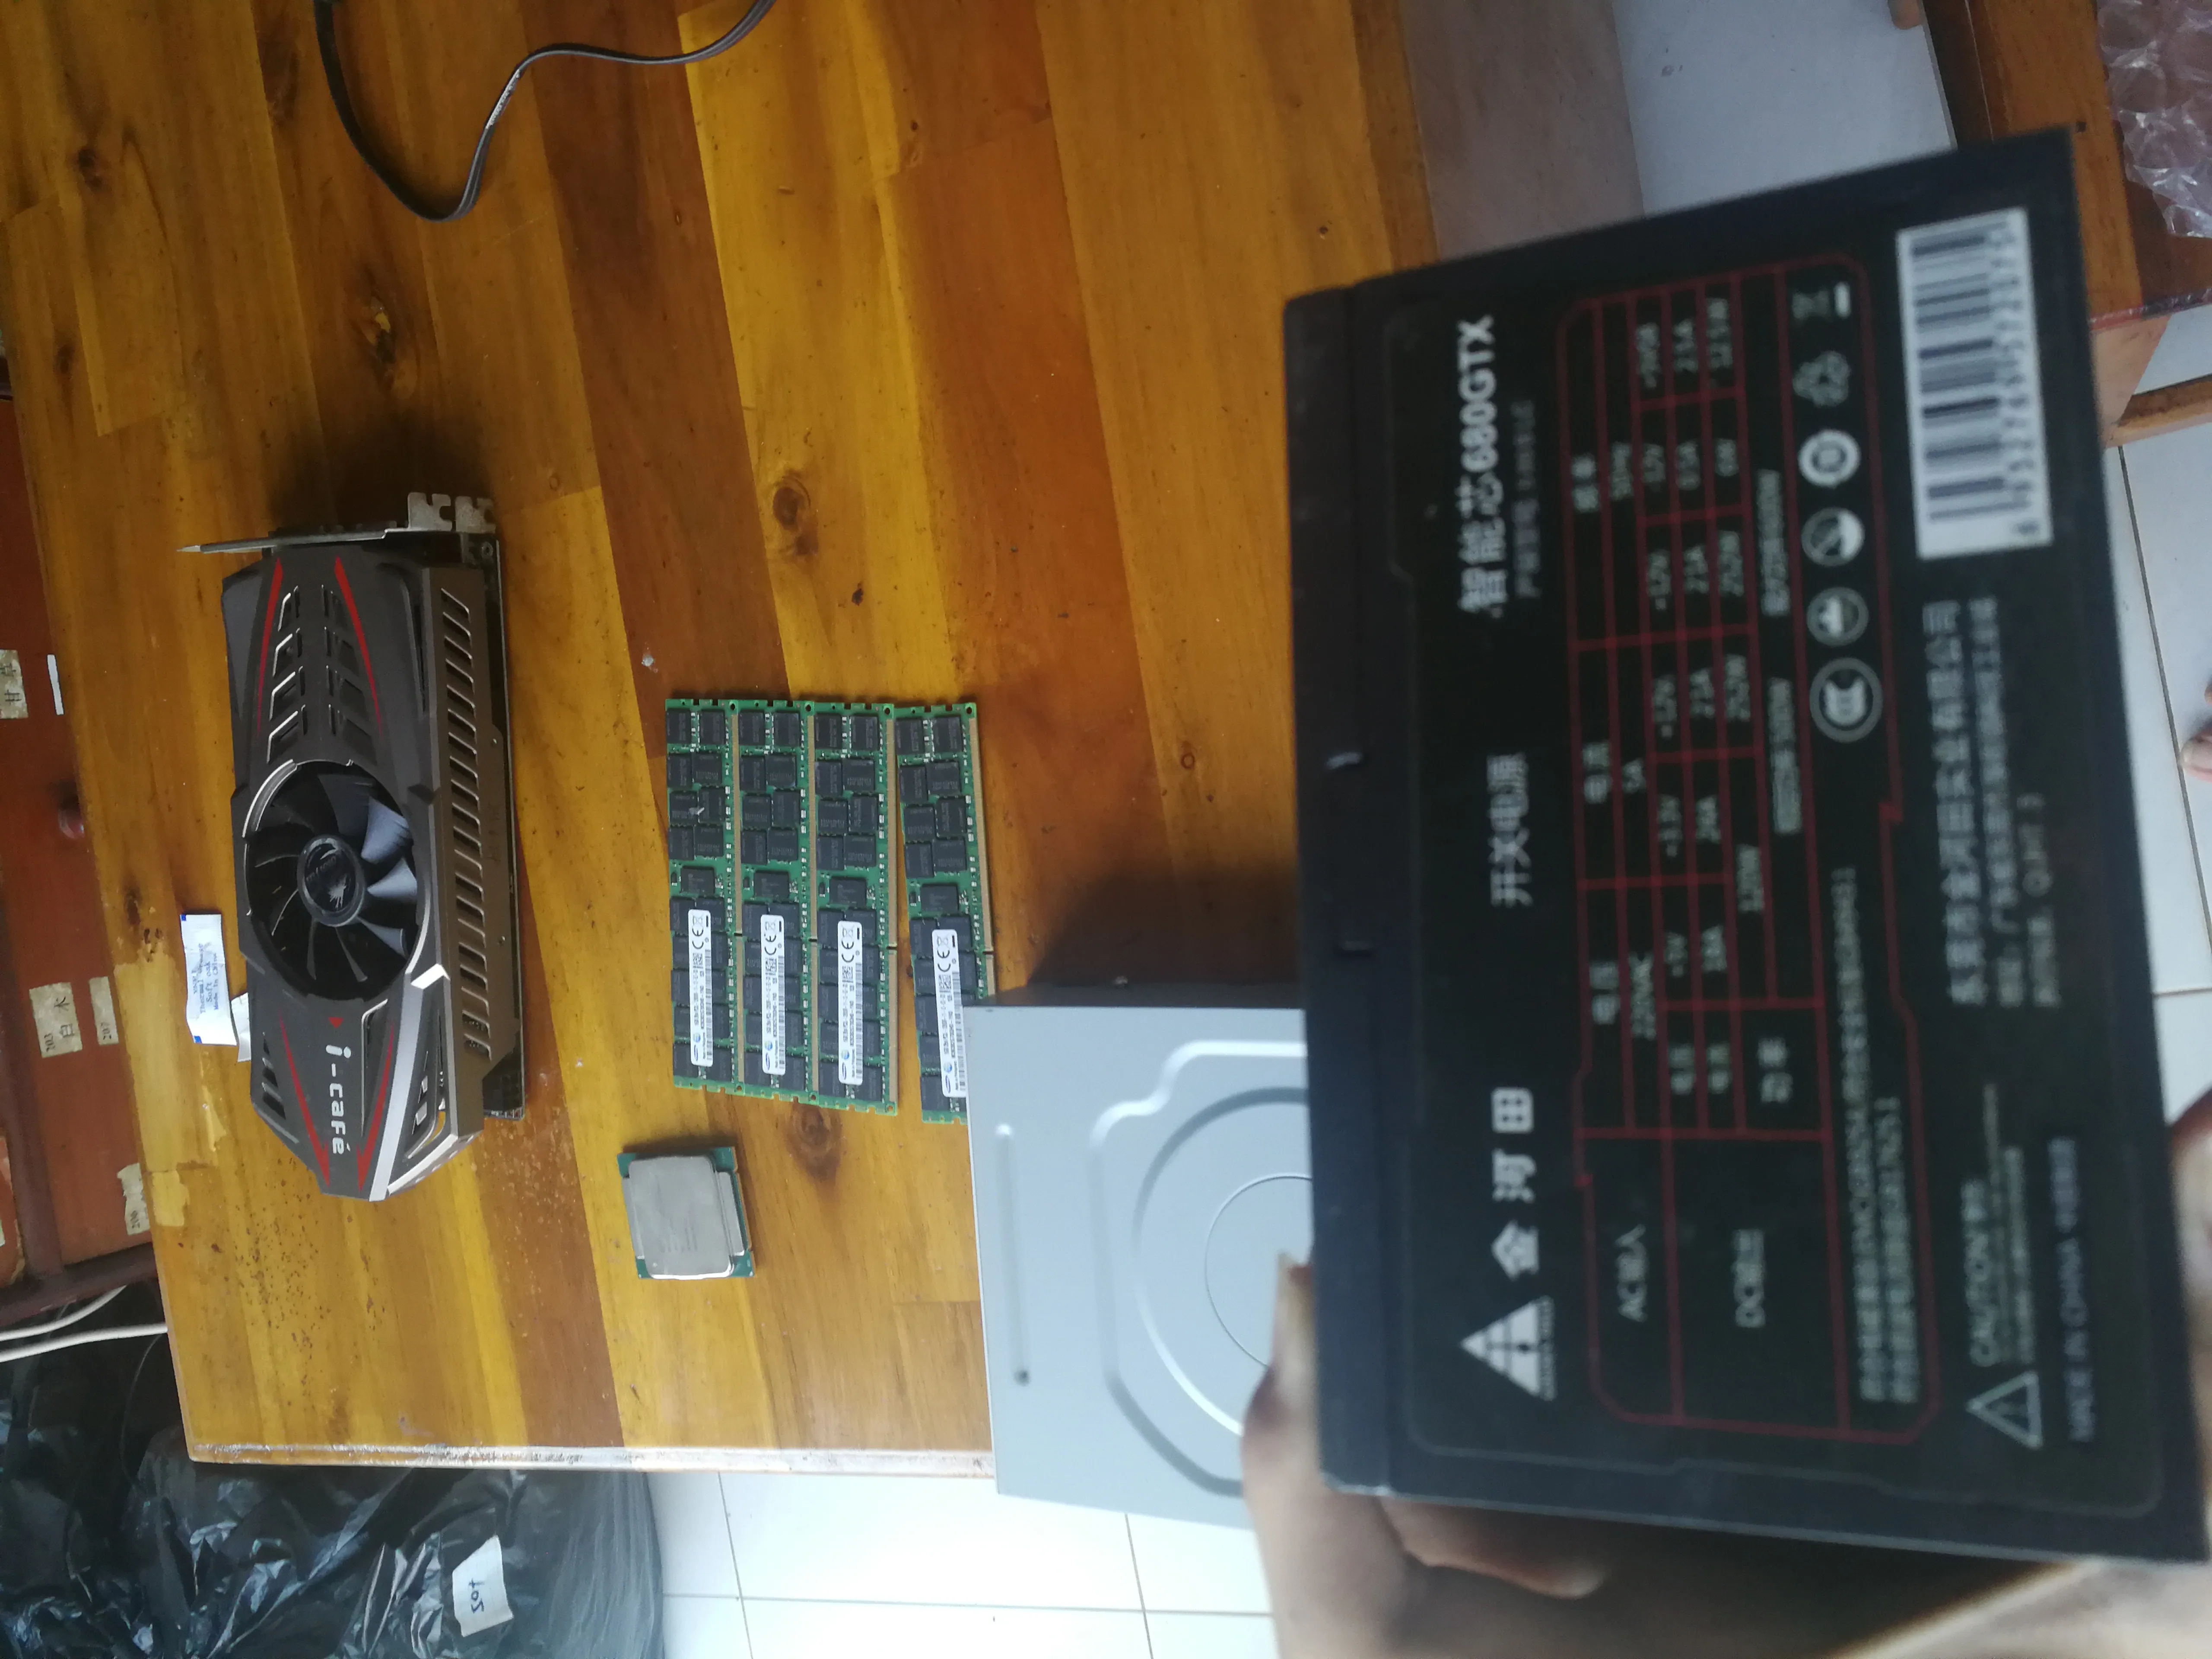
| Component name | Specification/description | Price (RMB) | Remarks |
|---|---|---|---|
| Power supply | Unknown 500W (actually 400W is enough) | 30 | Actual power 400W is enough |
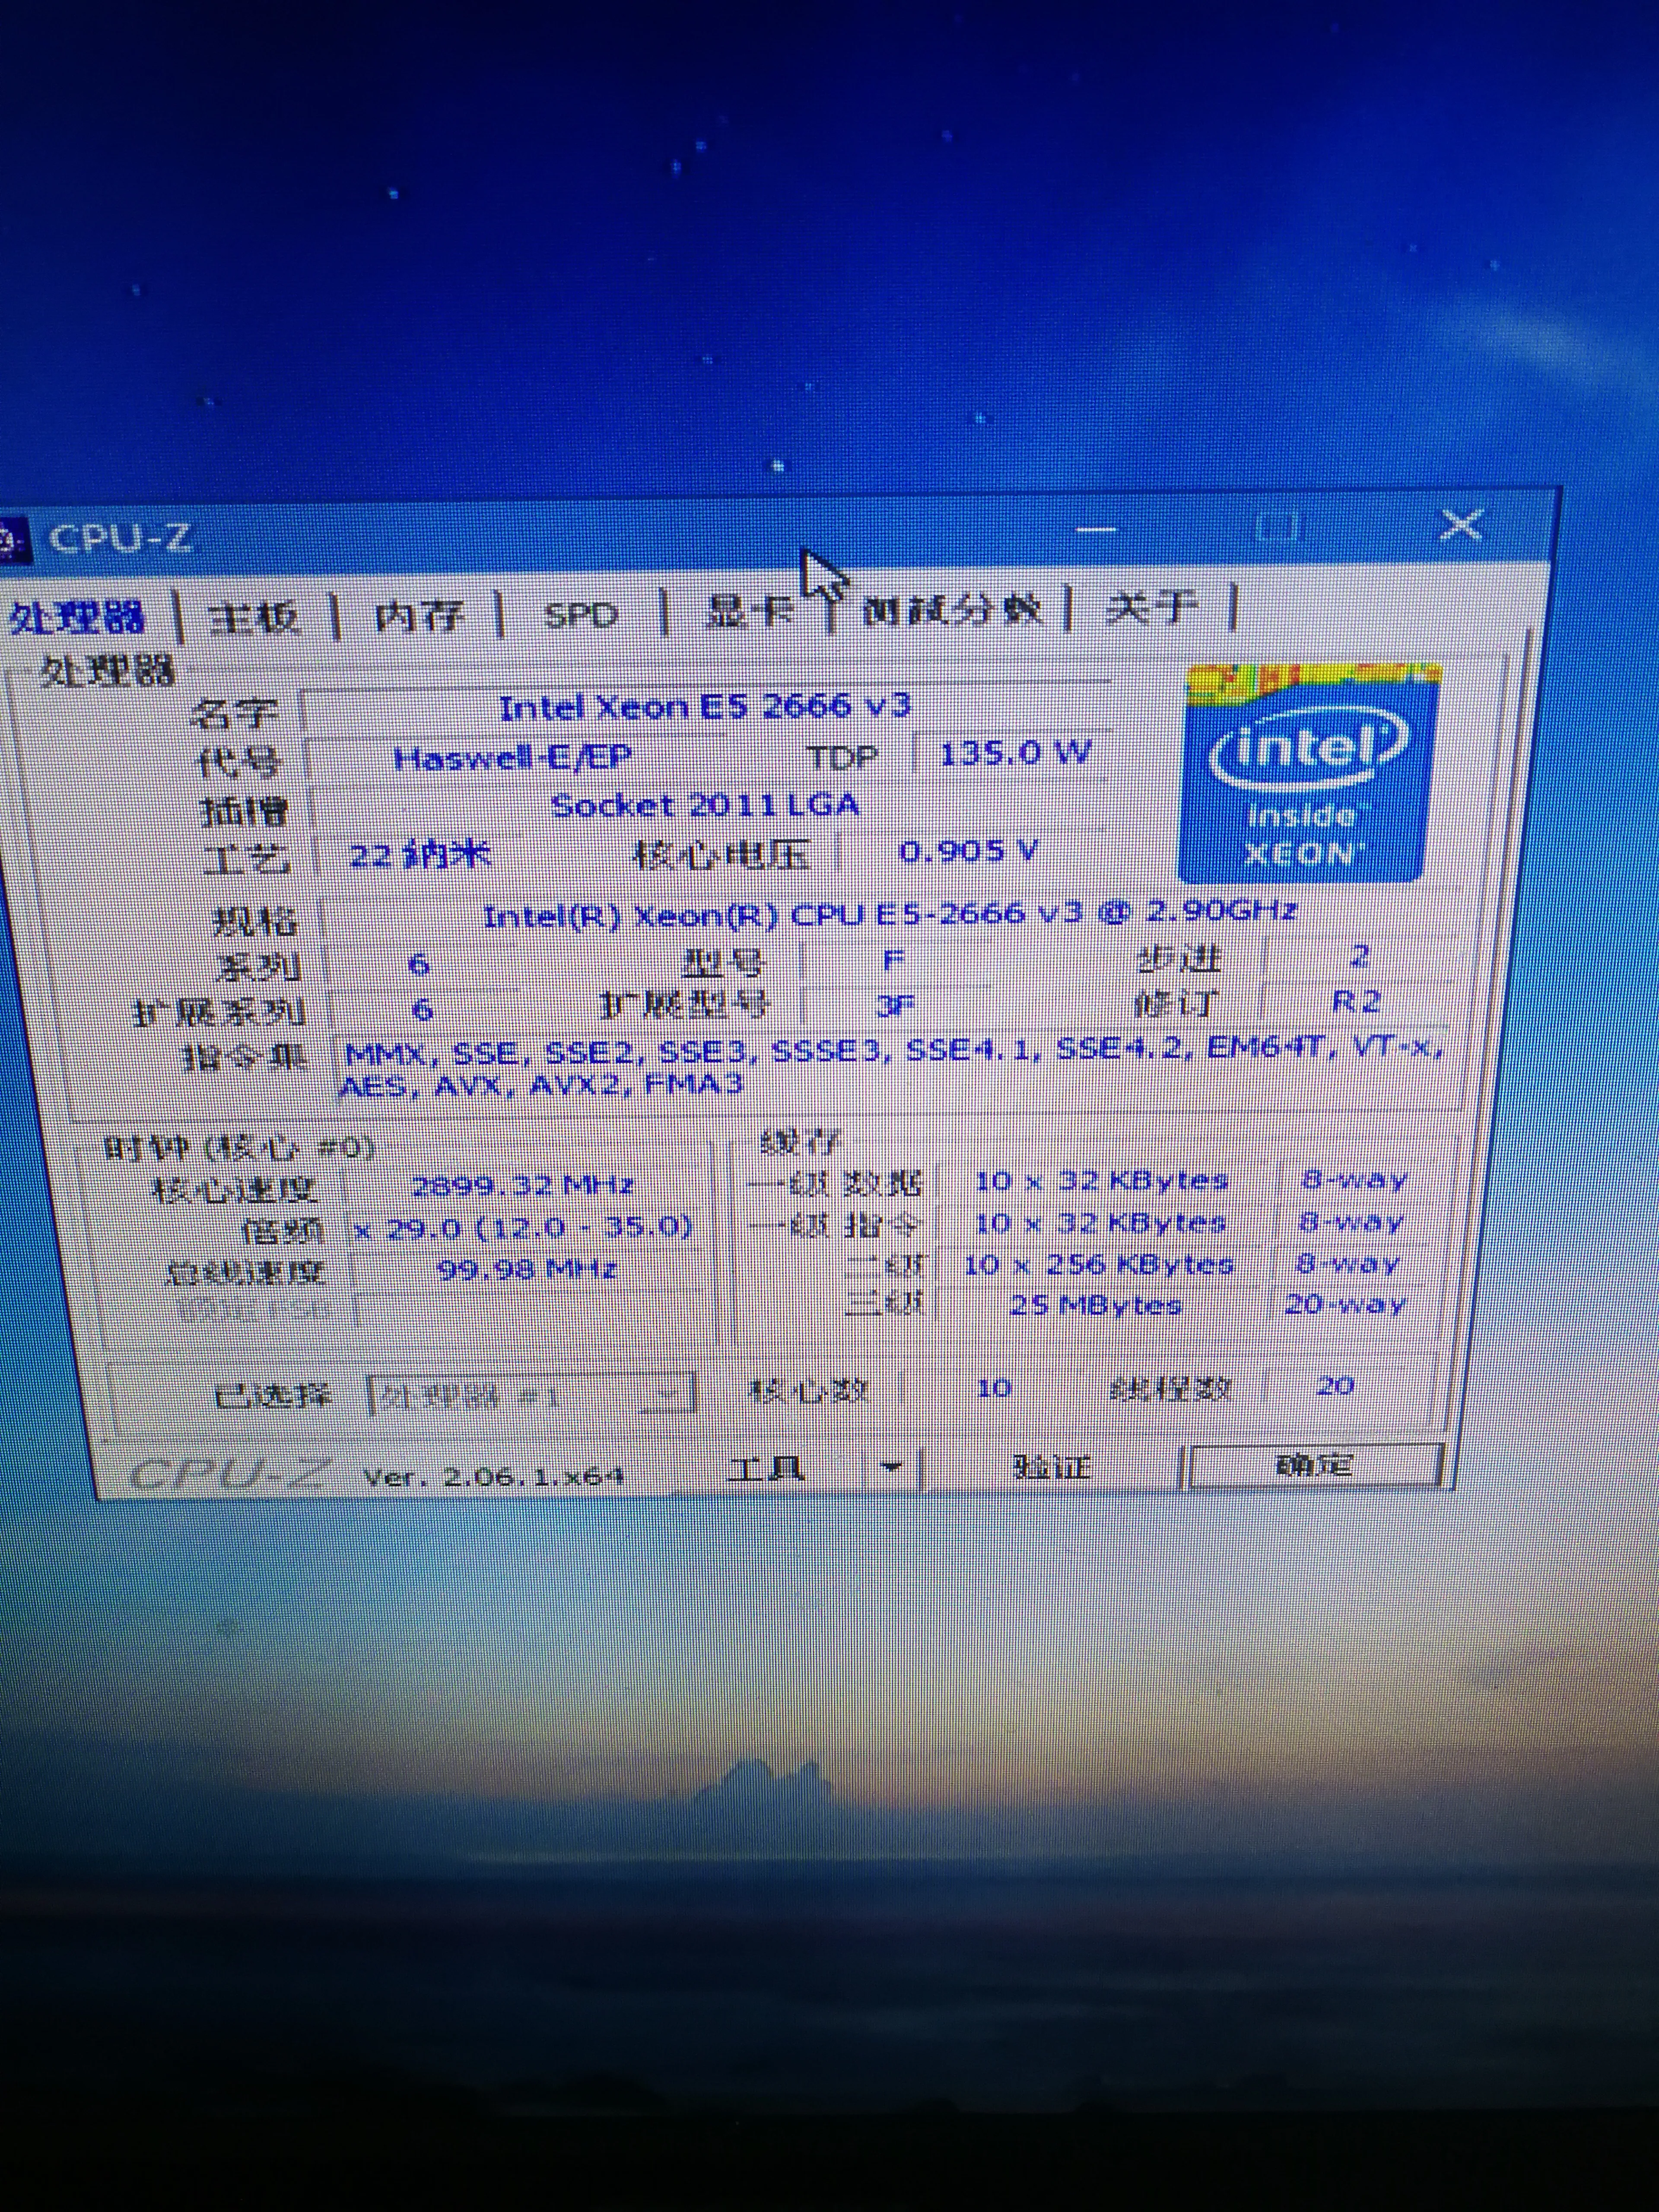
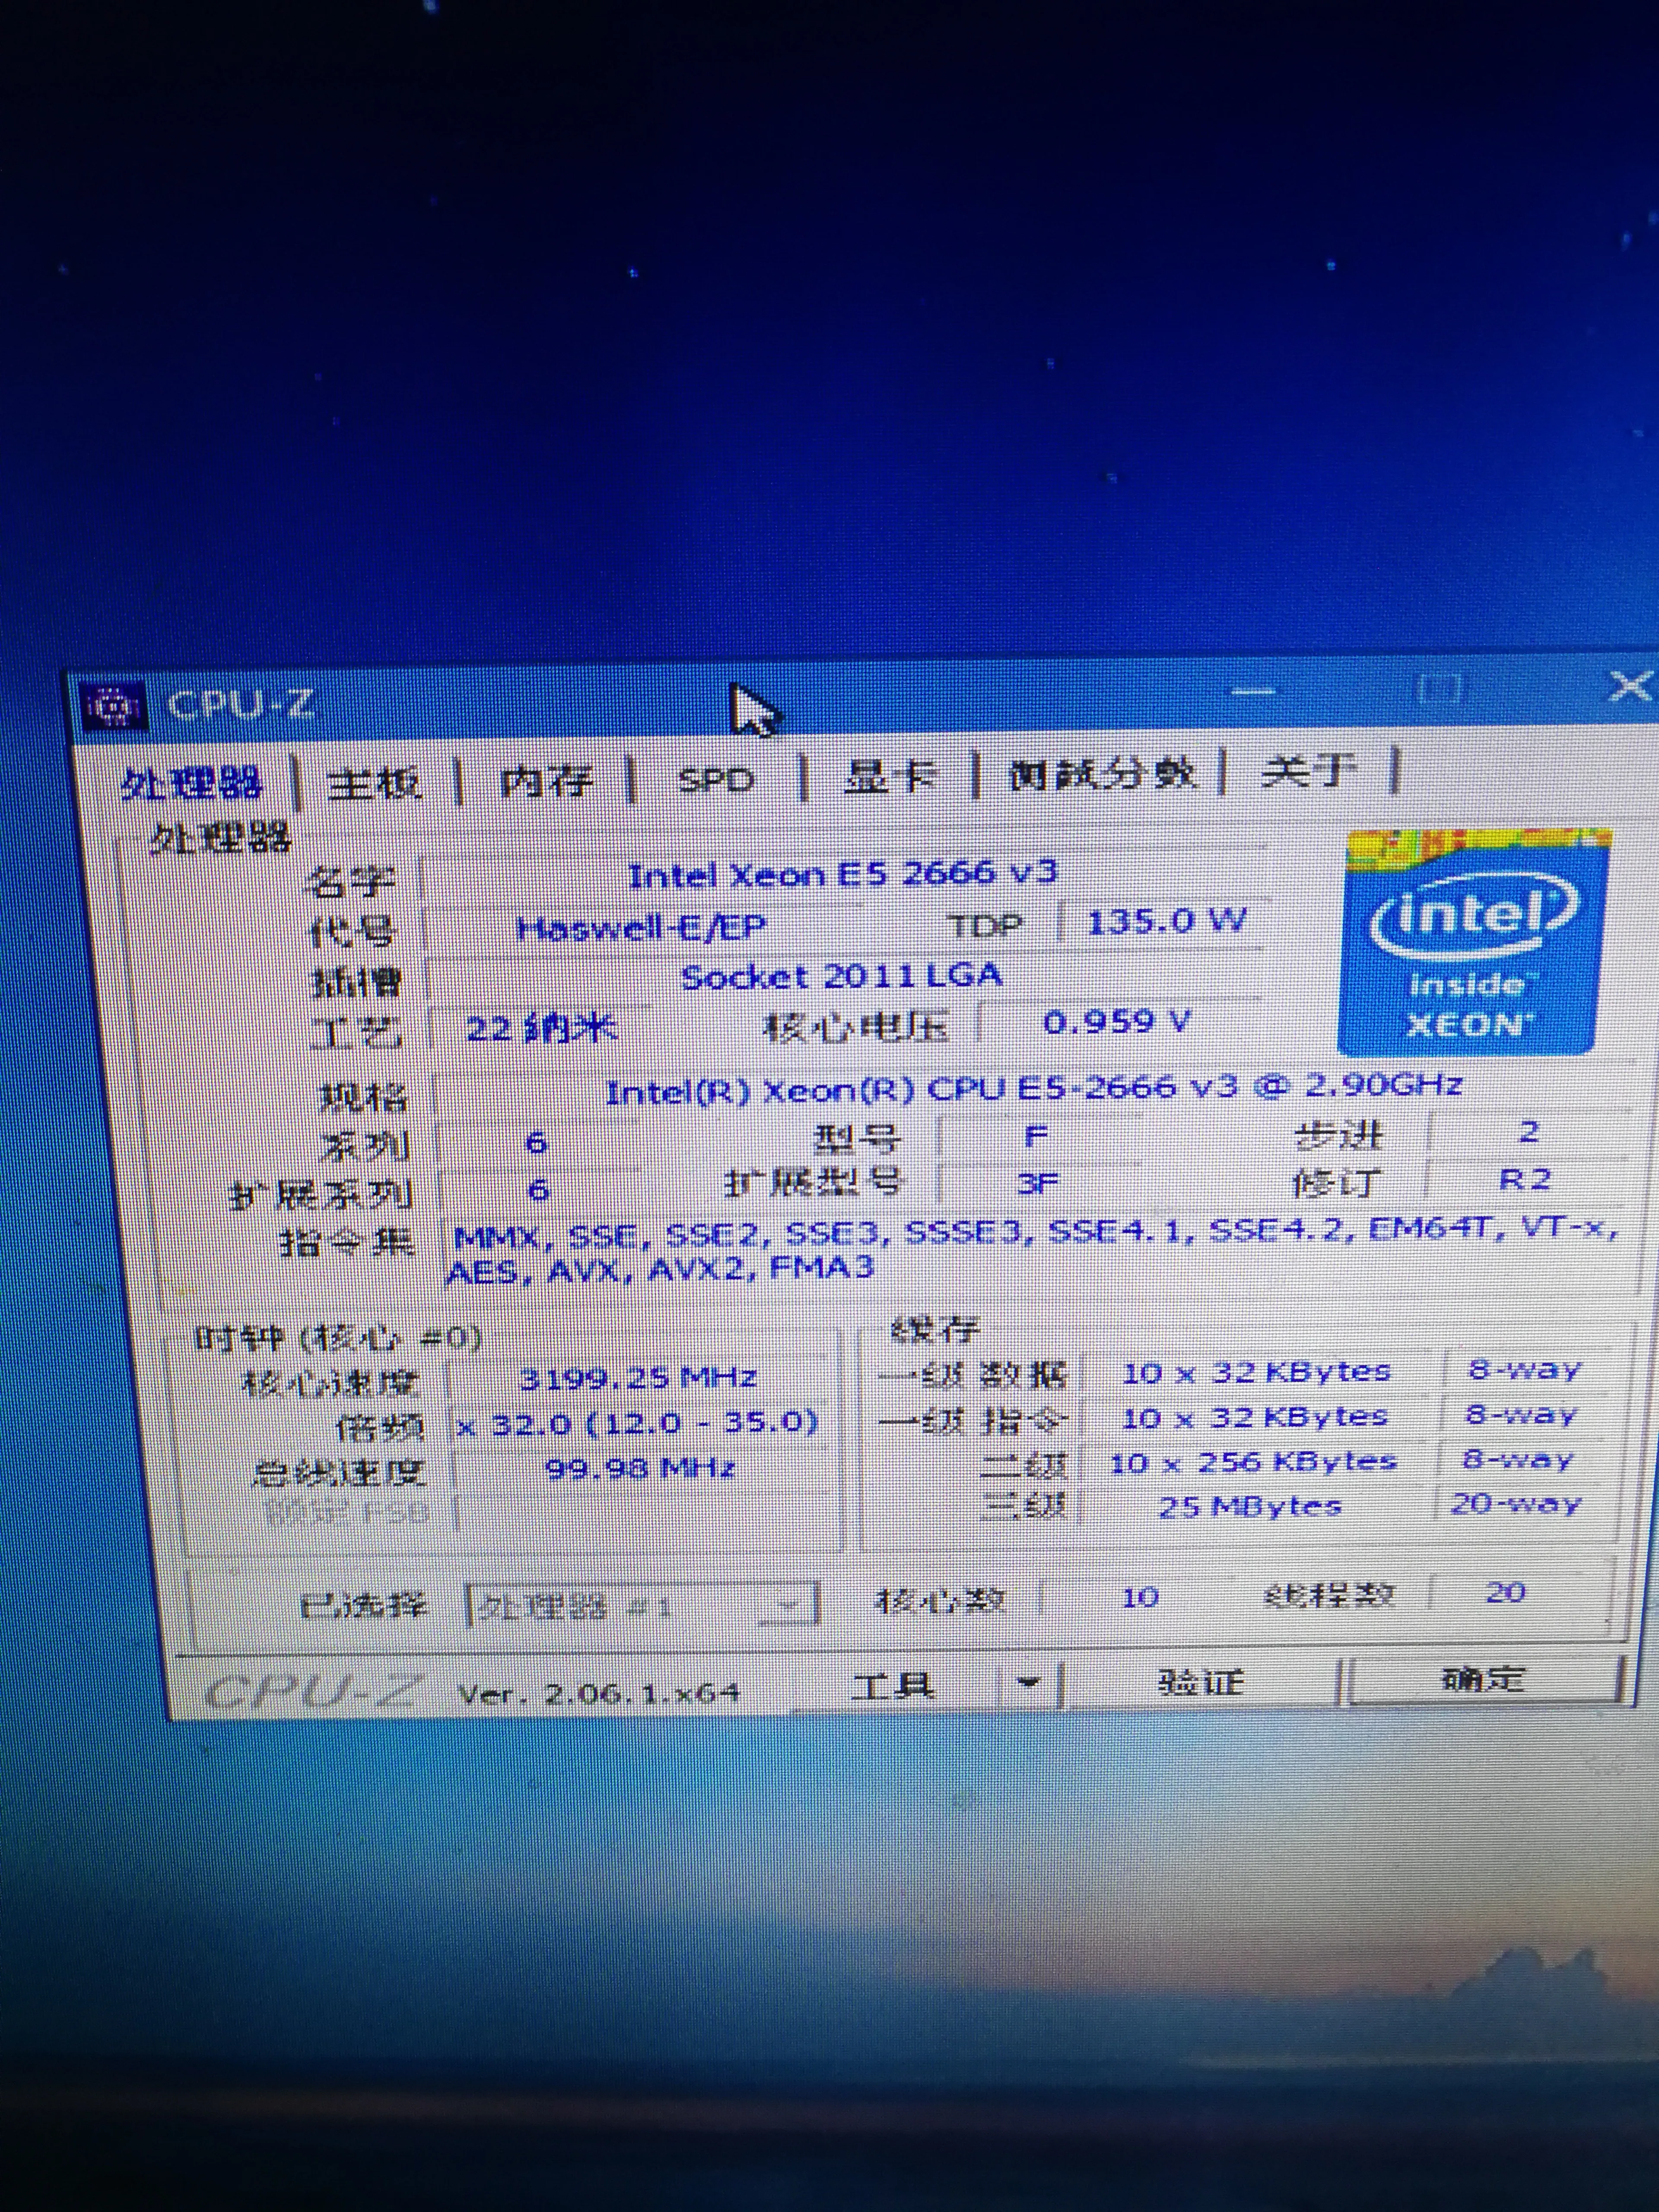
| CPU | E5 2666V3 | 20 | |
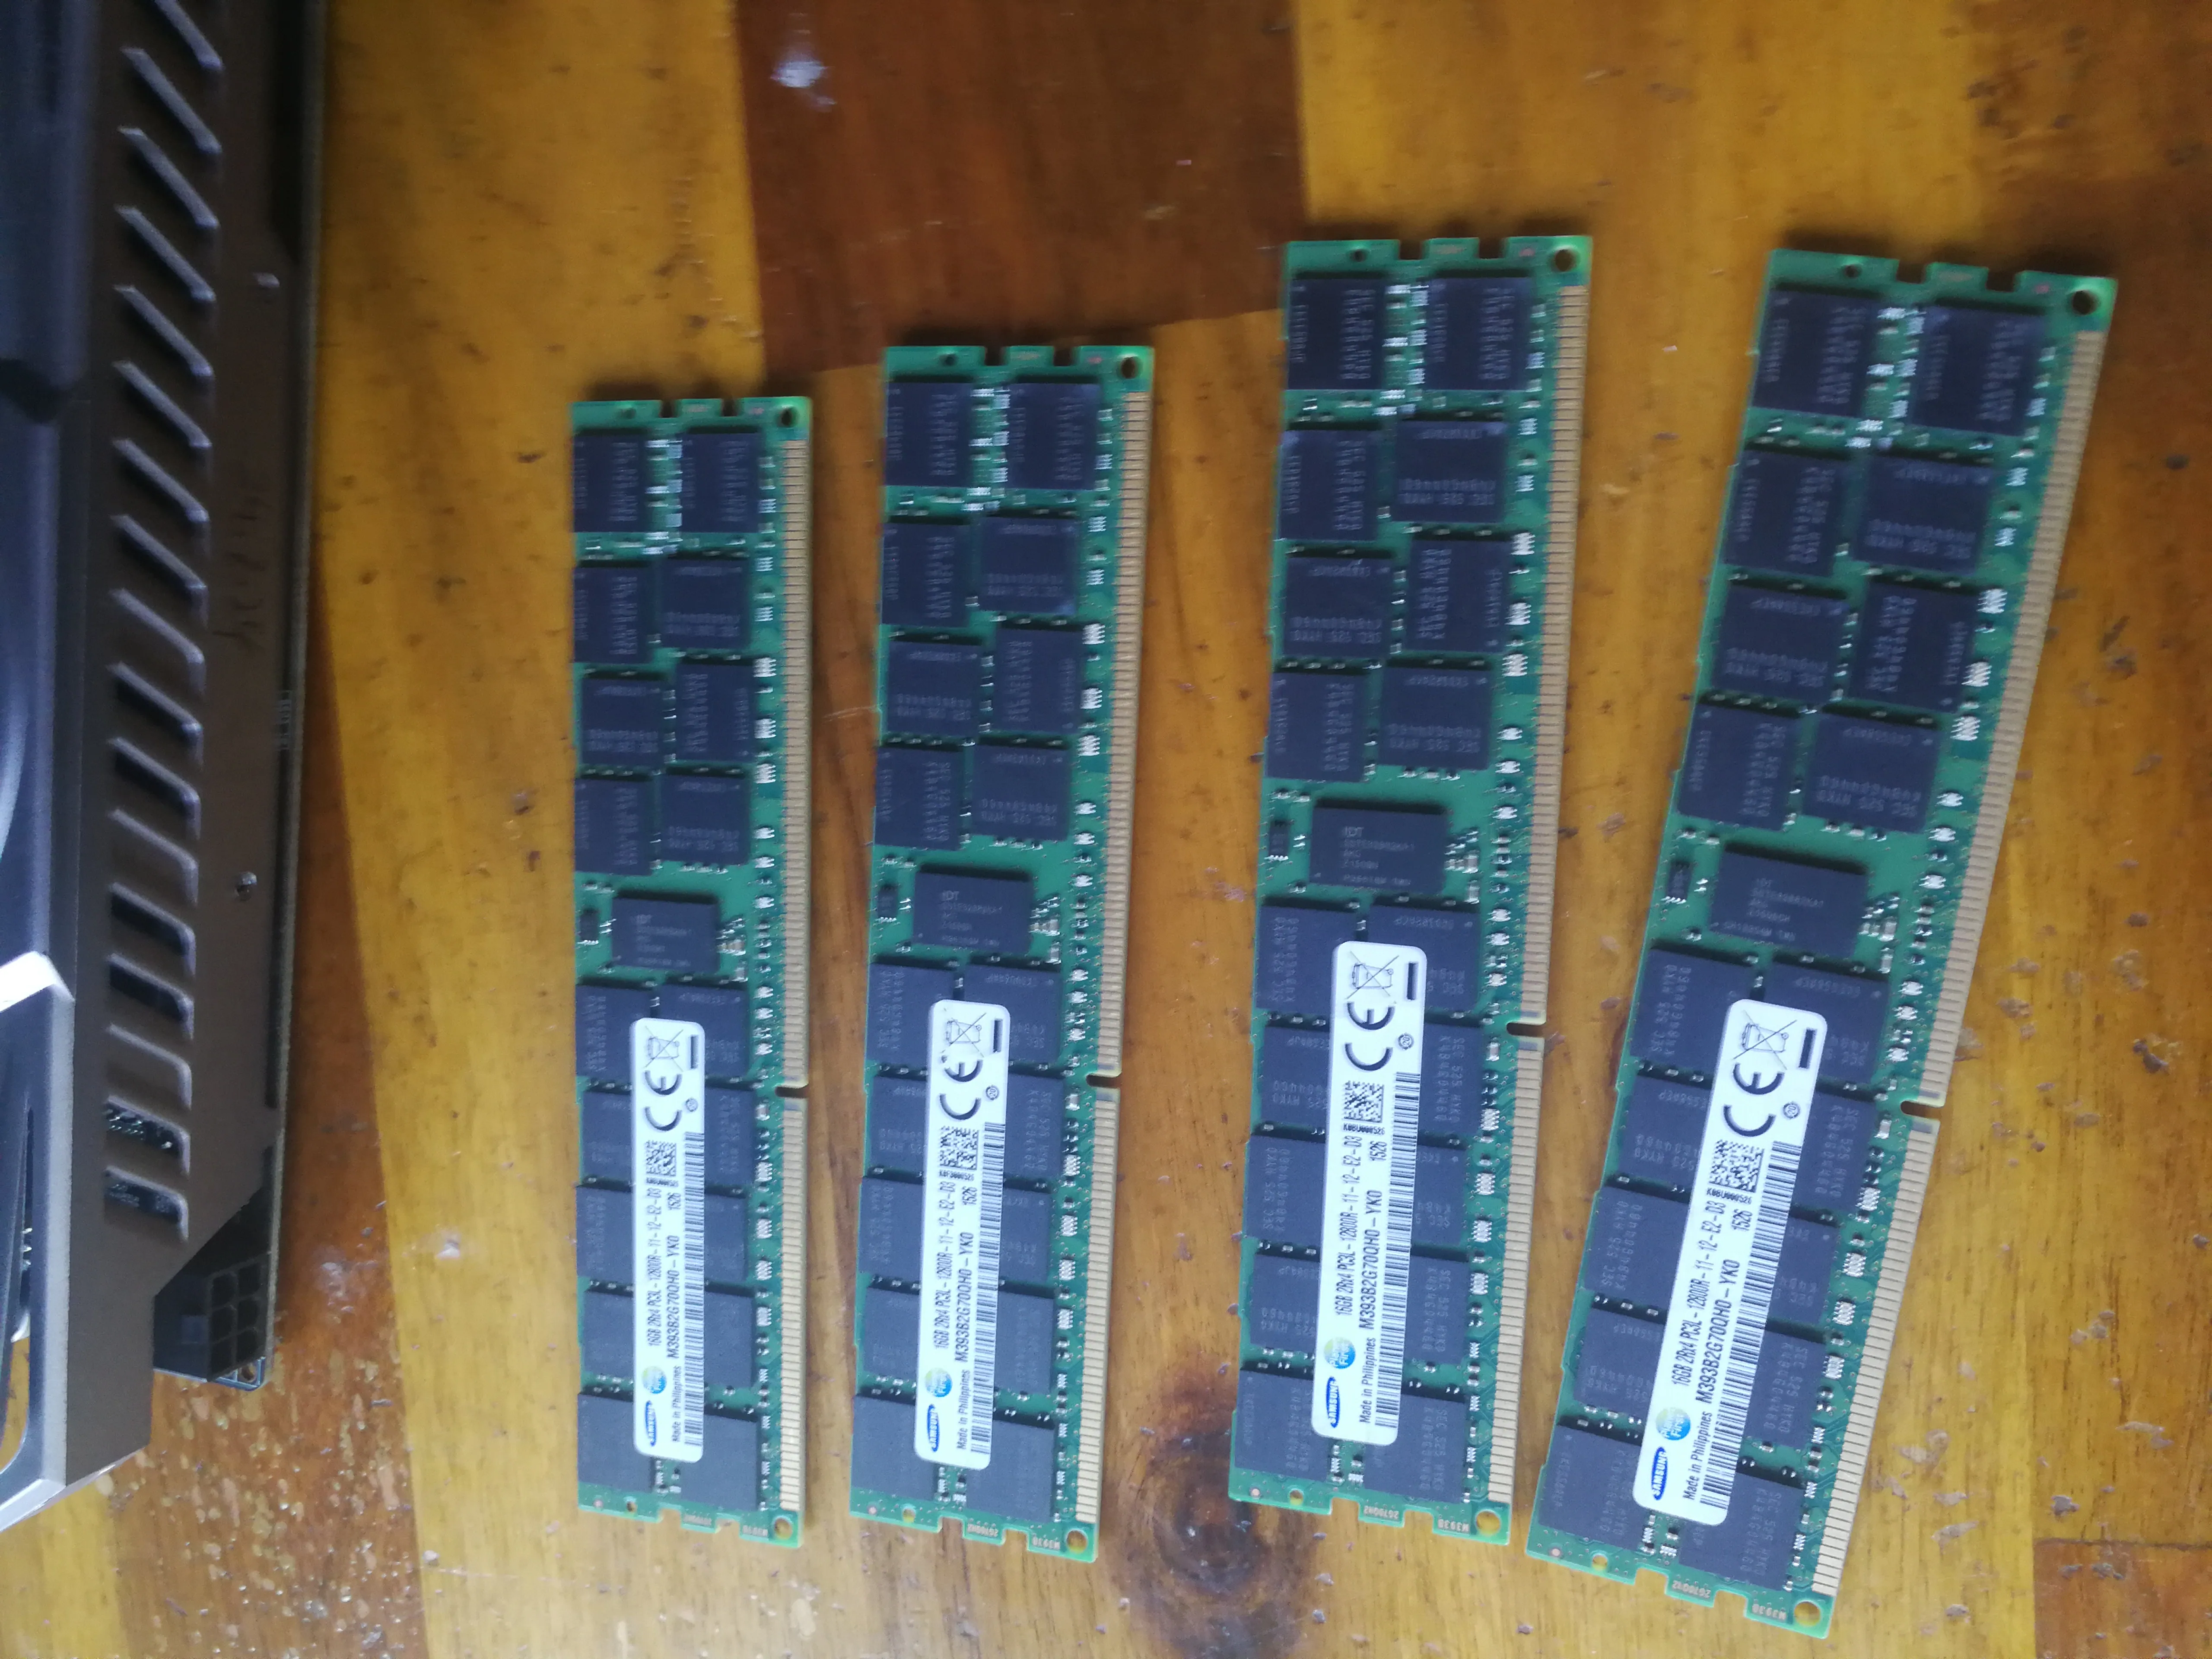
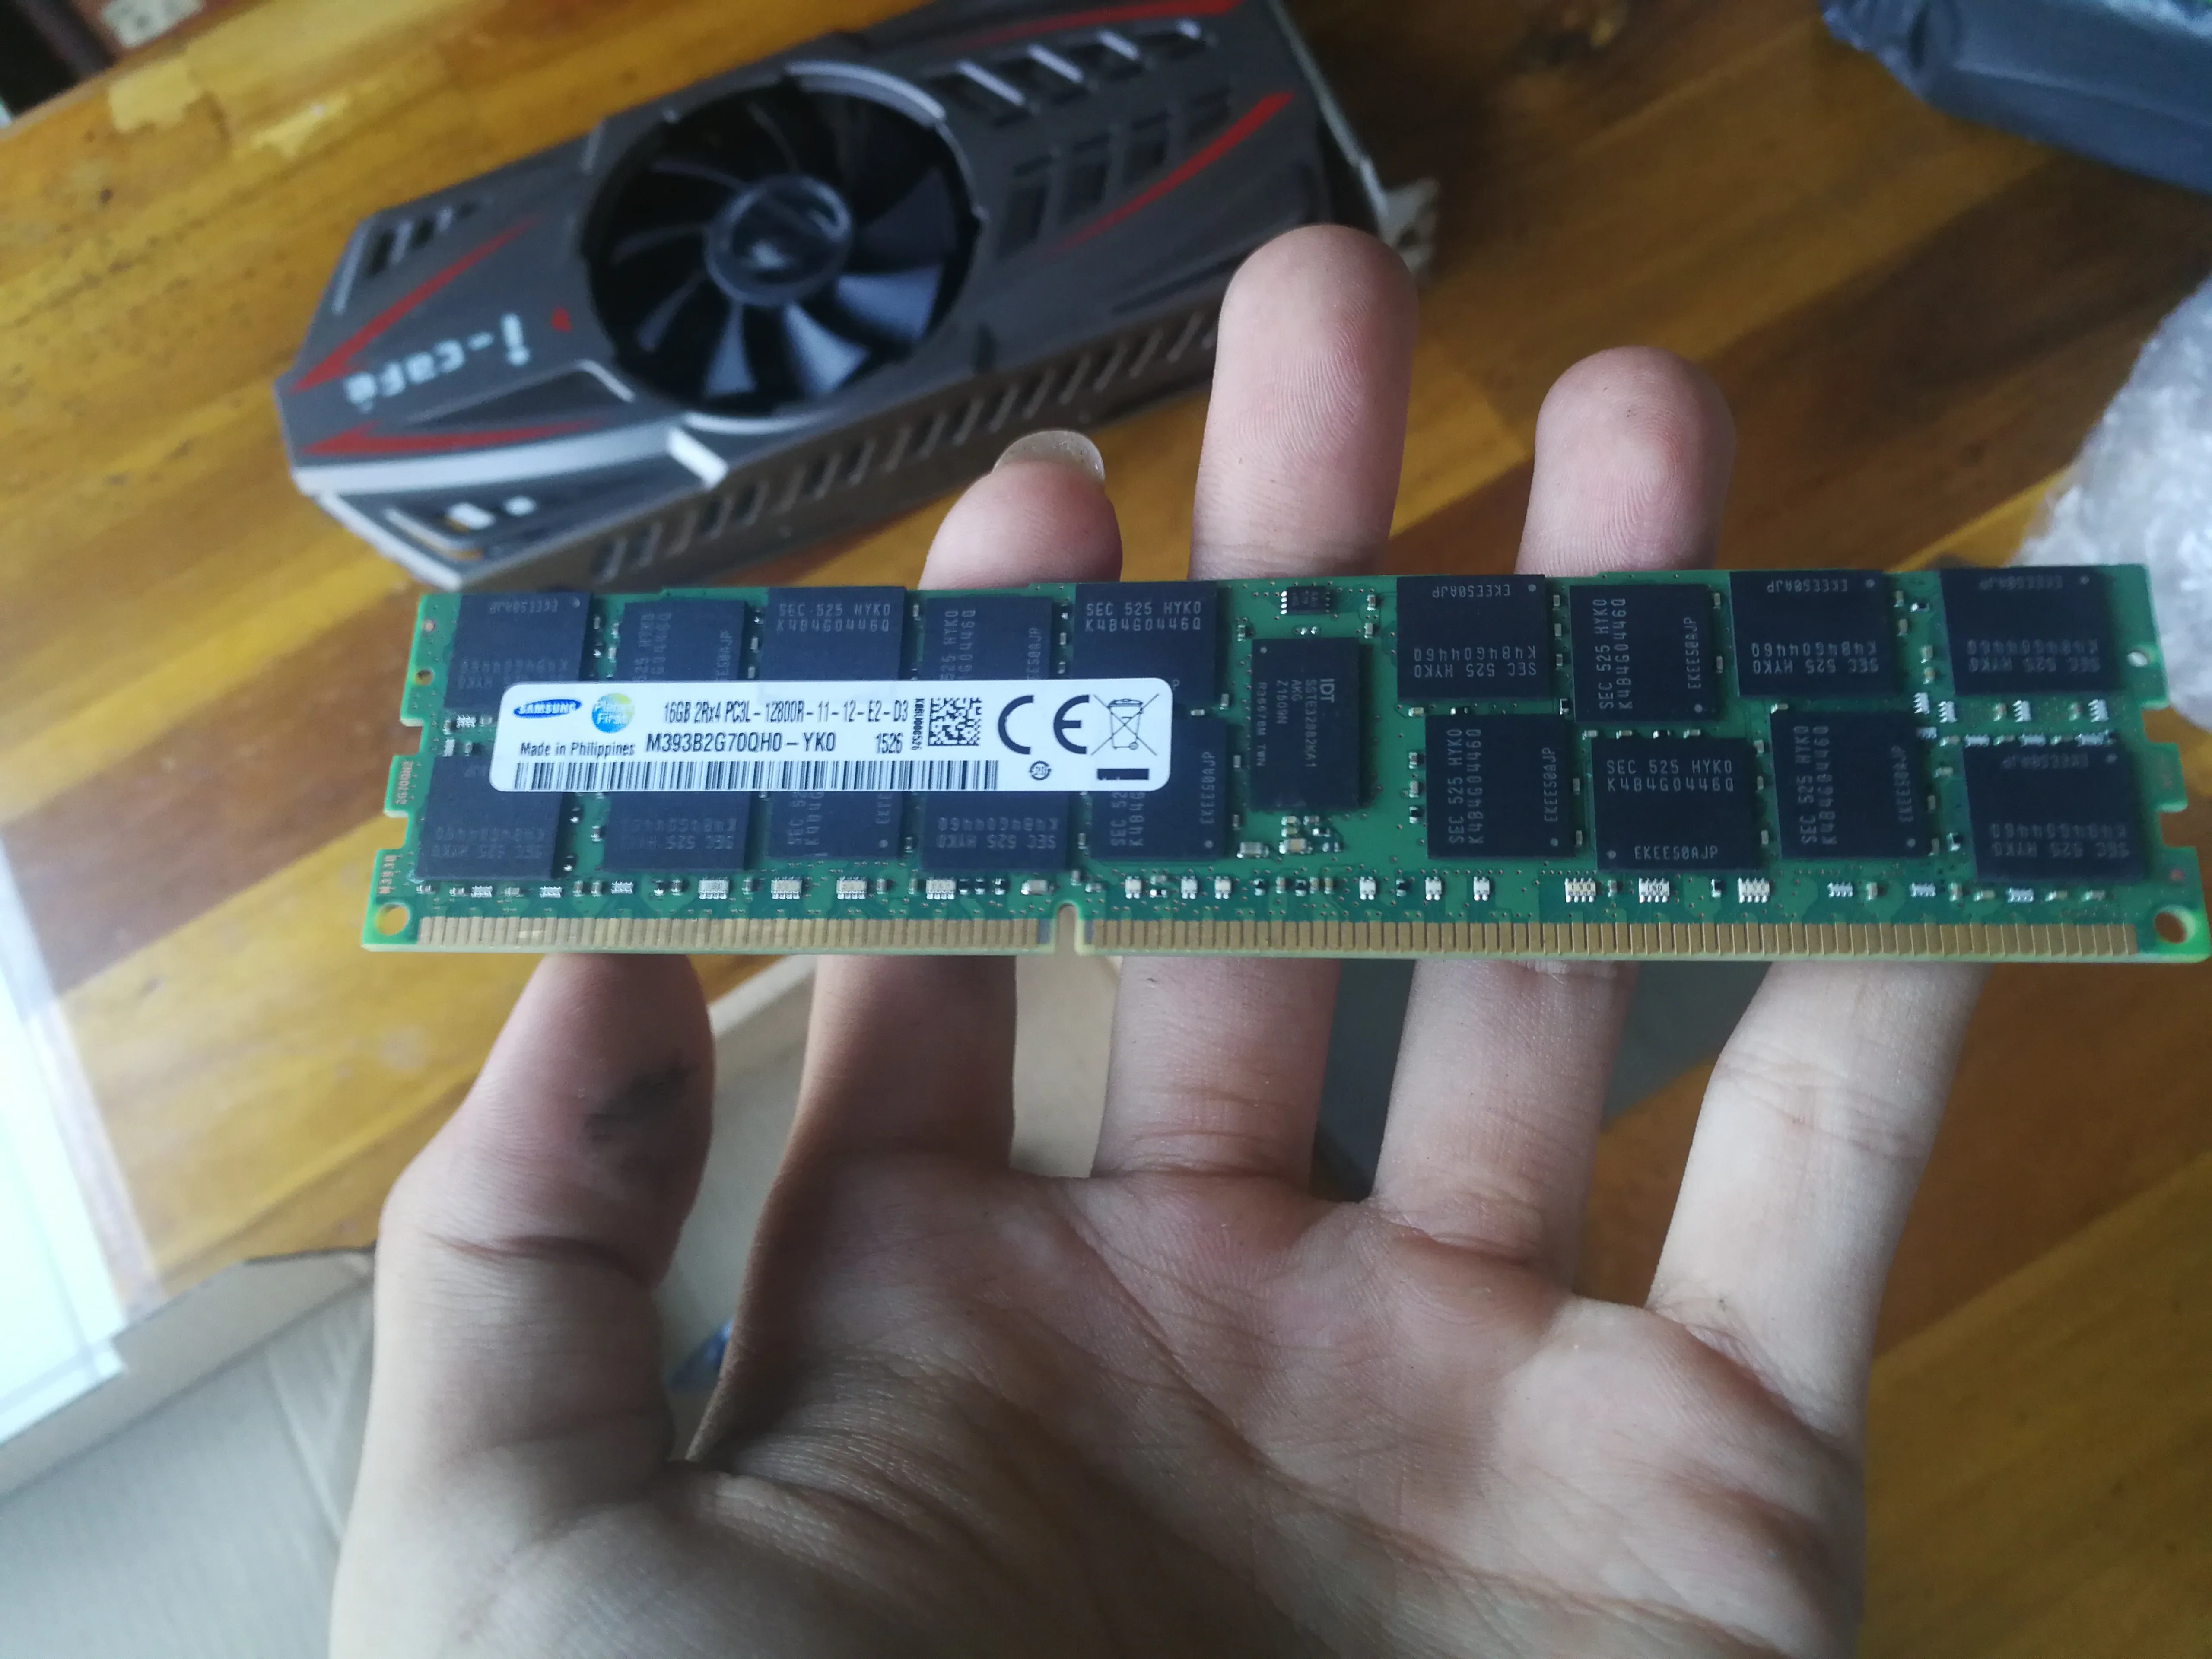
| Memory stick | DDR3 64GB (16GB x 4) | 40 | 10 yuan per stick |
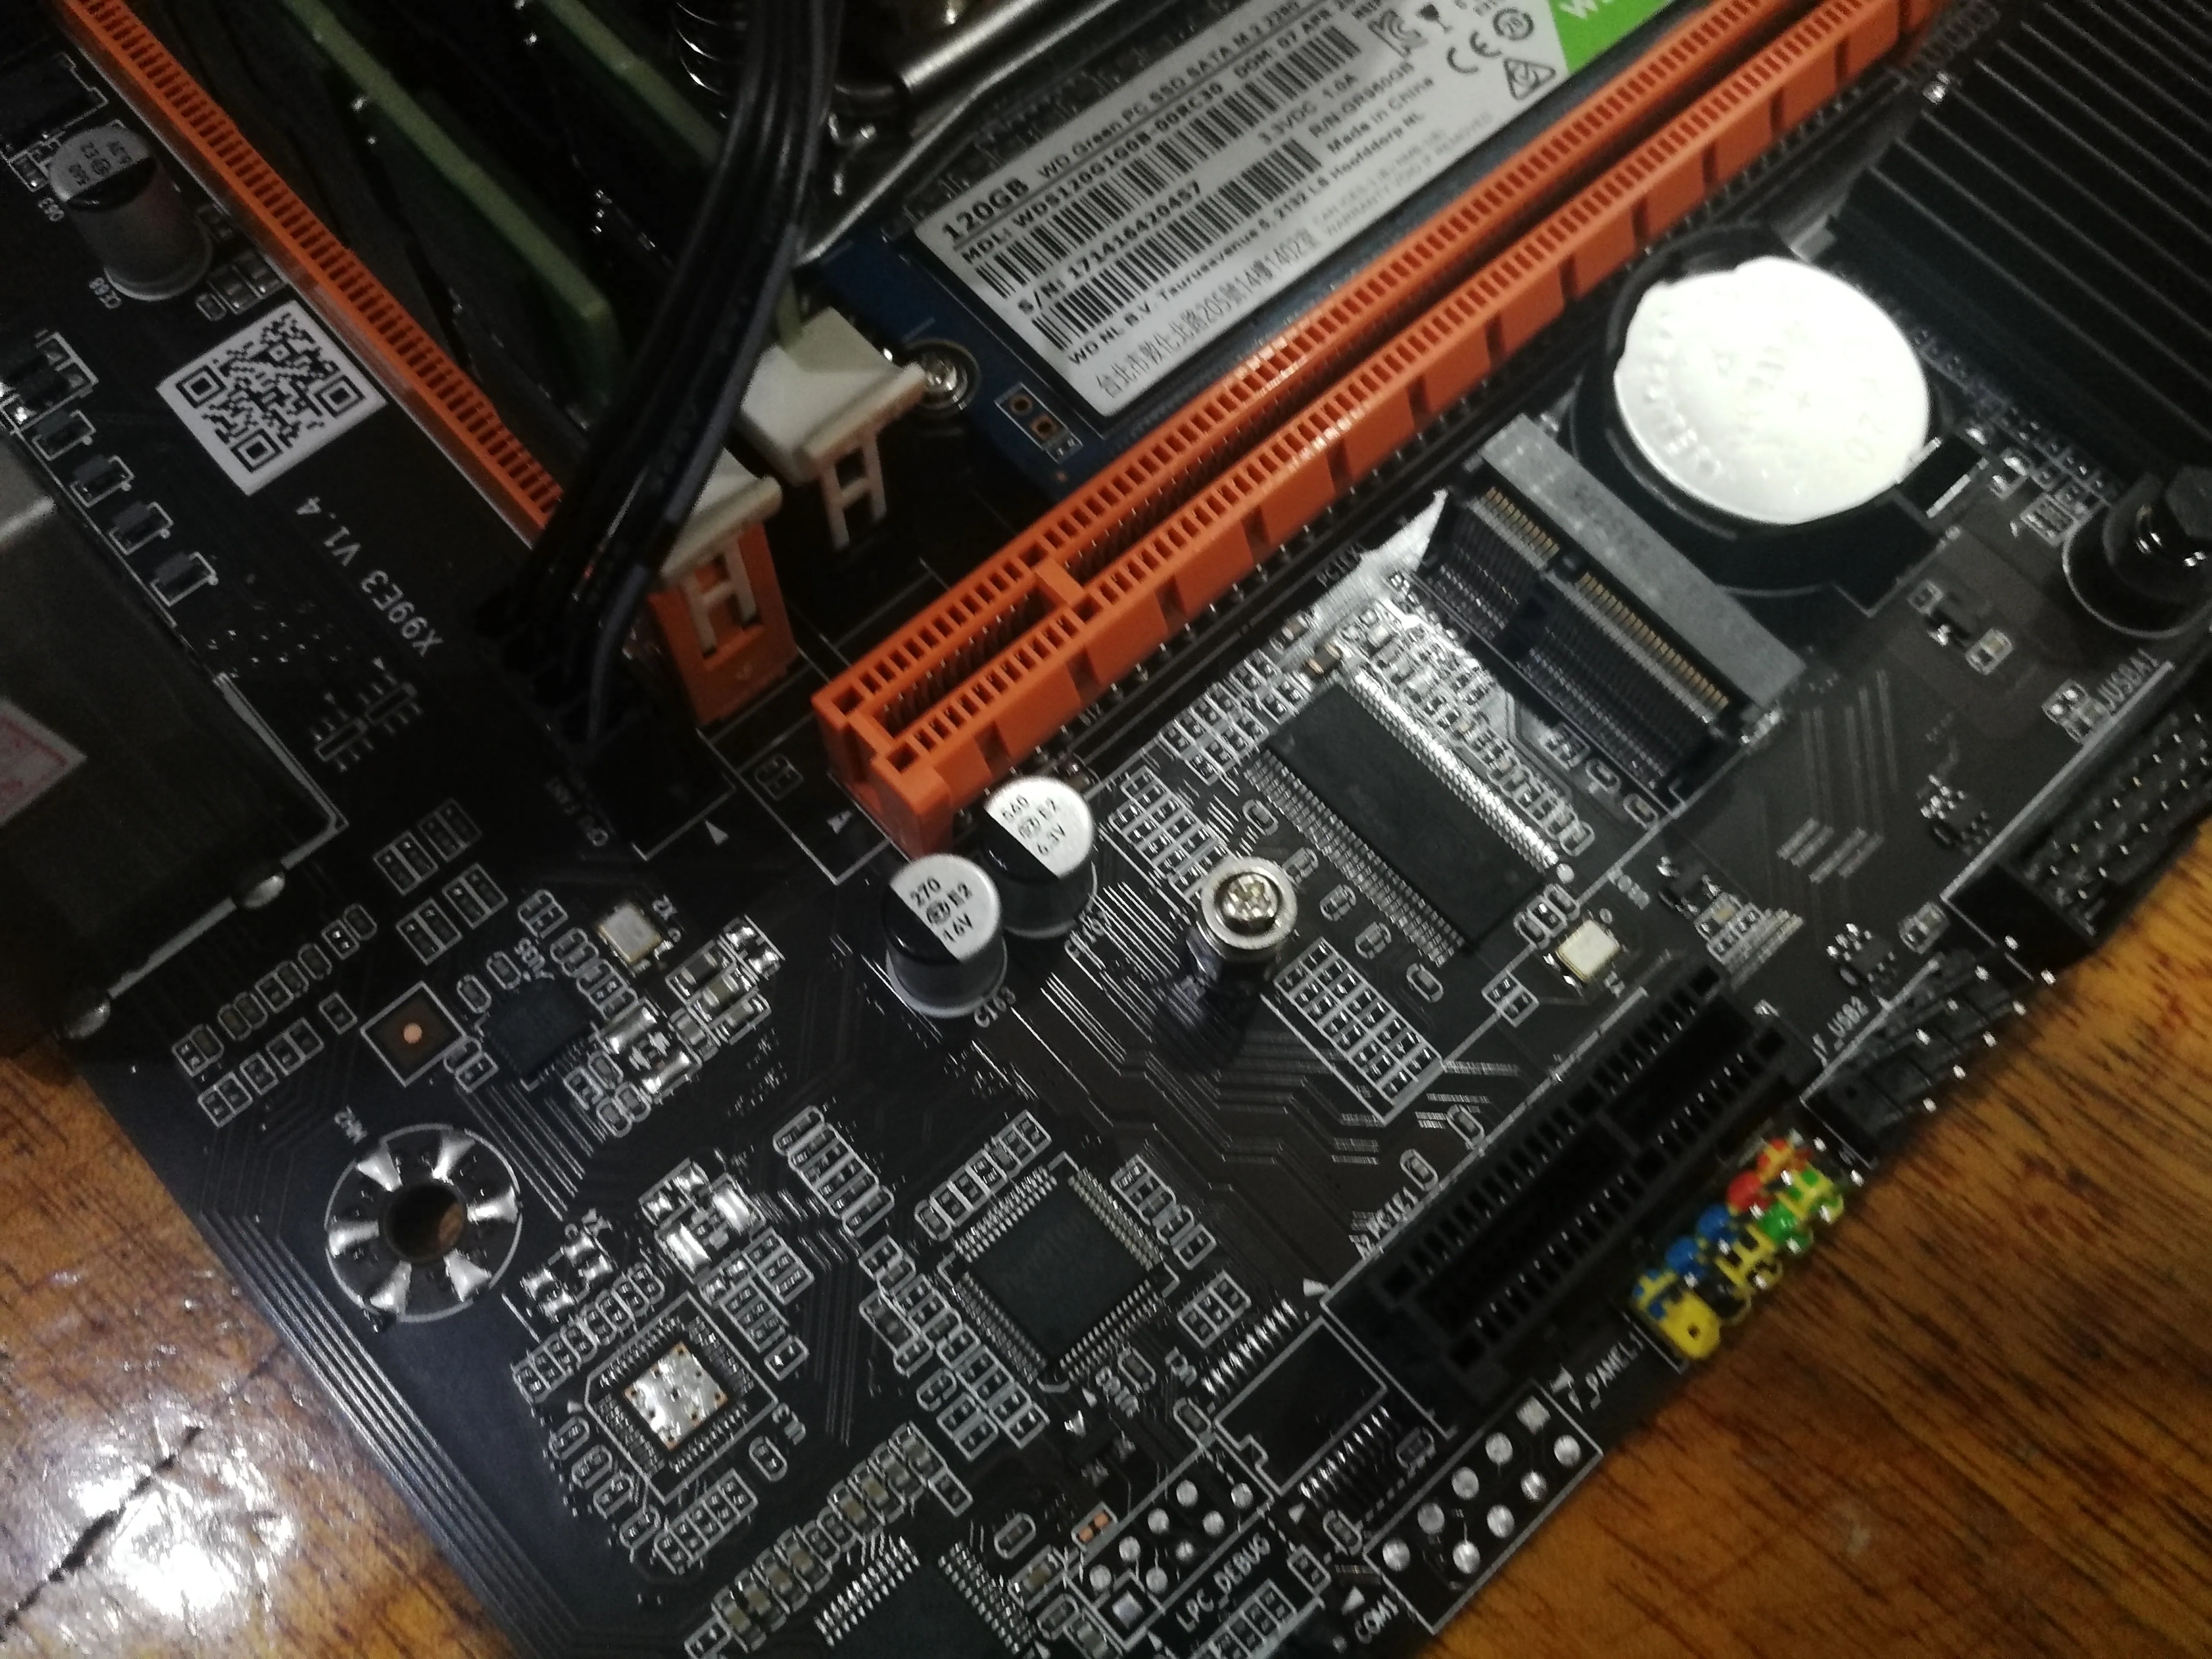
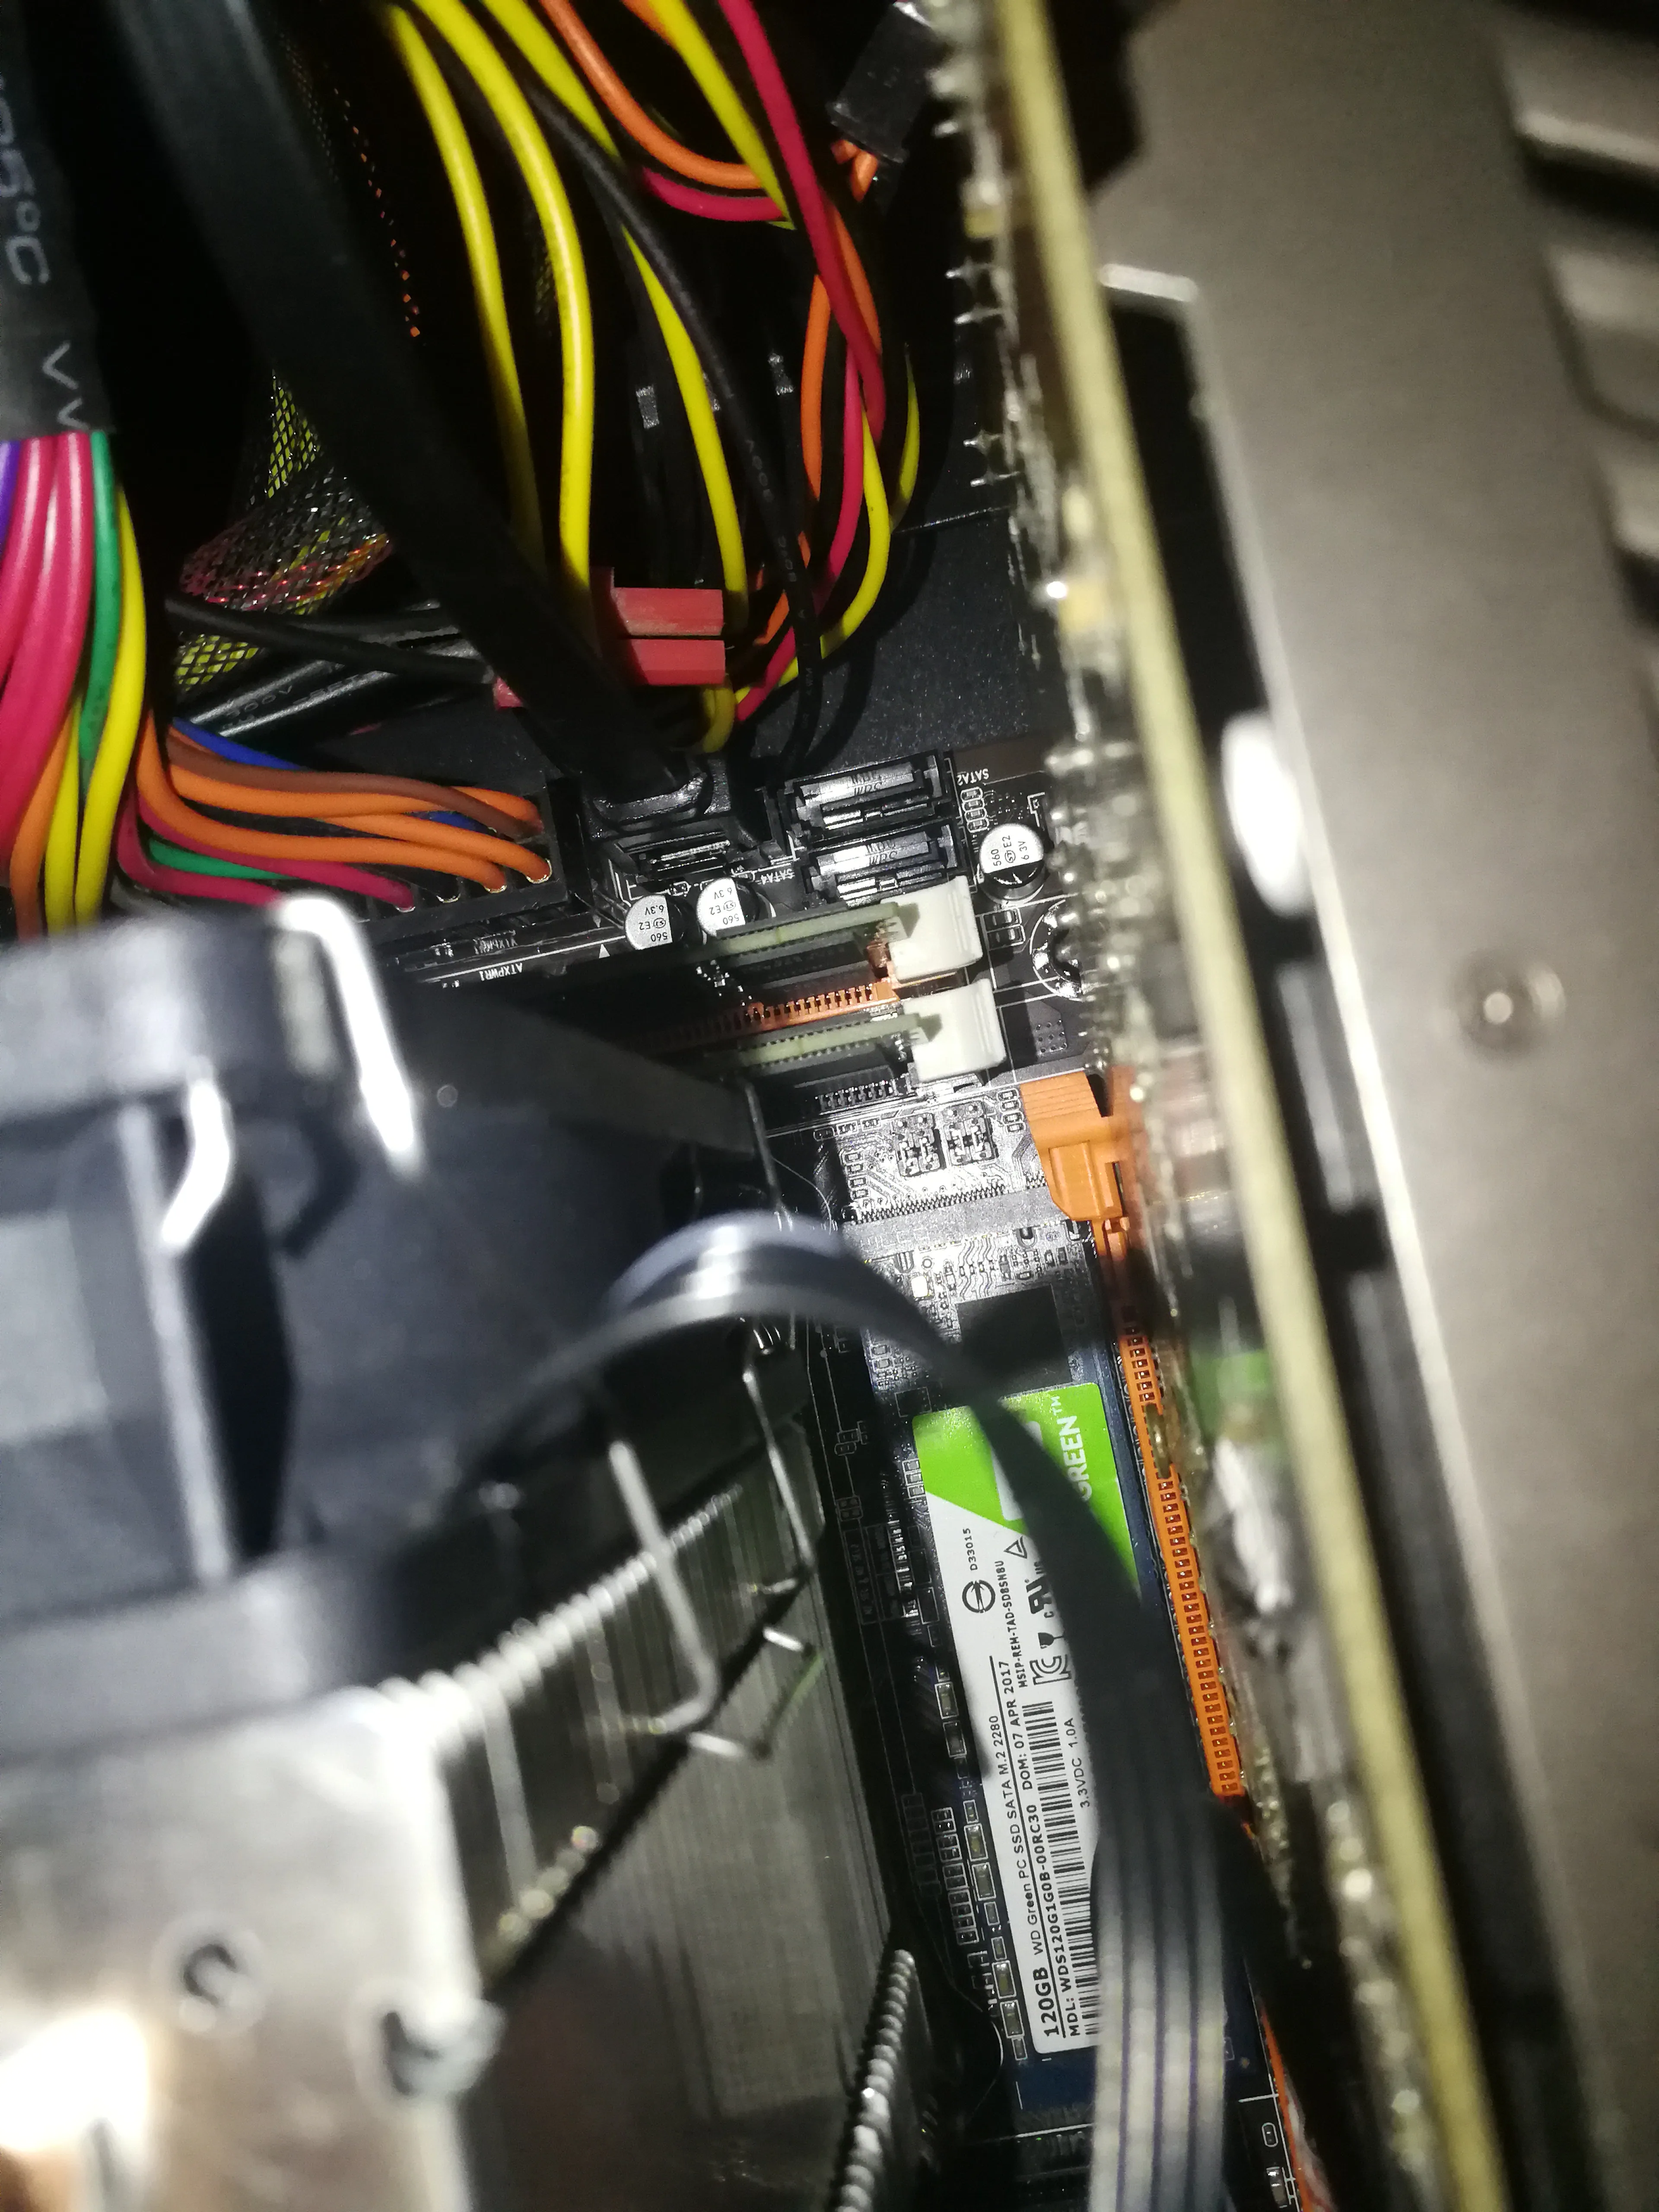
| SSD | Western Digital M.2 120GB | 20 | NGFF hard drive |
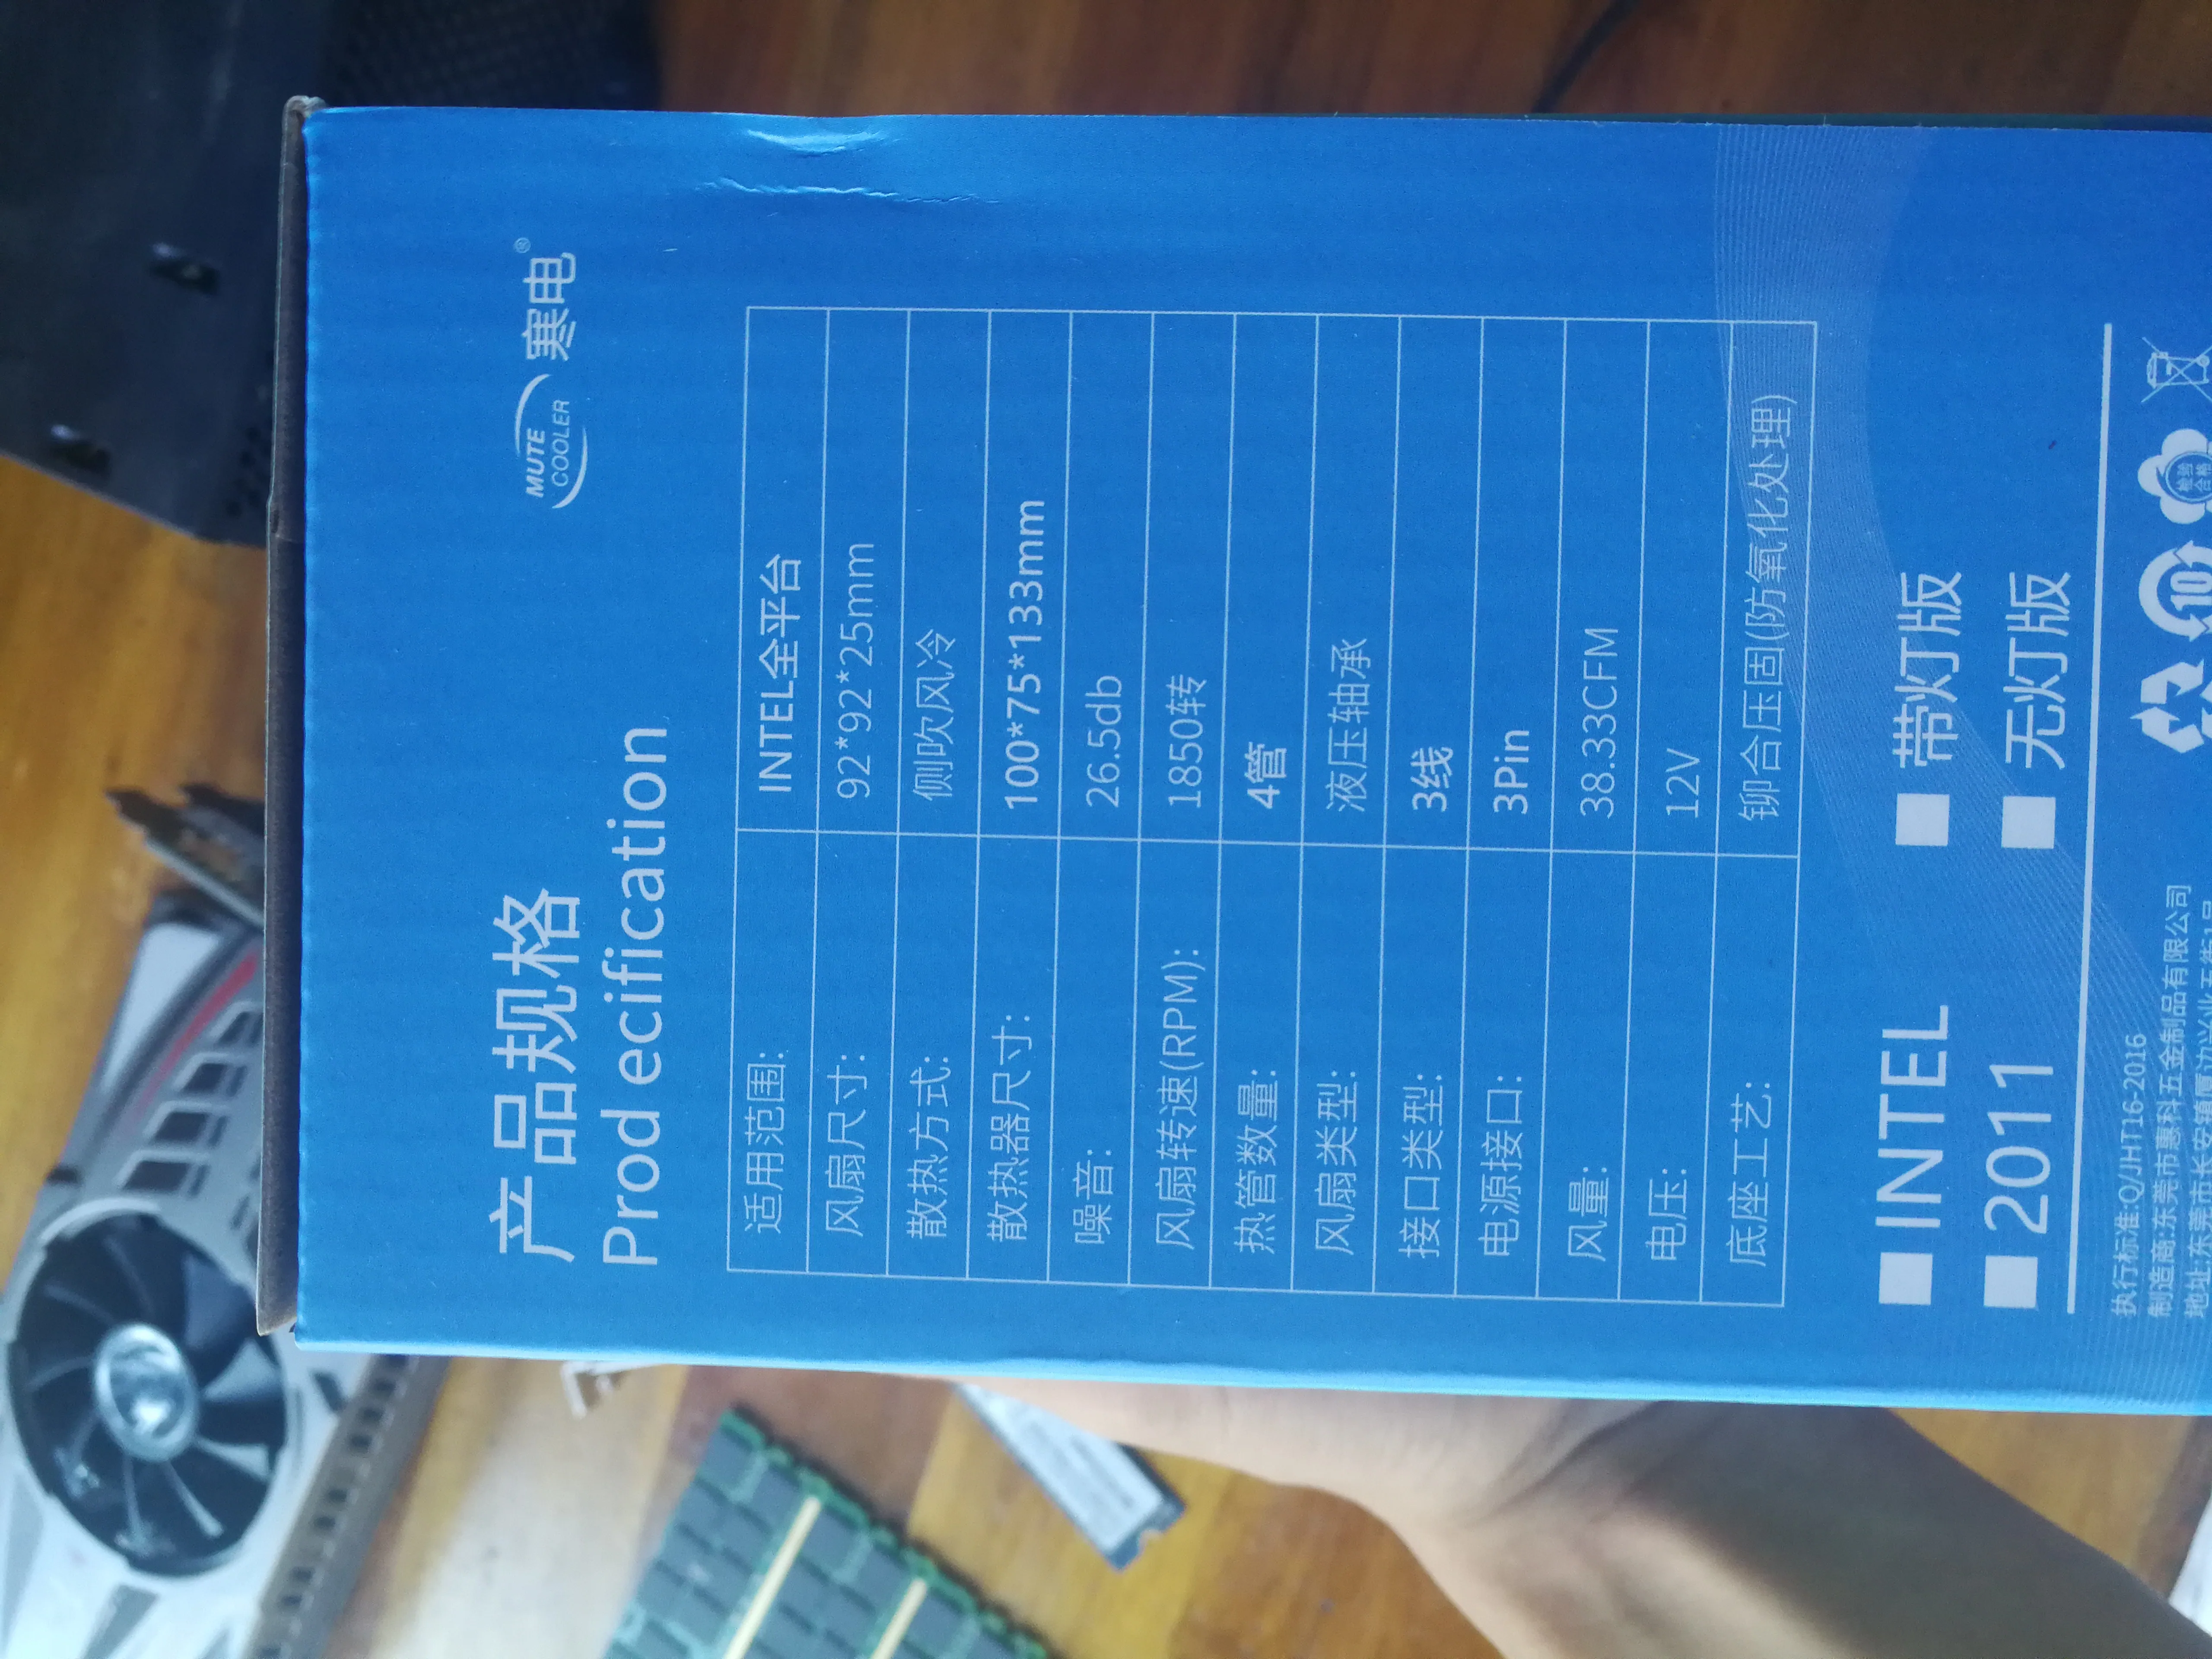
| Motherboard | X99 magic modified board | 80 | |
| Graphics card | GTX960 | 300 | A bit expensive |
| Monitor | - | 100 | |
| Chassis | - | 0 | Free |
| Keyboard and mouse | - | 10 | |
| Total | 710 | Modeling, PUBG, Minecraft, Horizon 4 and other games |
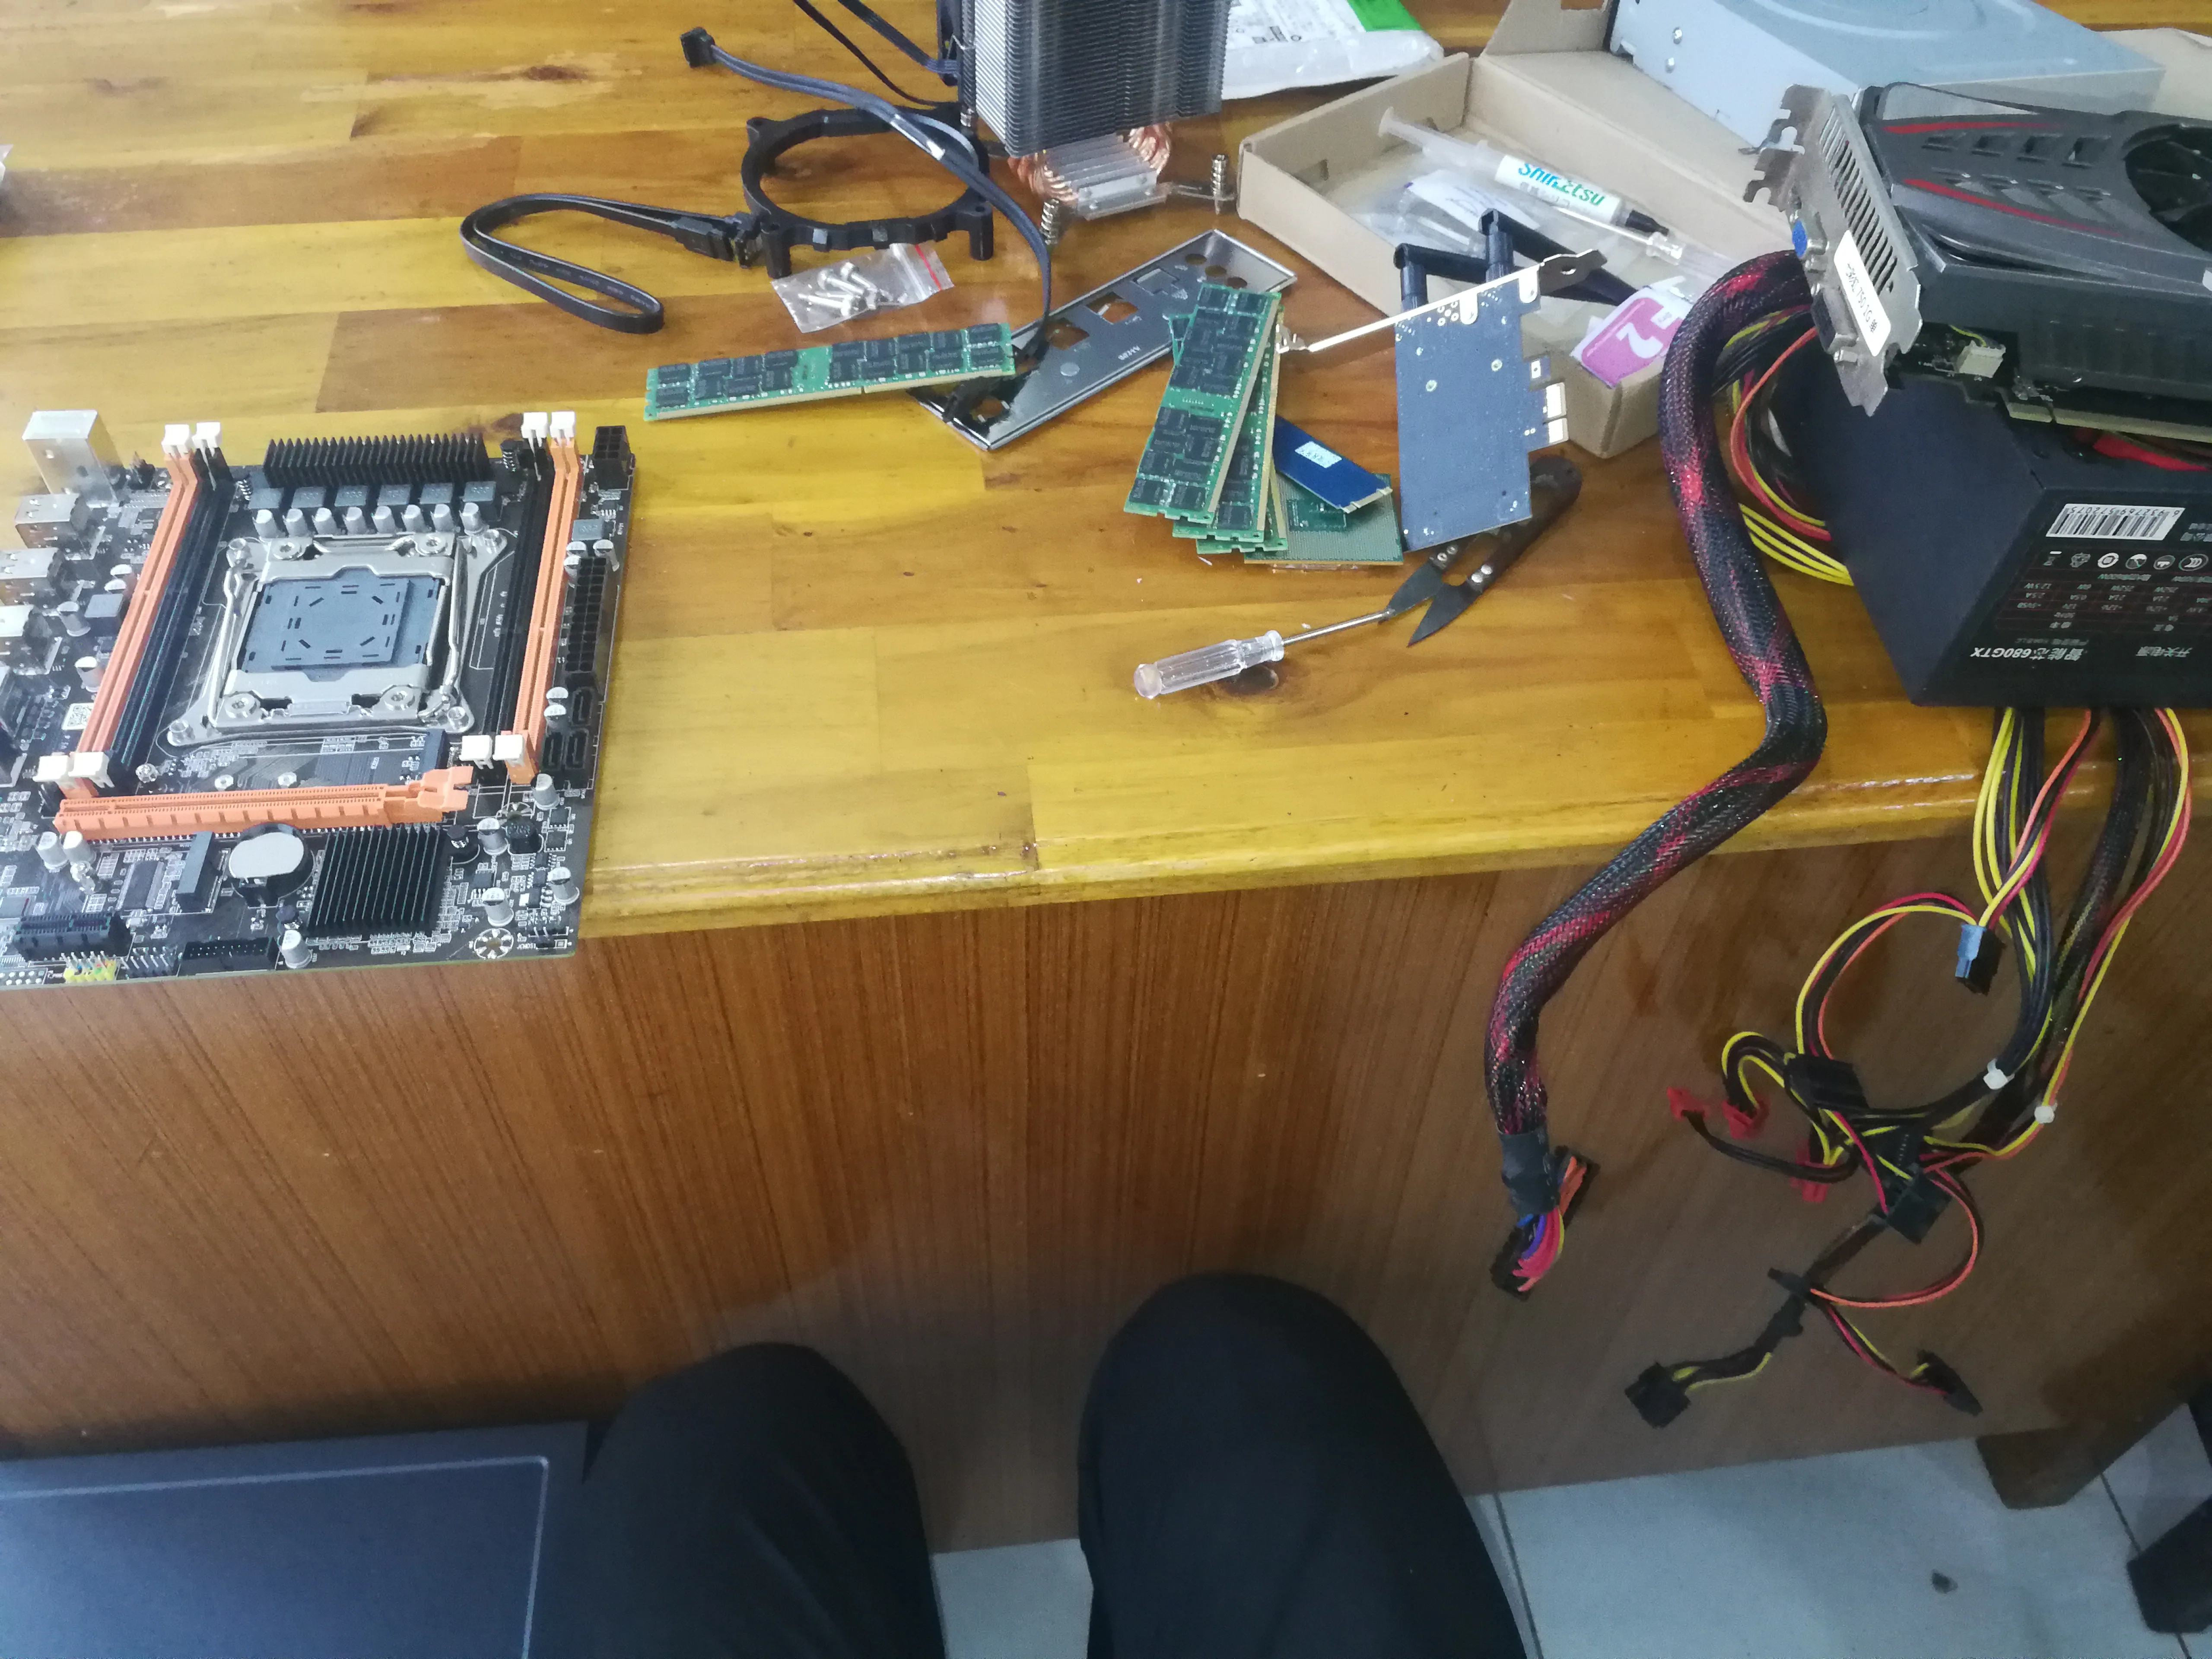
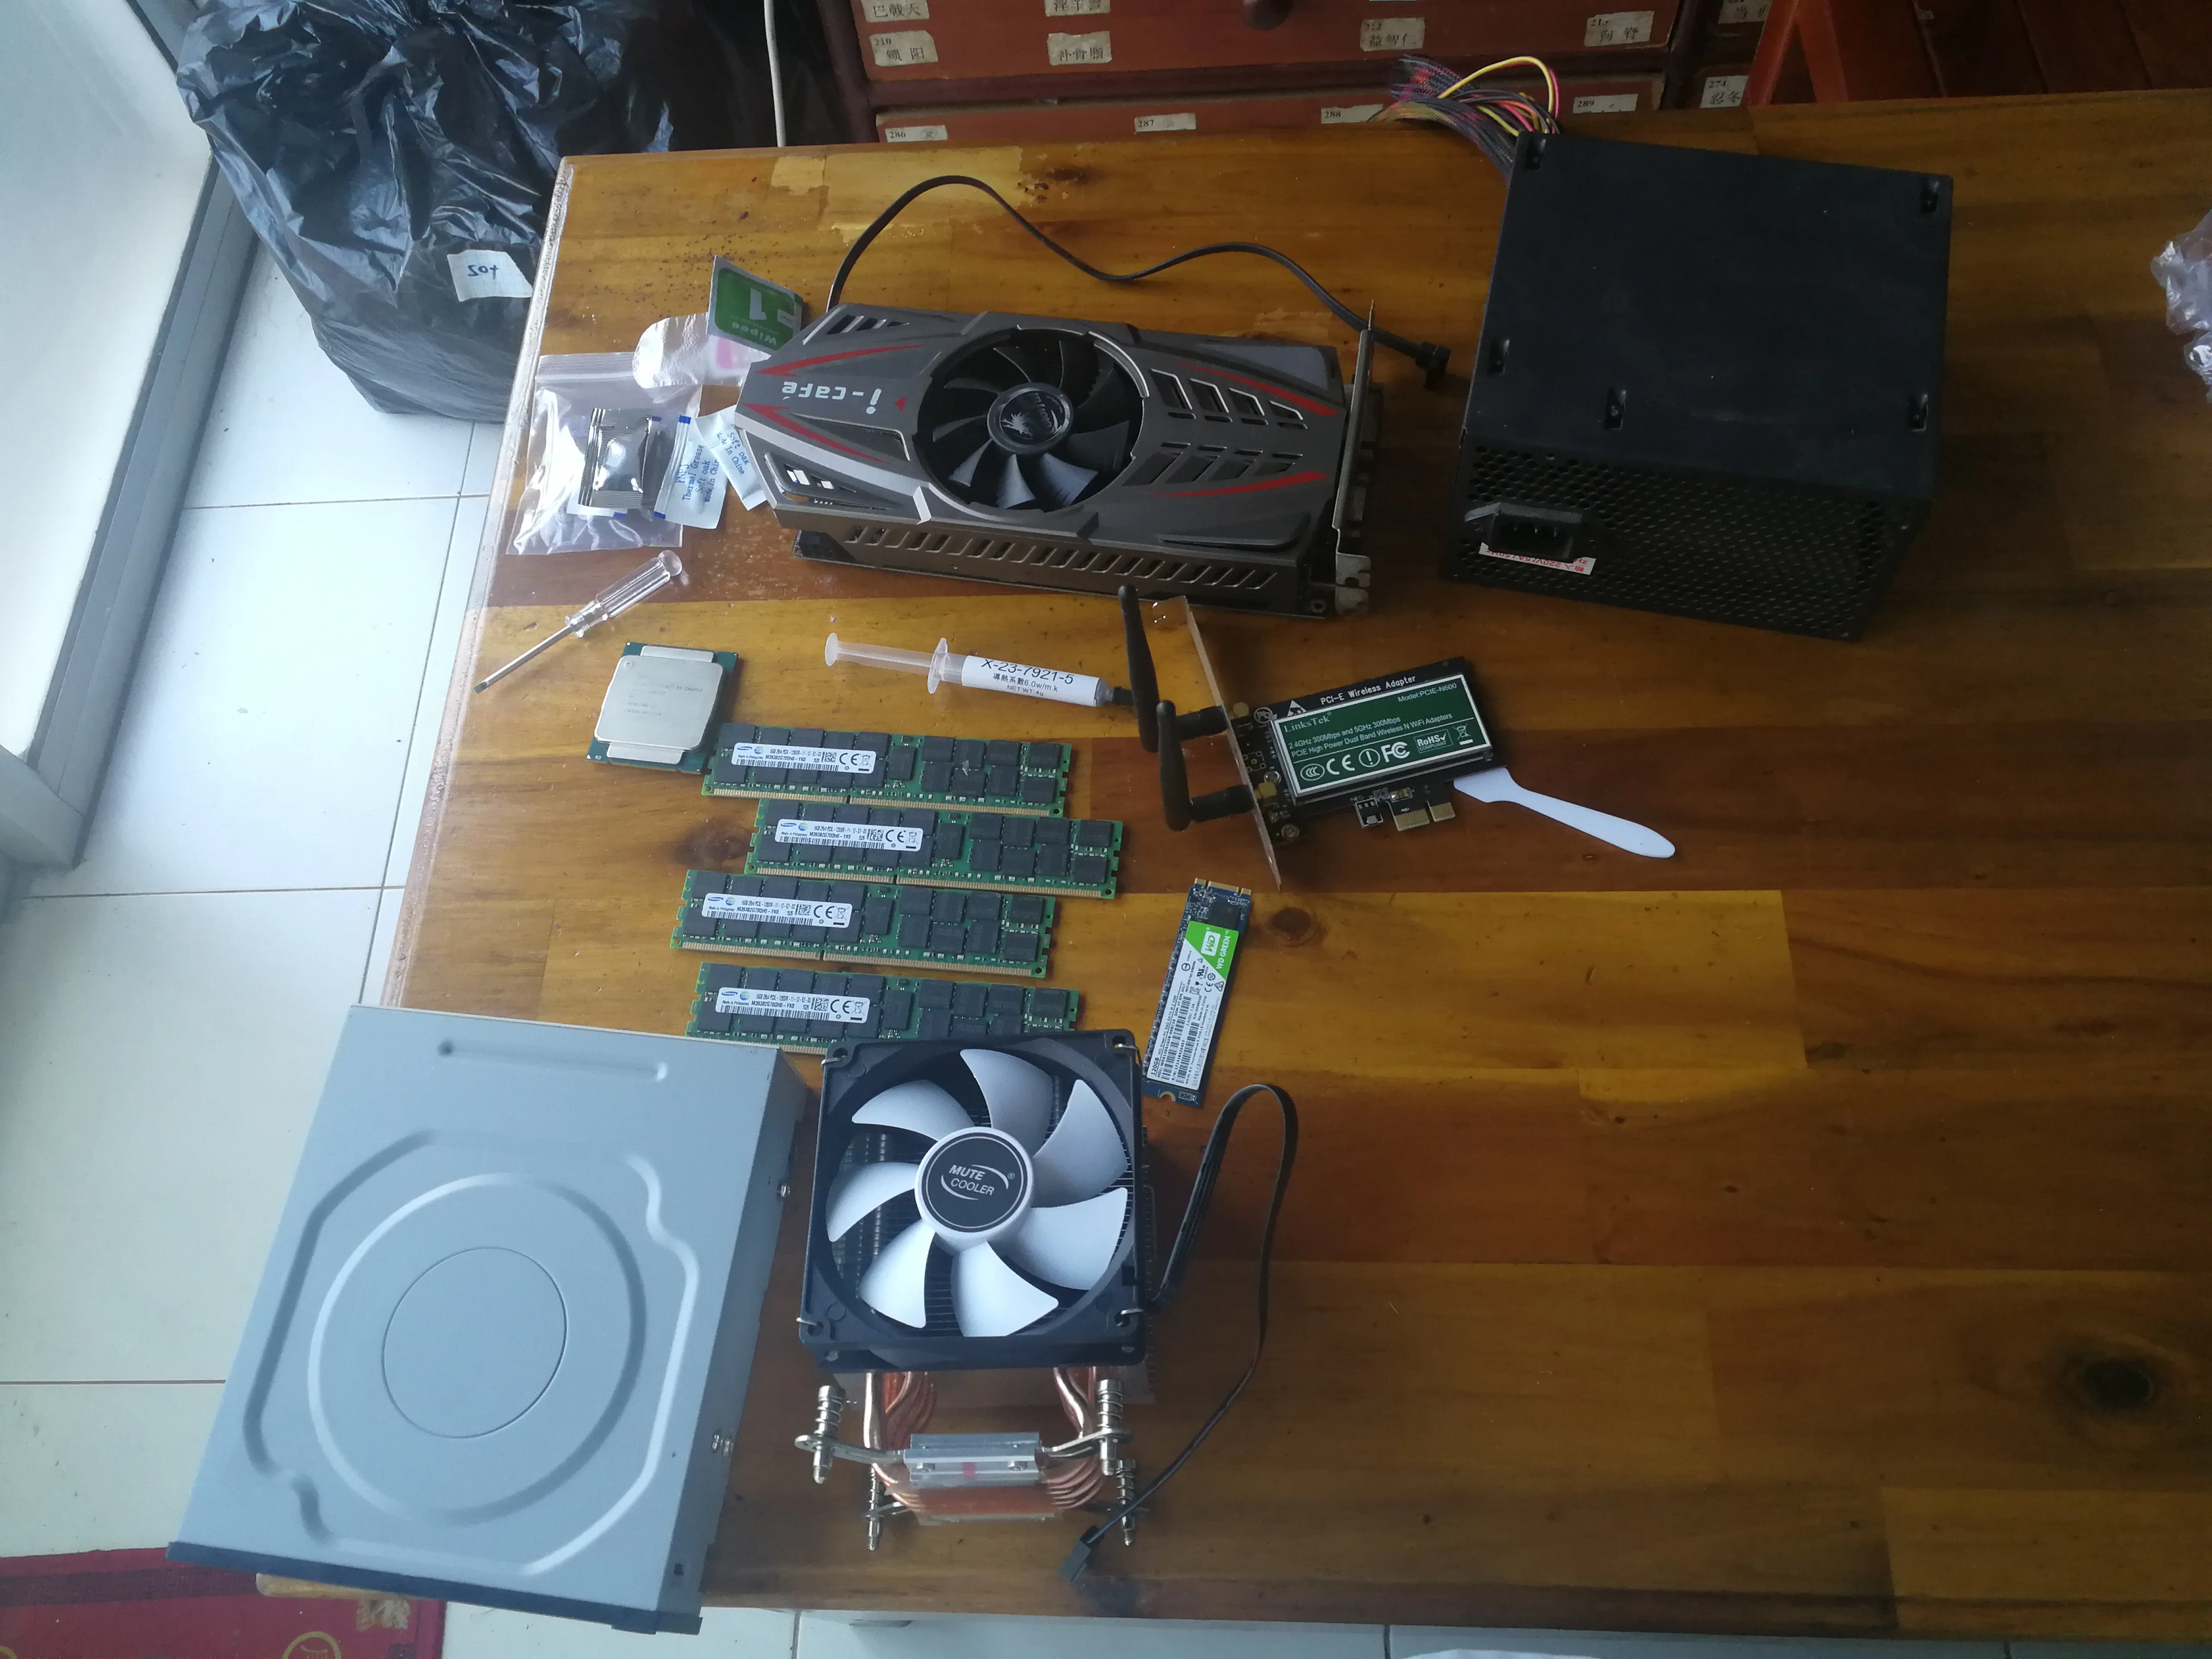
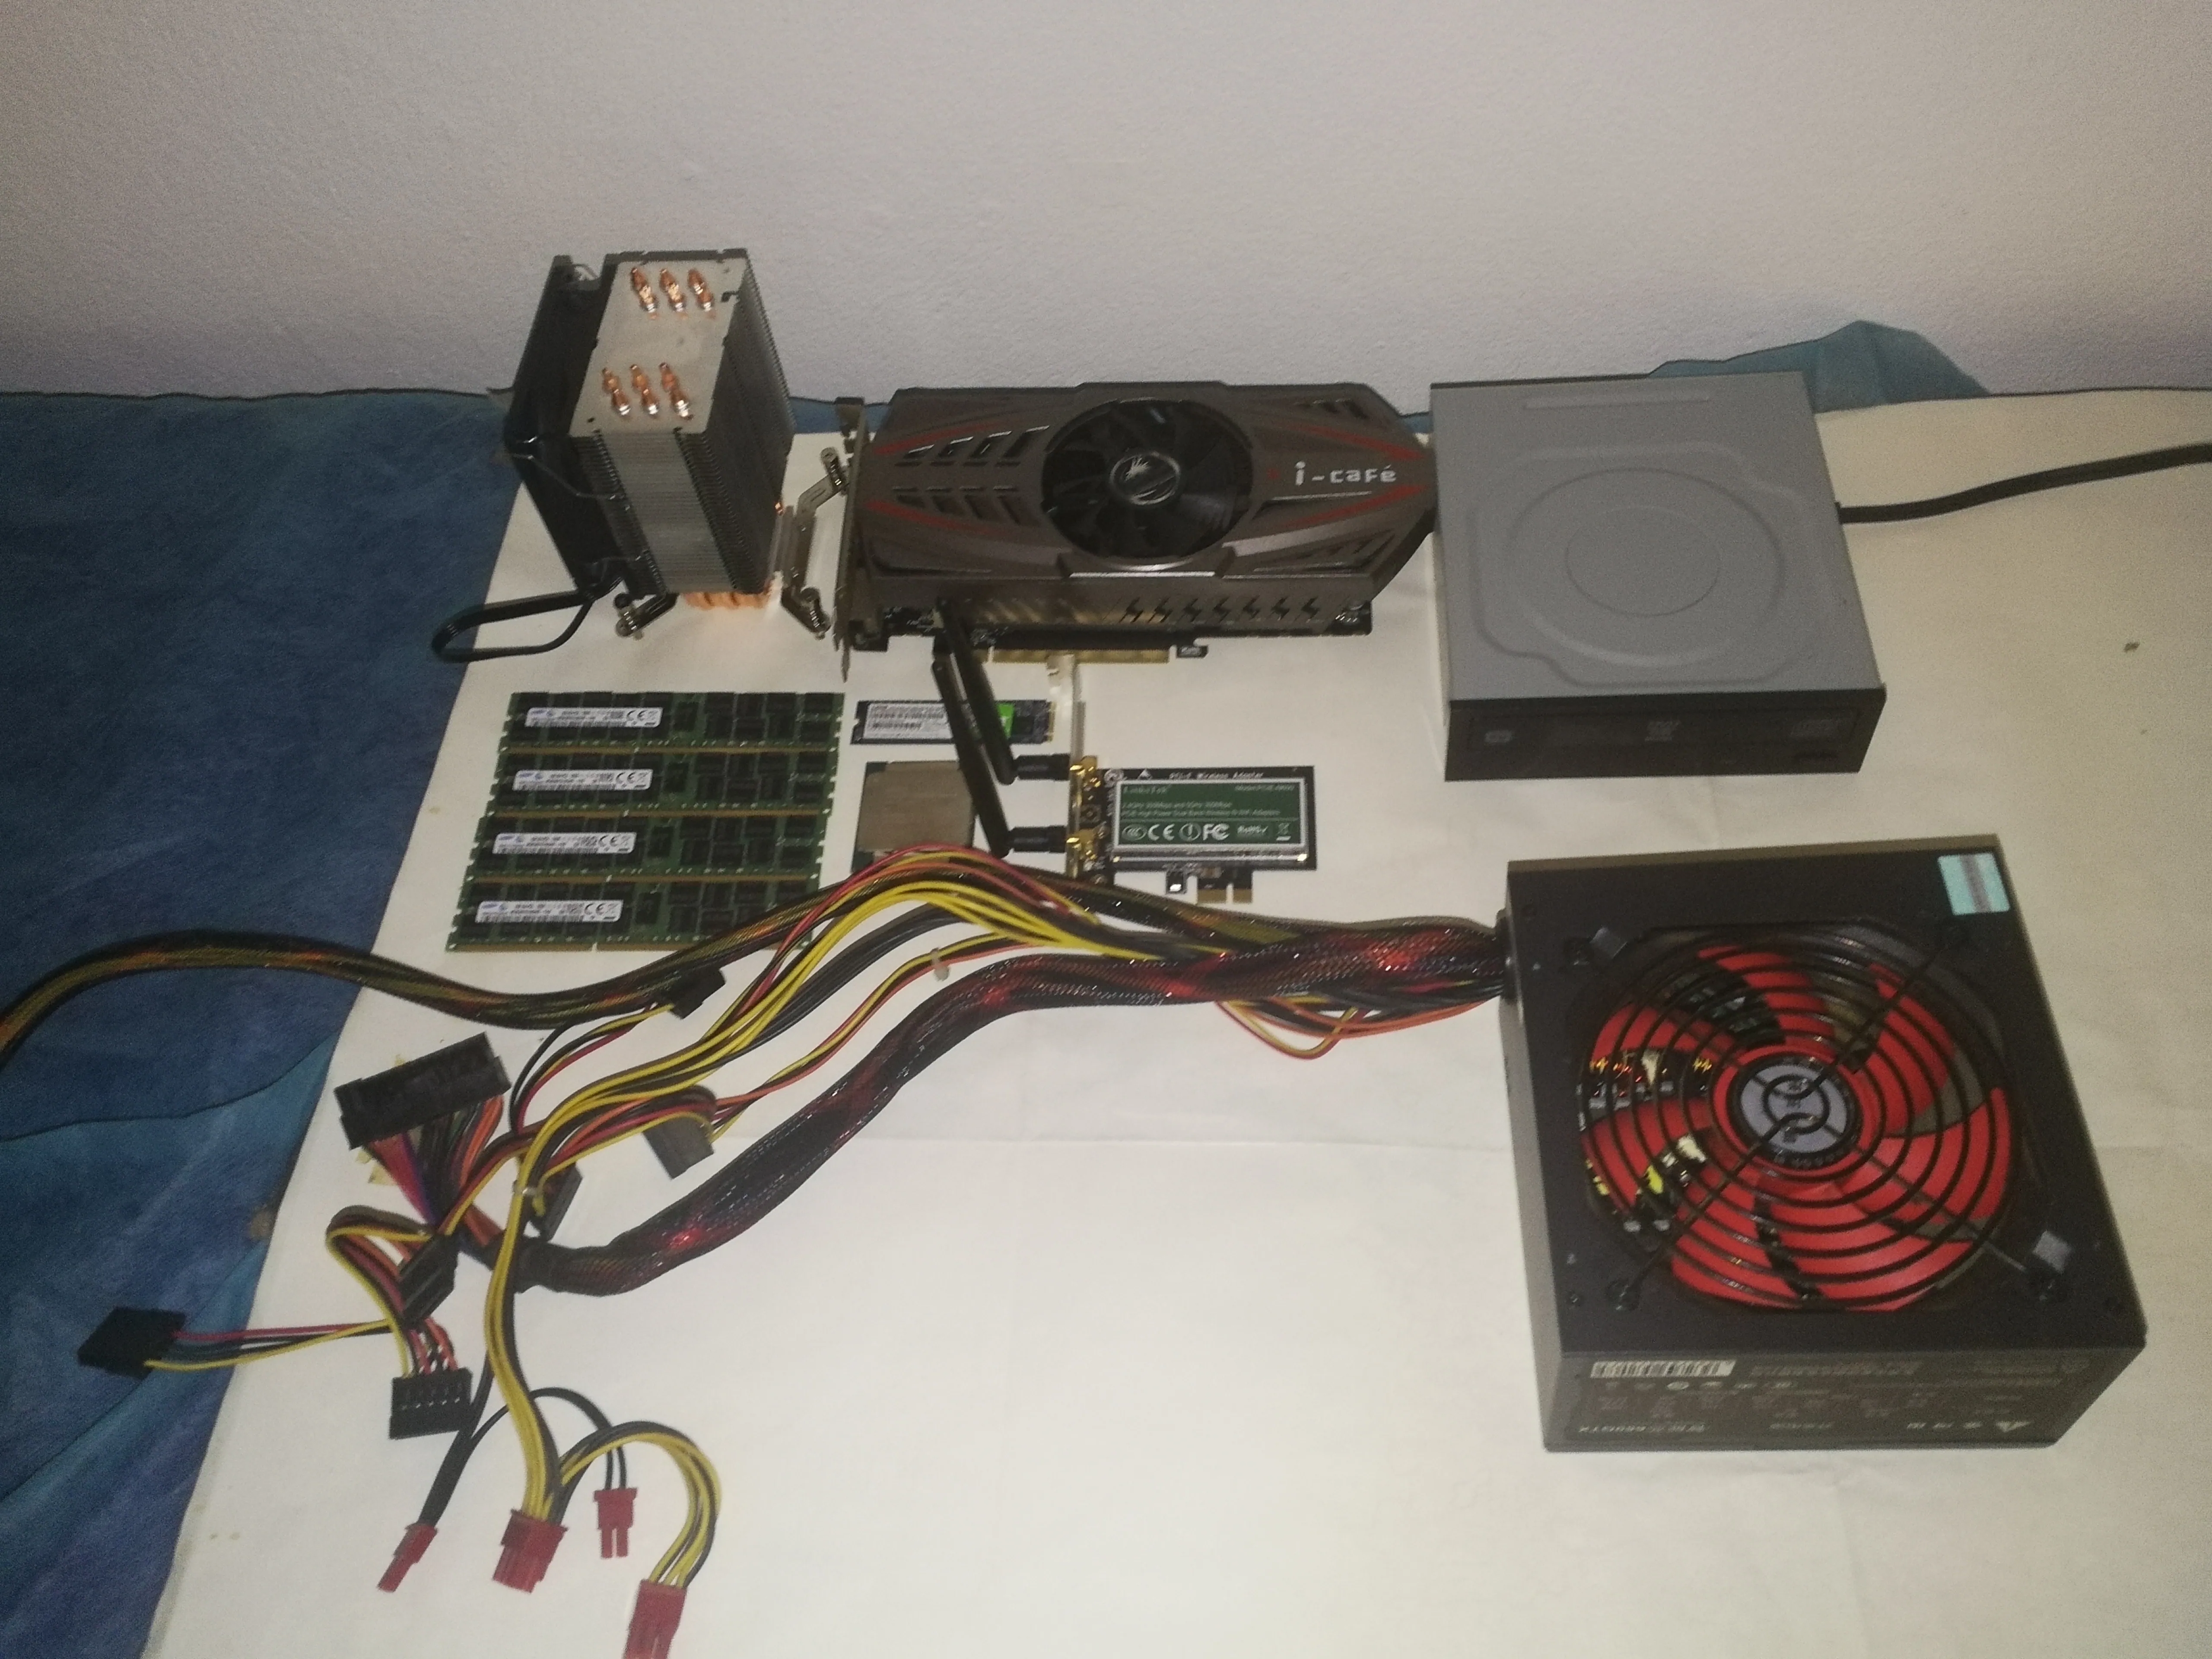
# Parts display
Actually some stock photos
# Memory stick
ECC REG is referred to as RECC memory stick, a memory stick used on servers, but E5 can be used directly, and there are many obsolete server memory sticks that are very cheap.
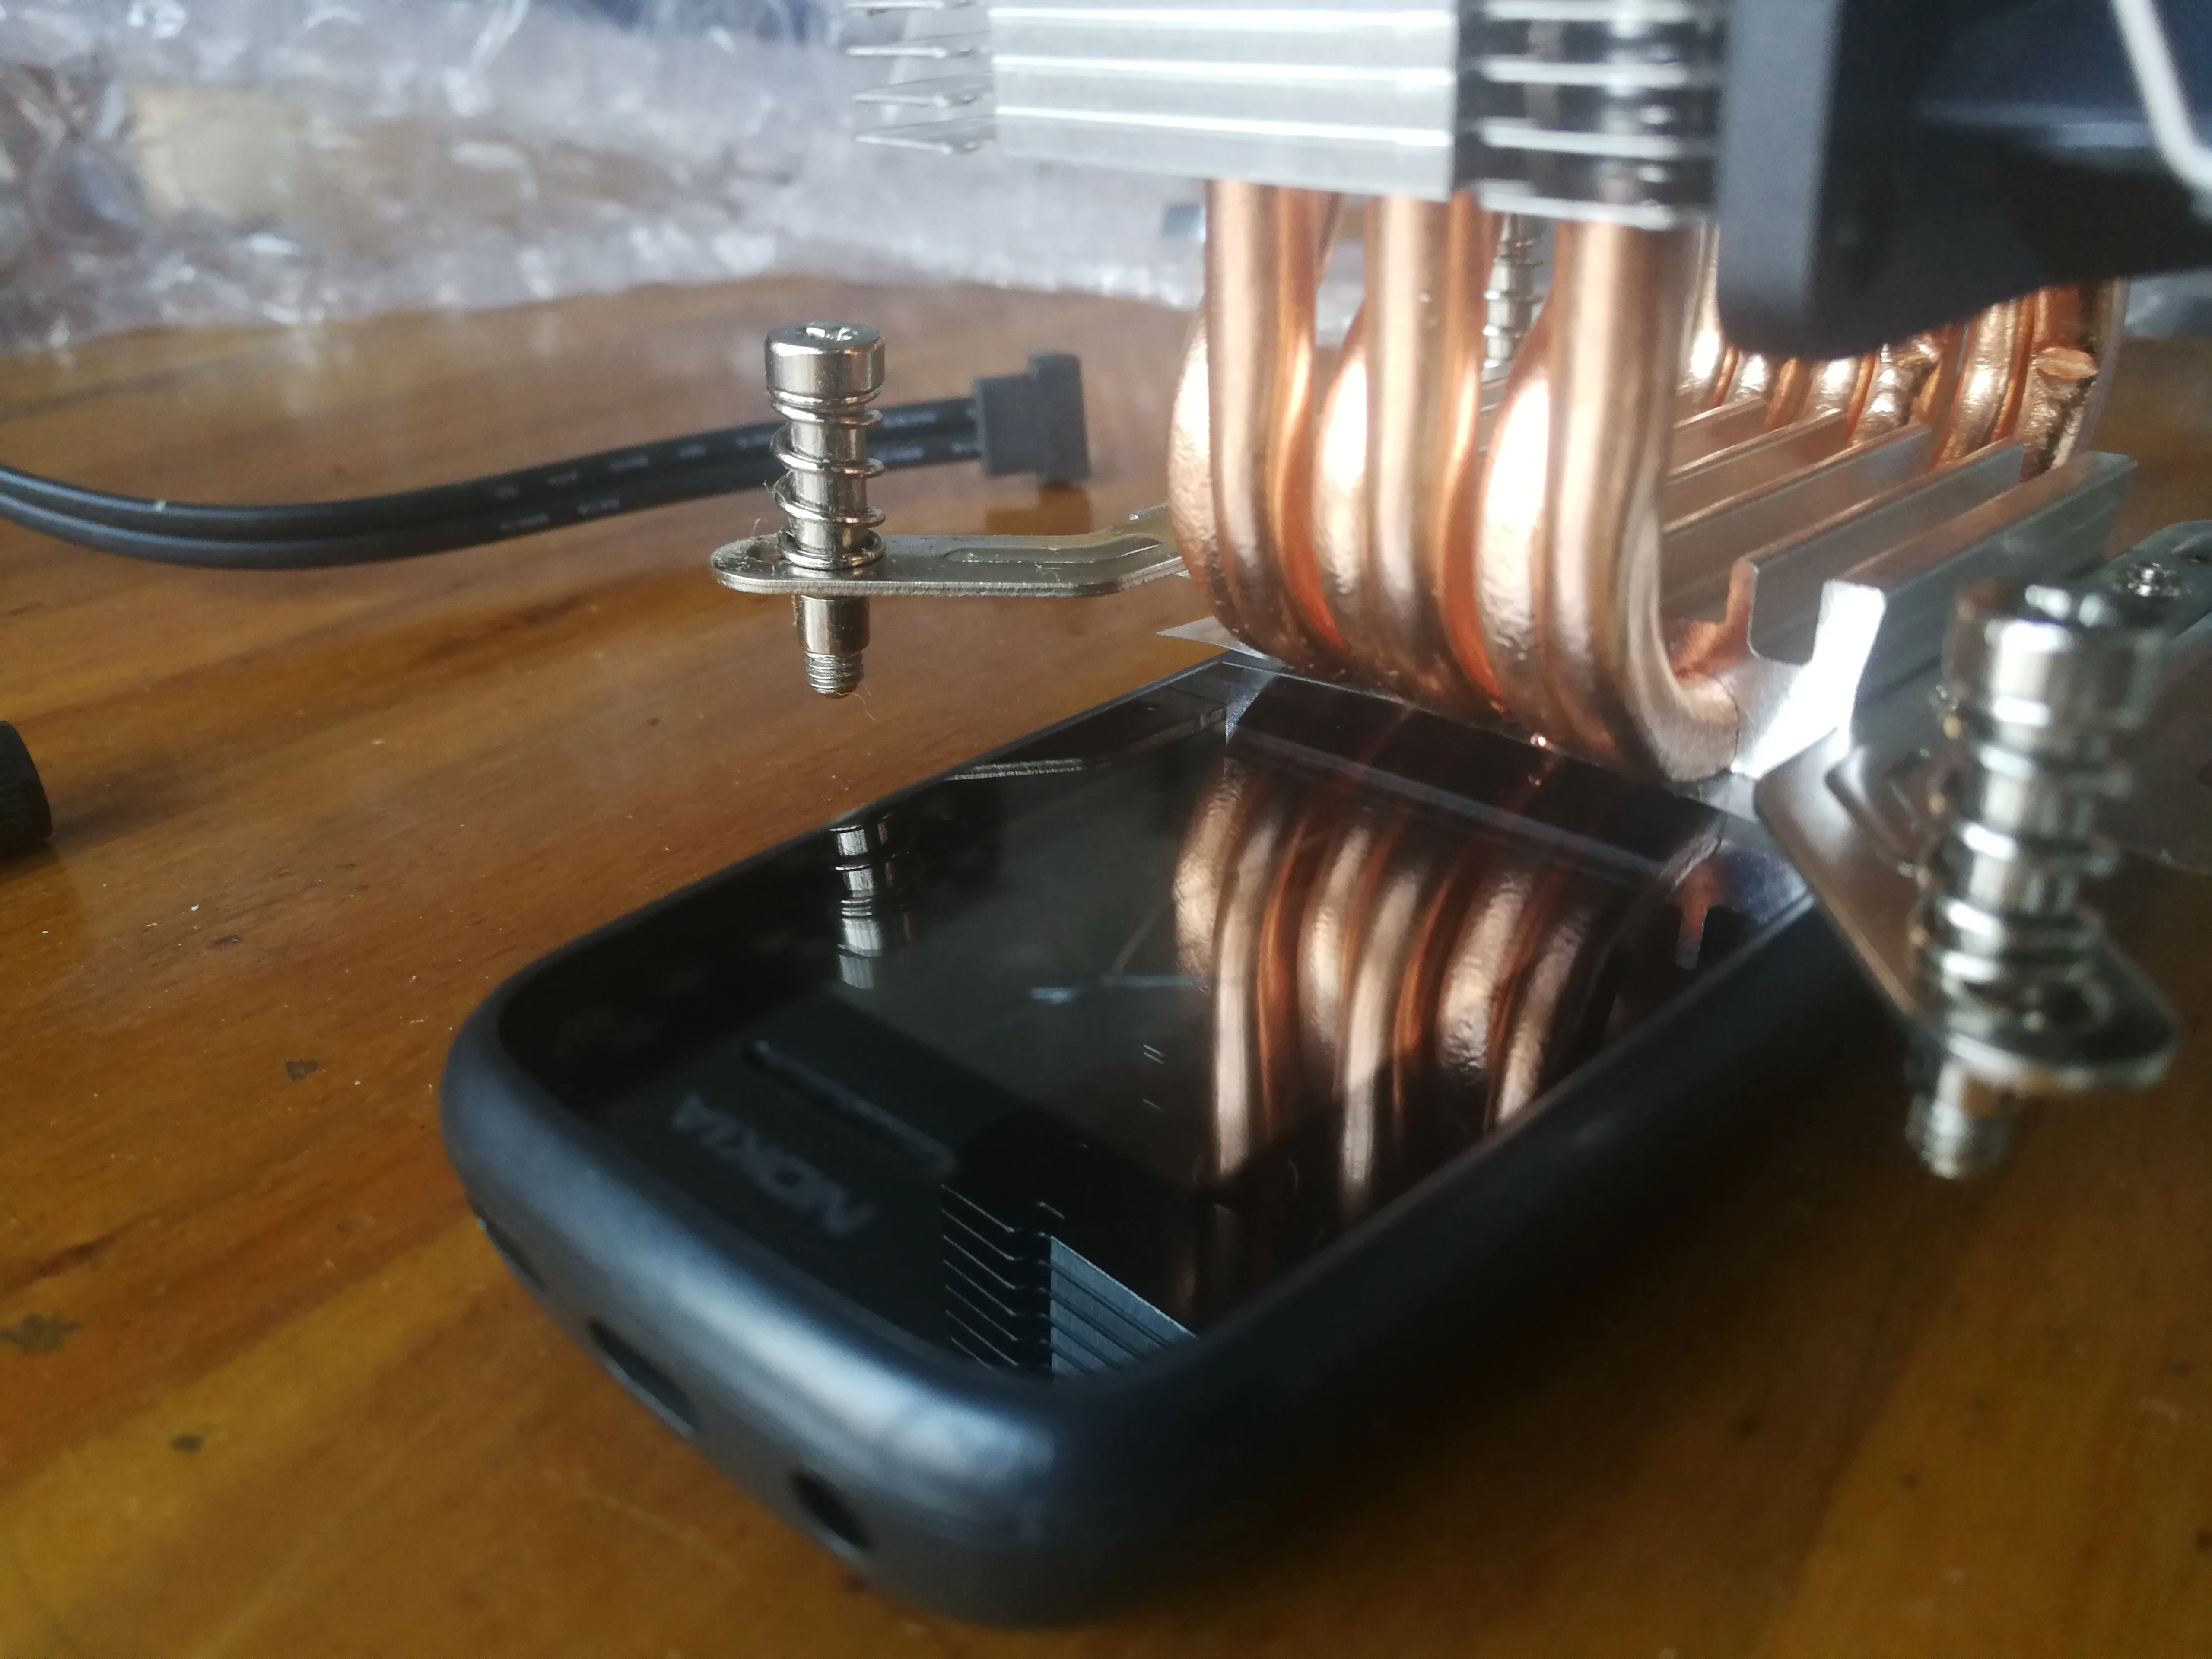
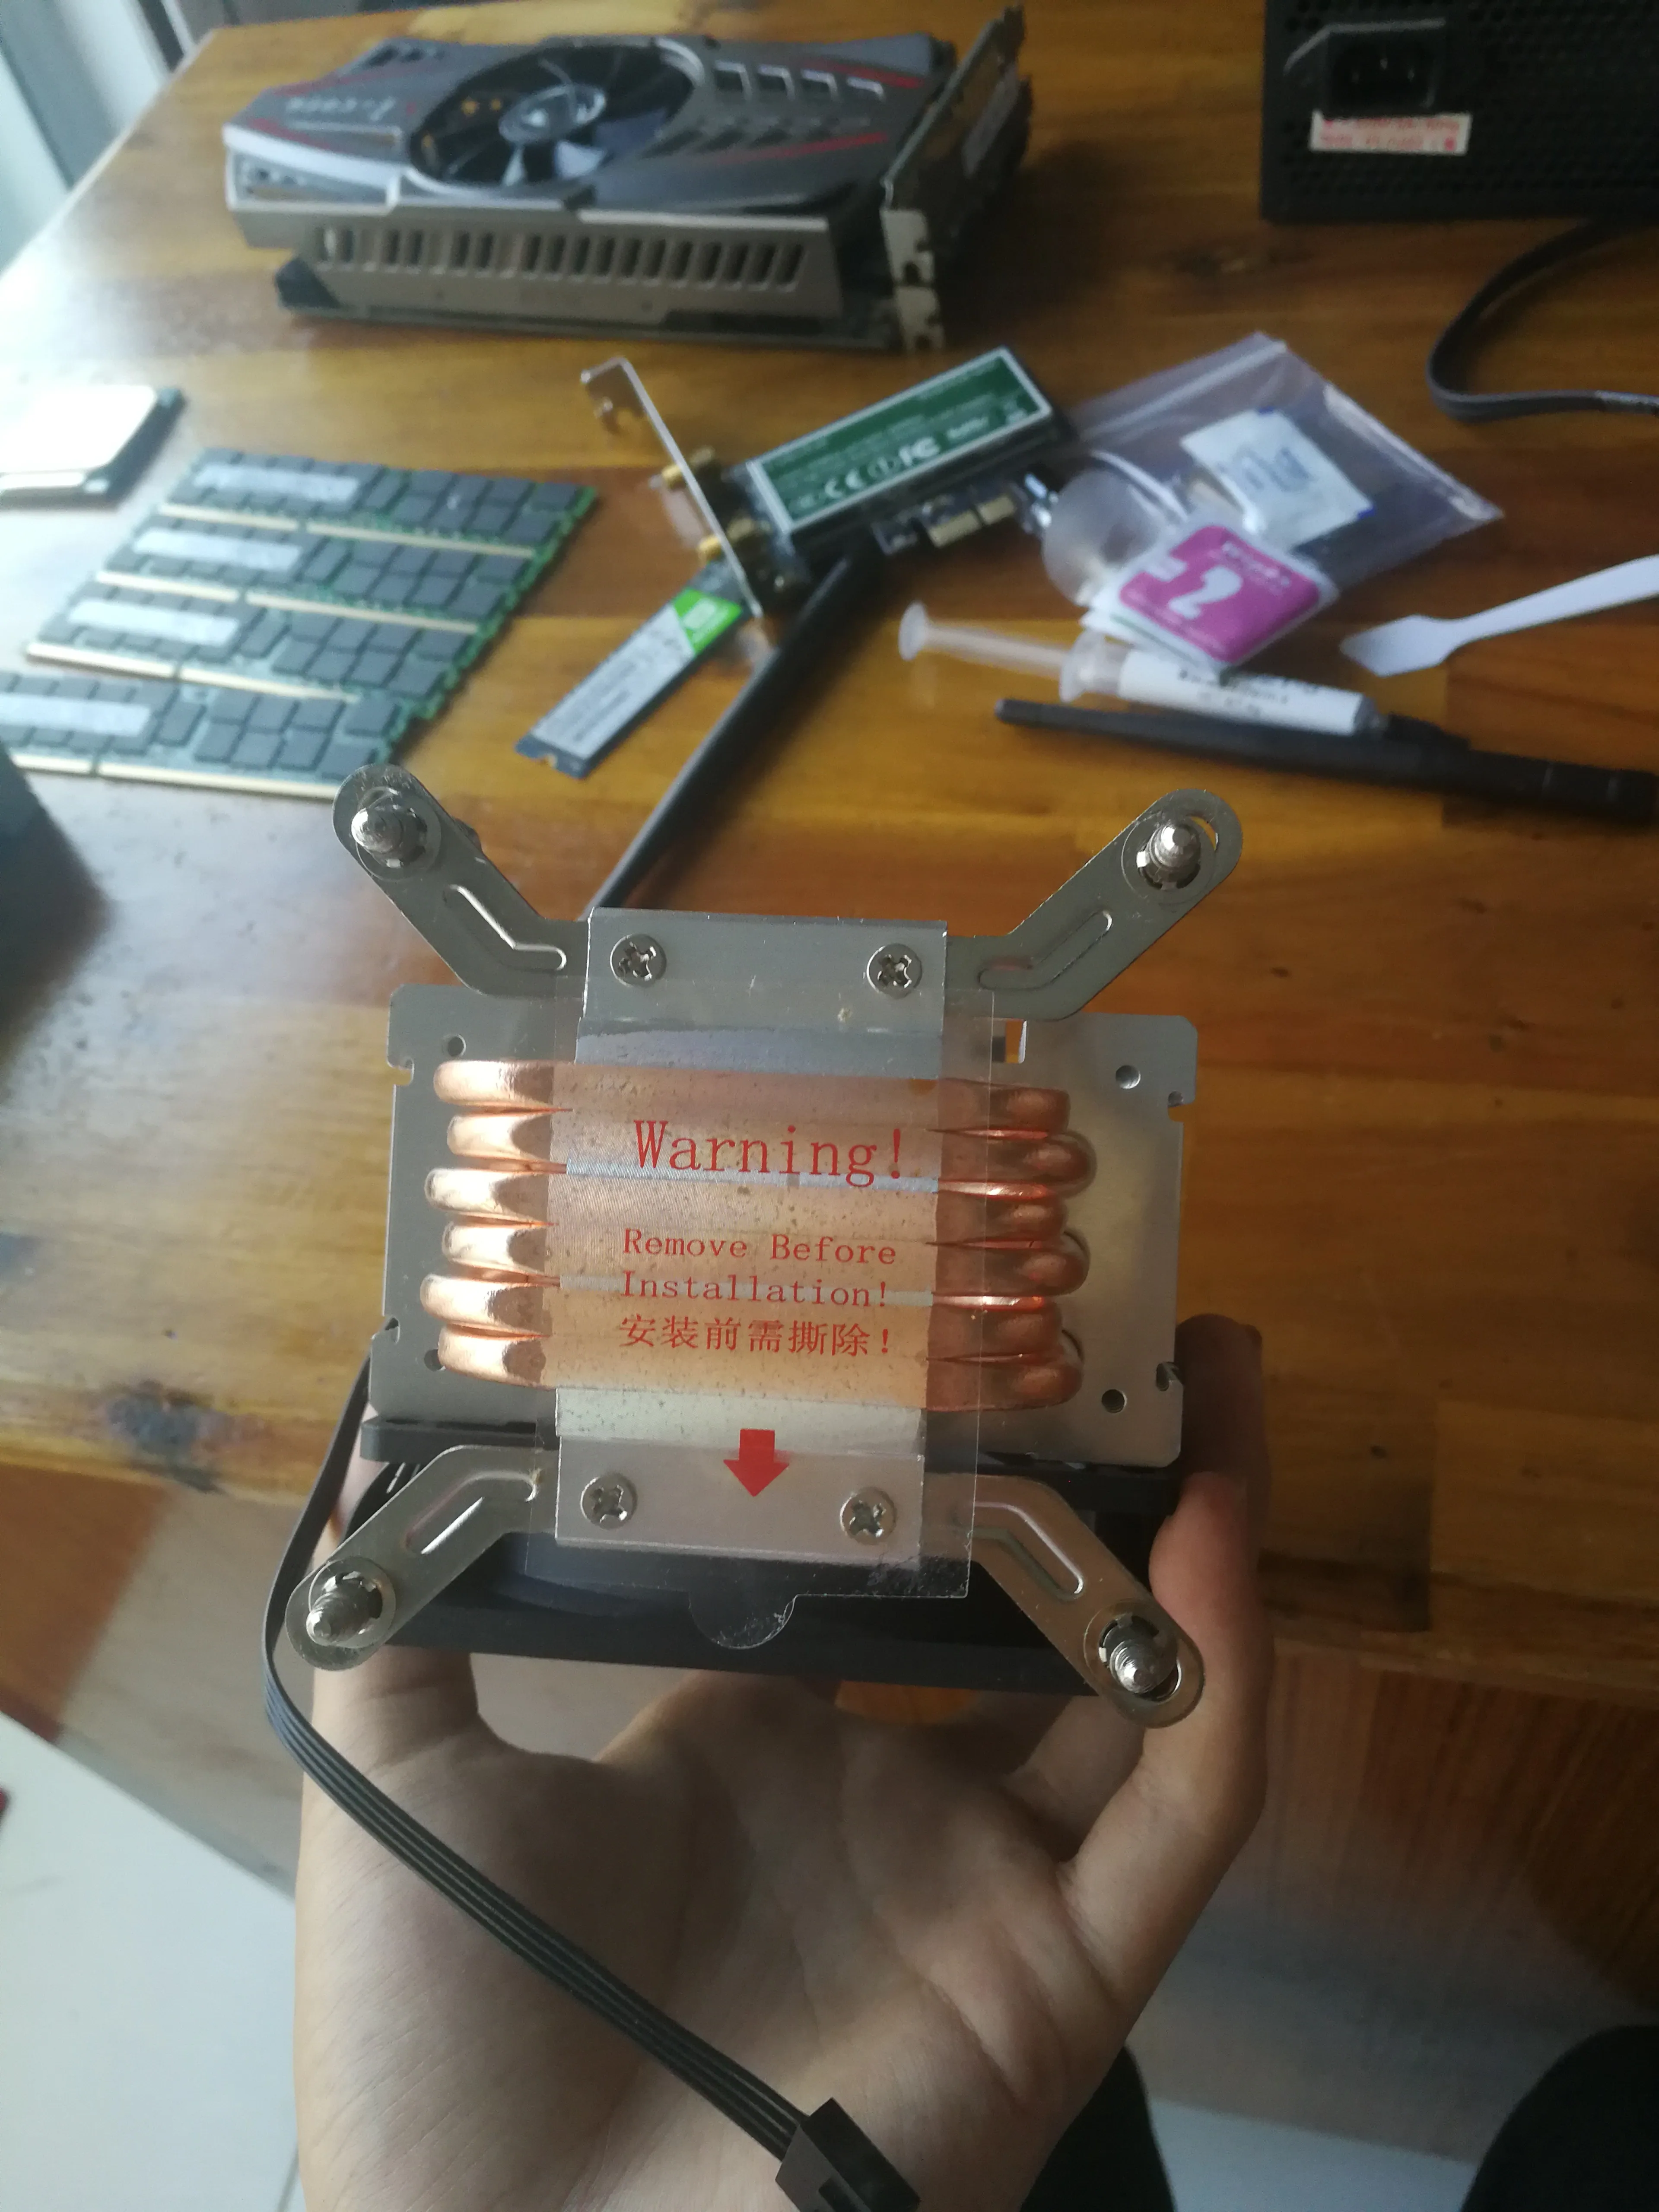
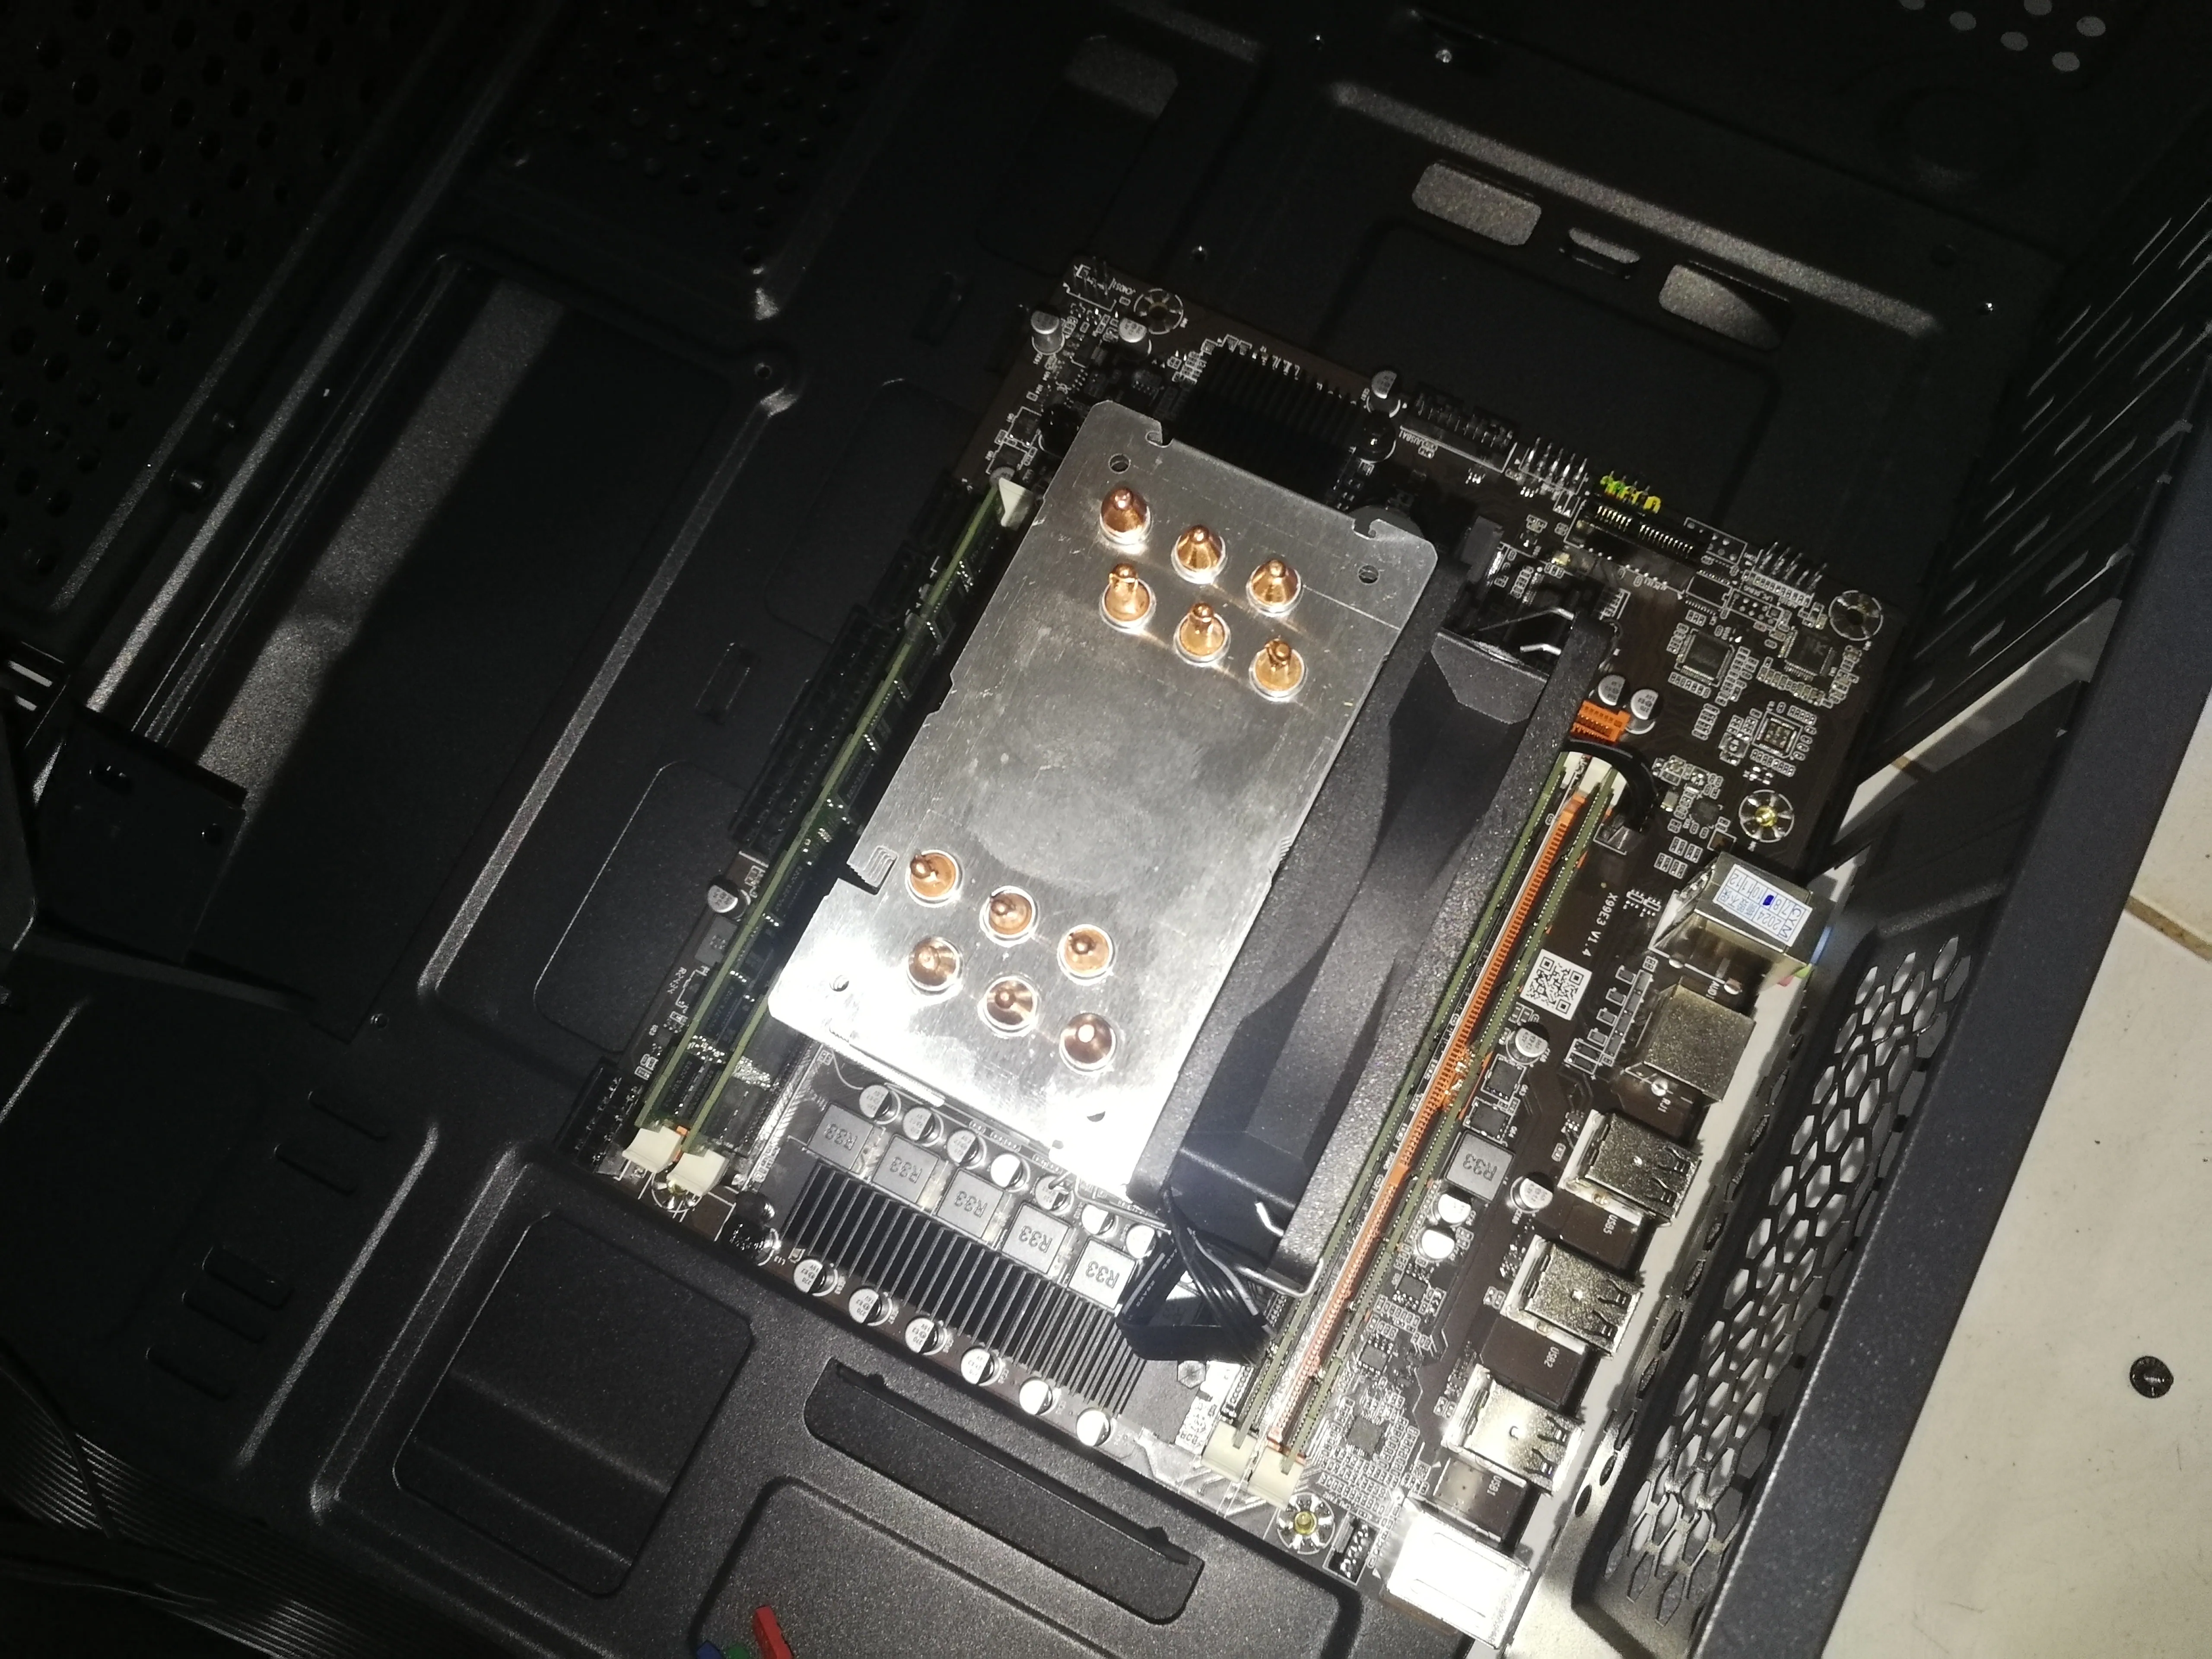
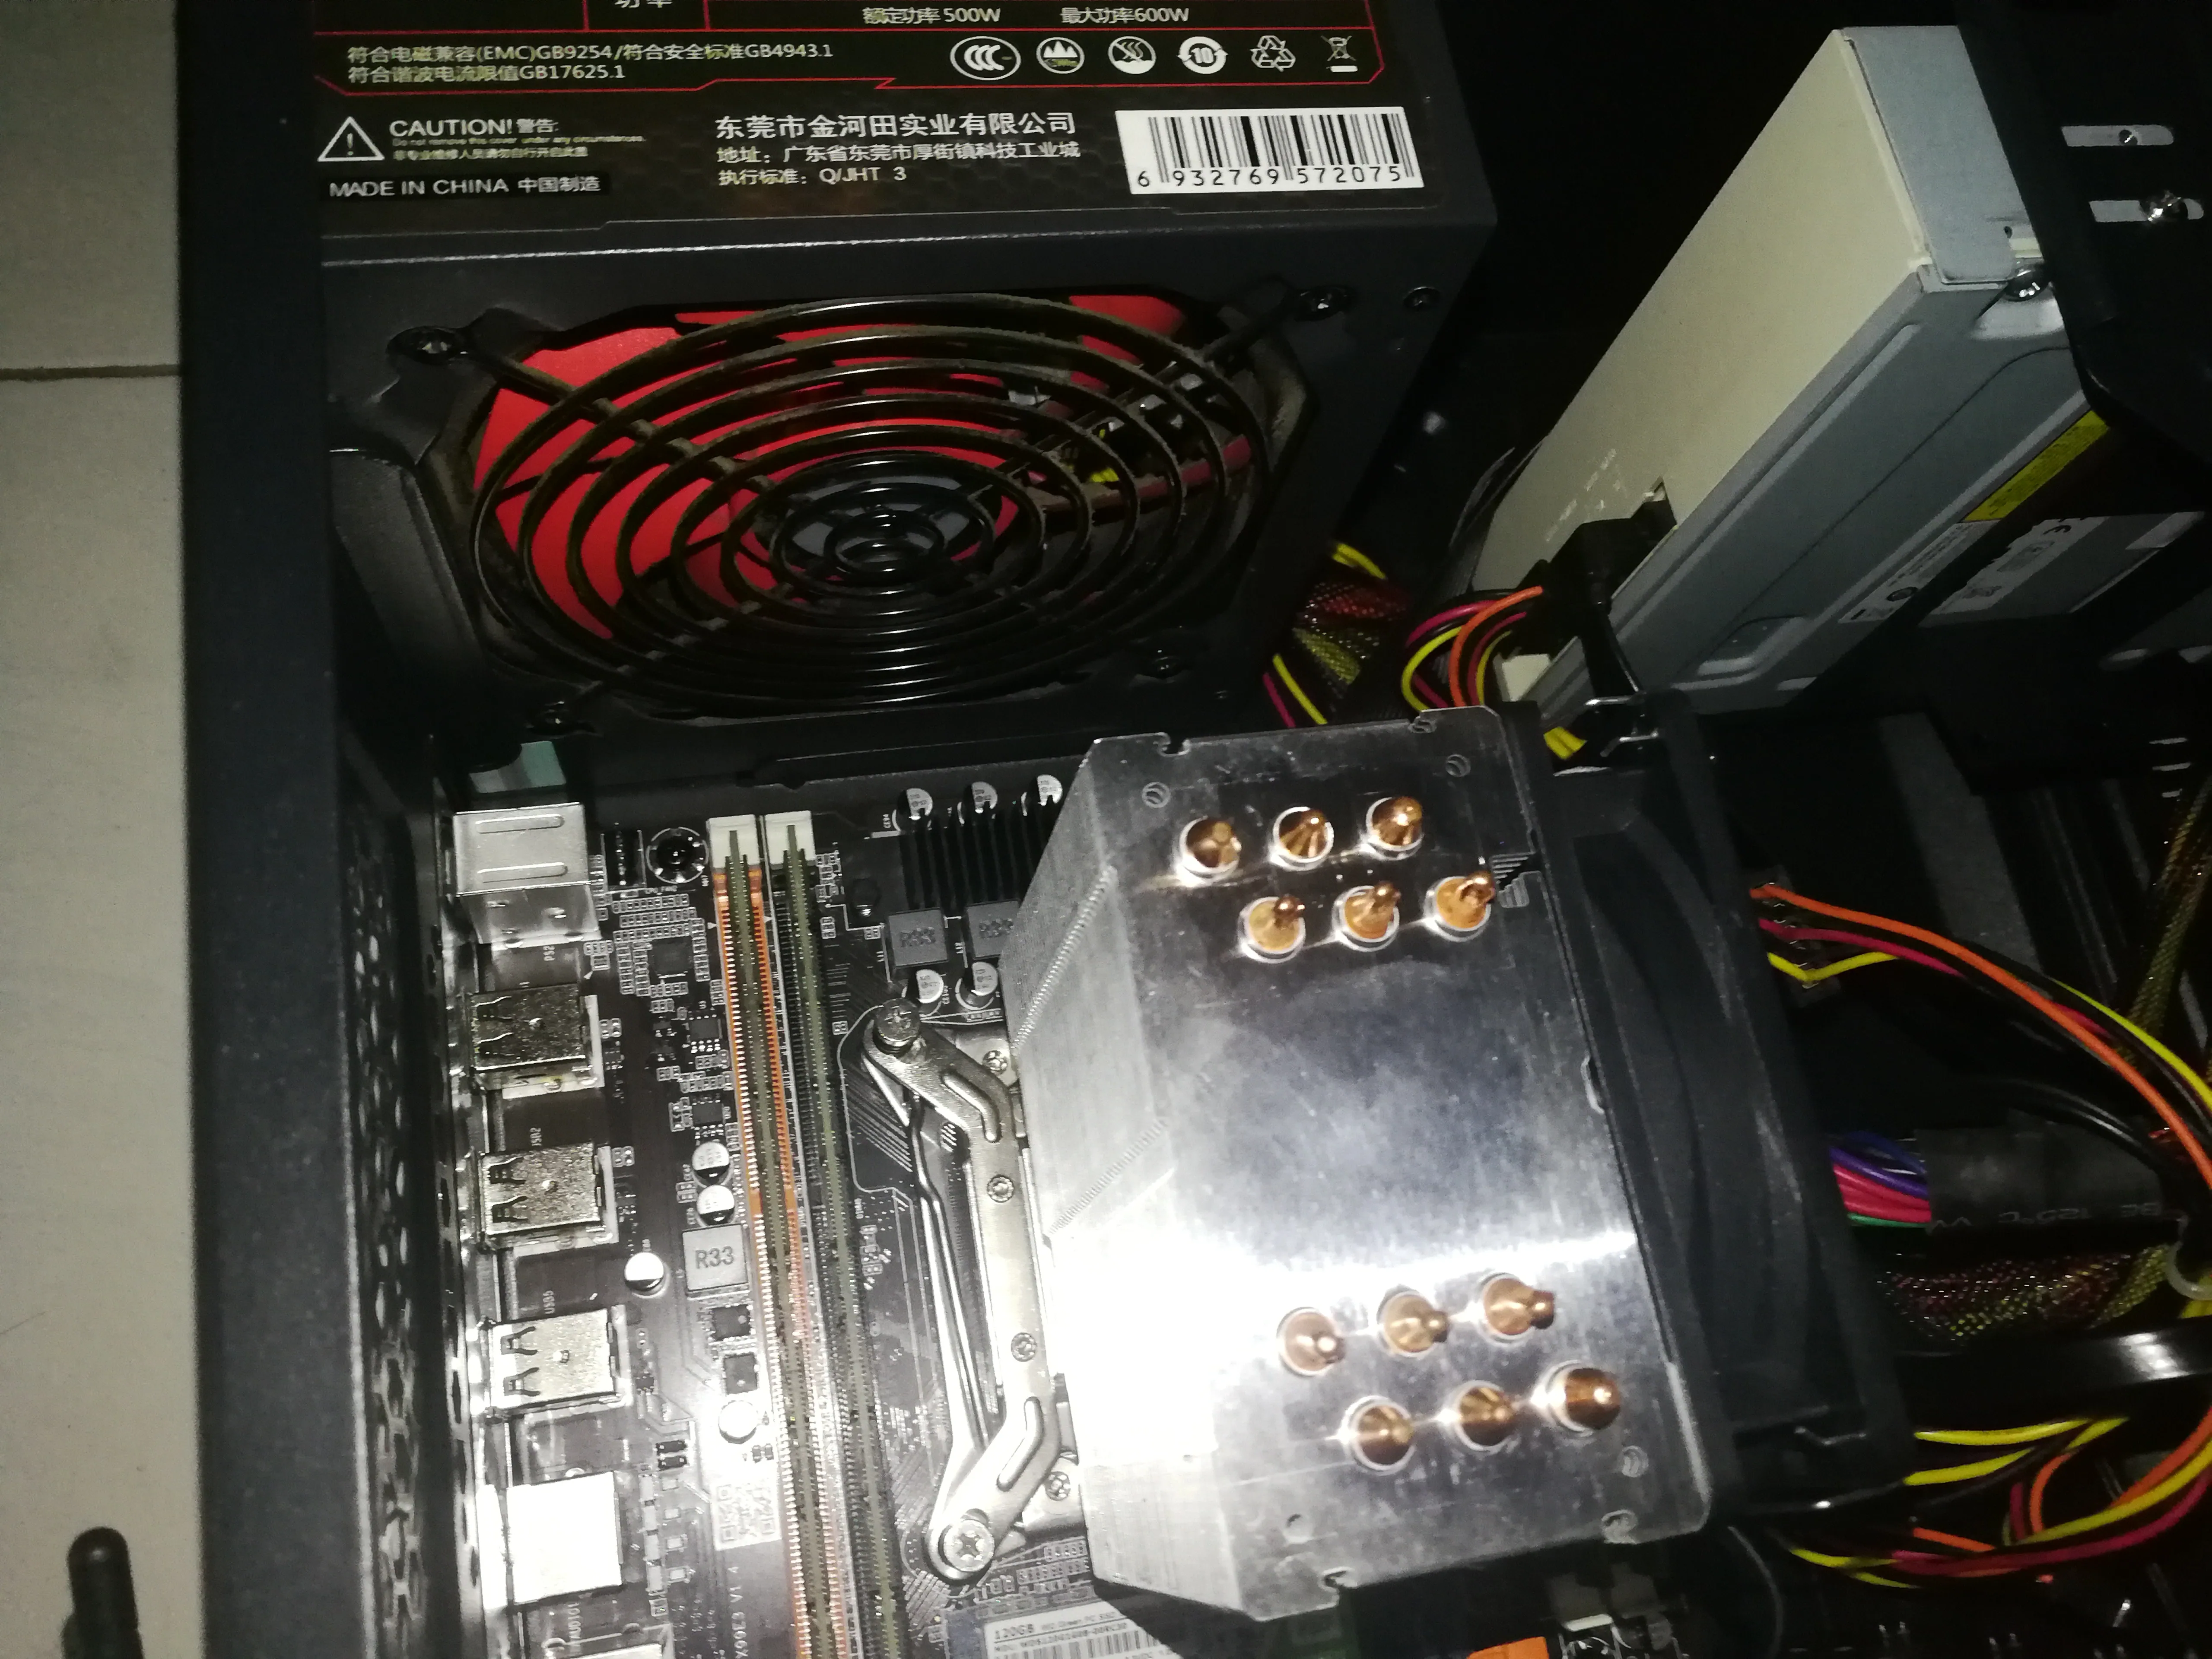
# CPU radiator
6 heat pipe tower radiator
# Power supply
500W Jinhetian power supply, at least better than Juebai.


# Optical drive
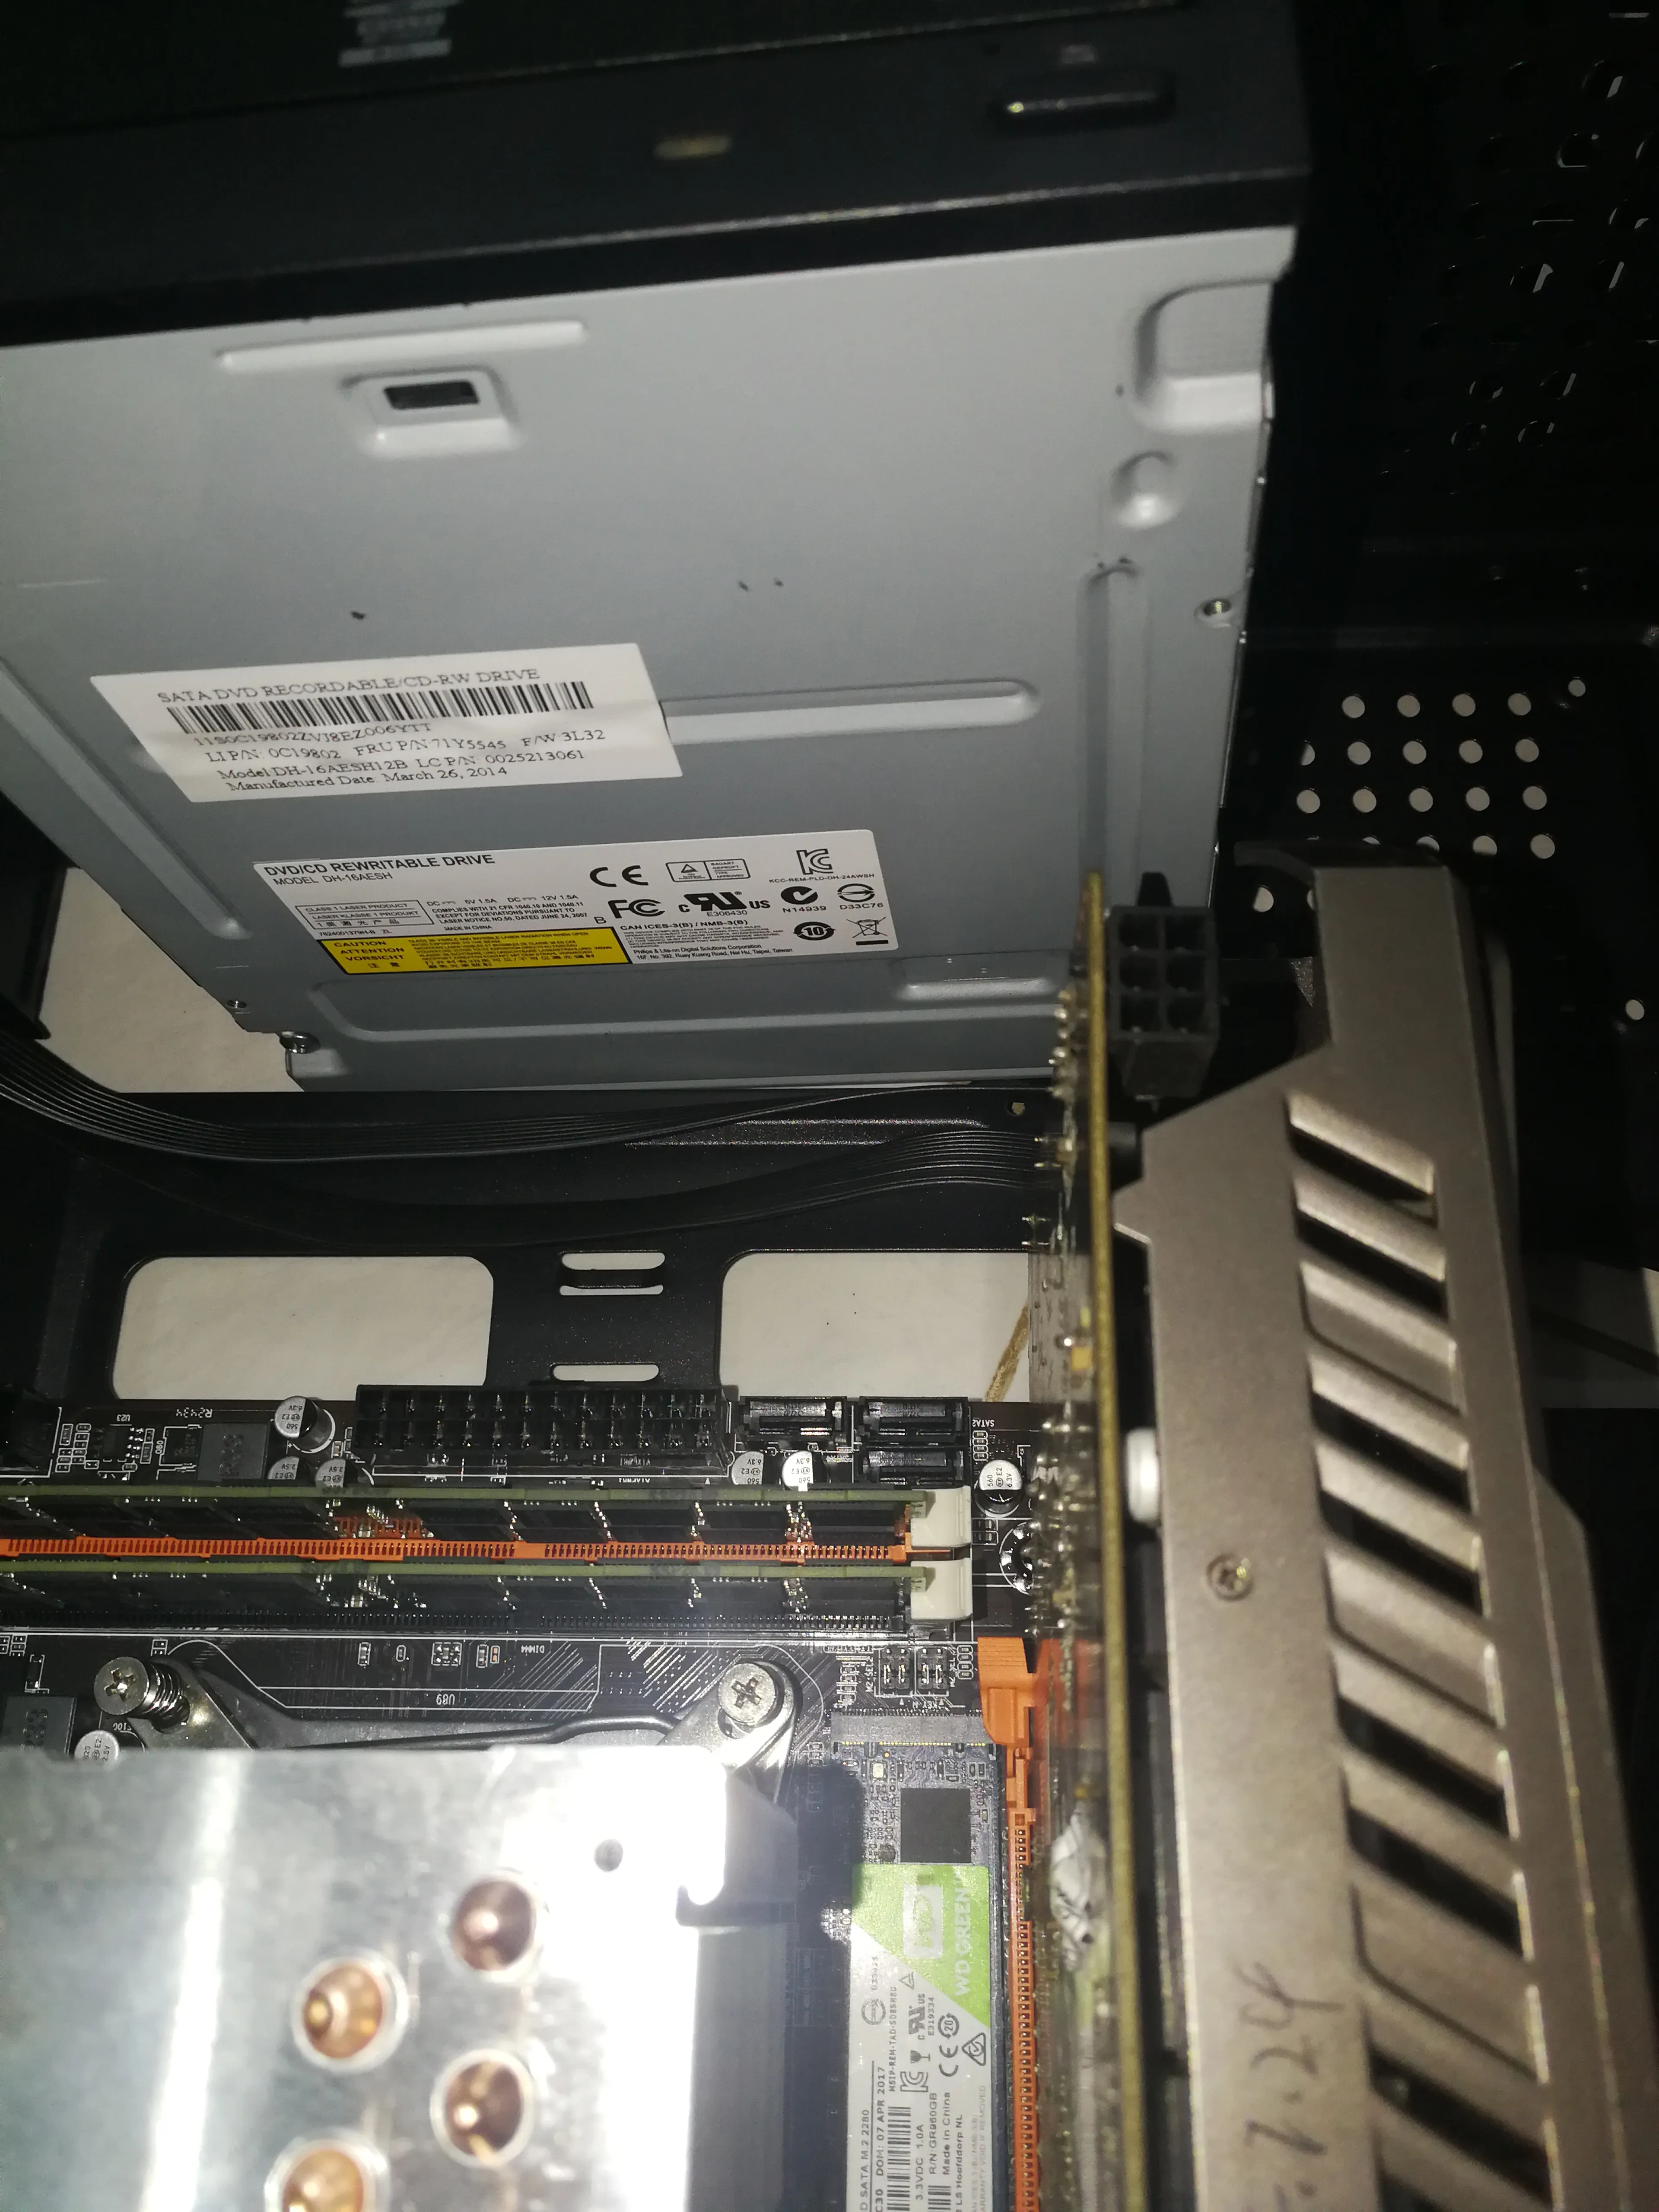
Ordinary optical drive, used to organize the contents of the optical discs at home

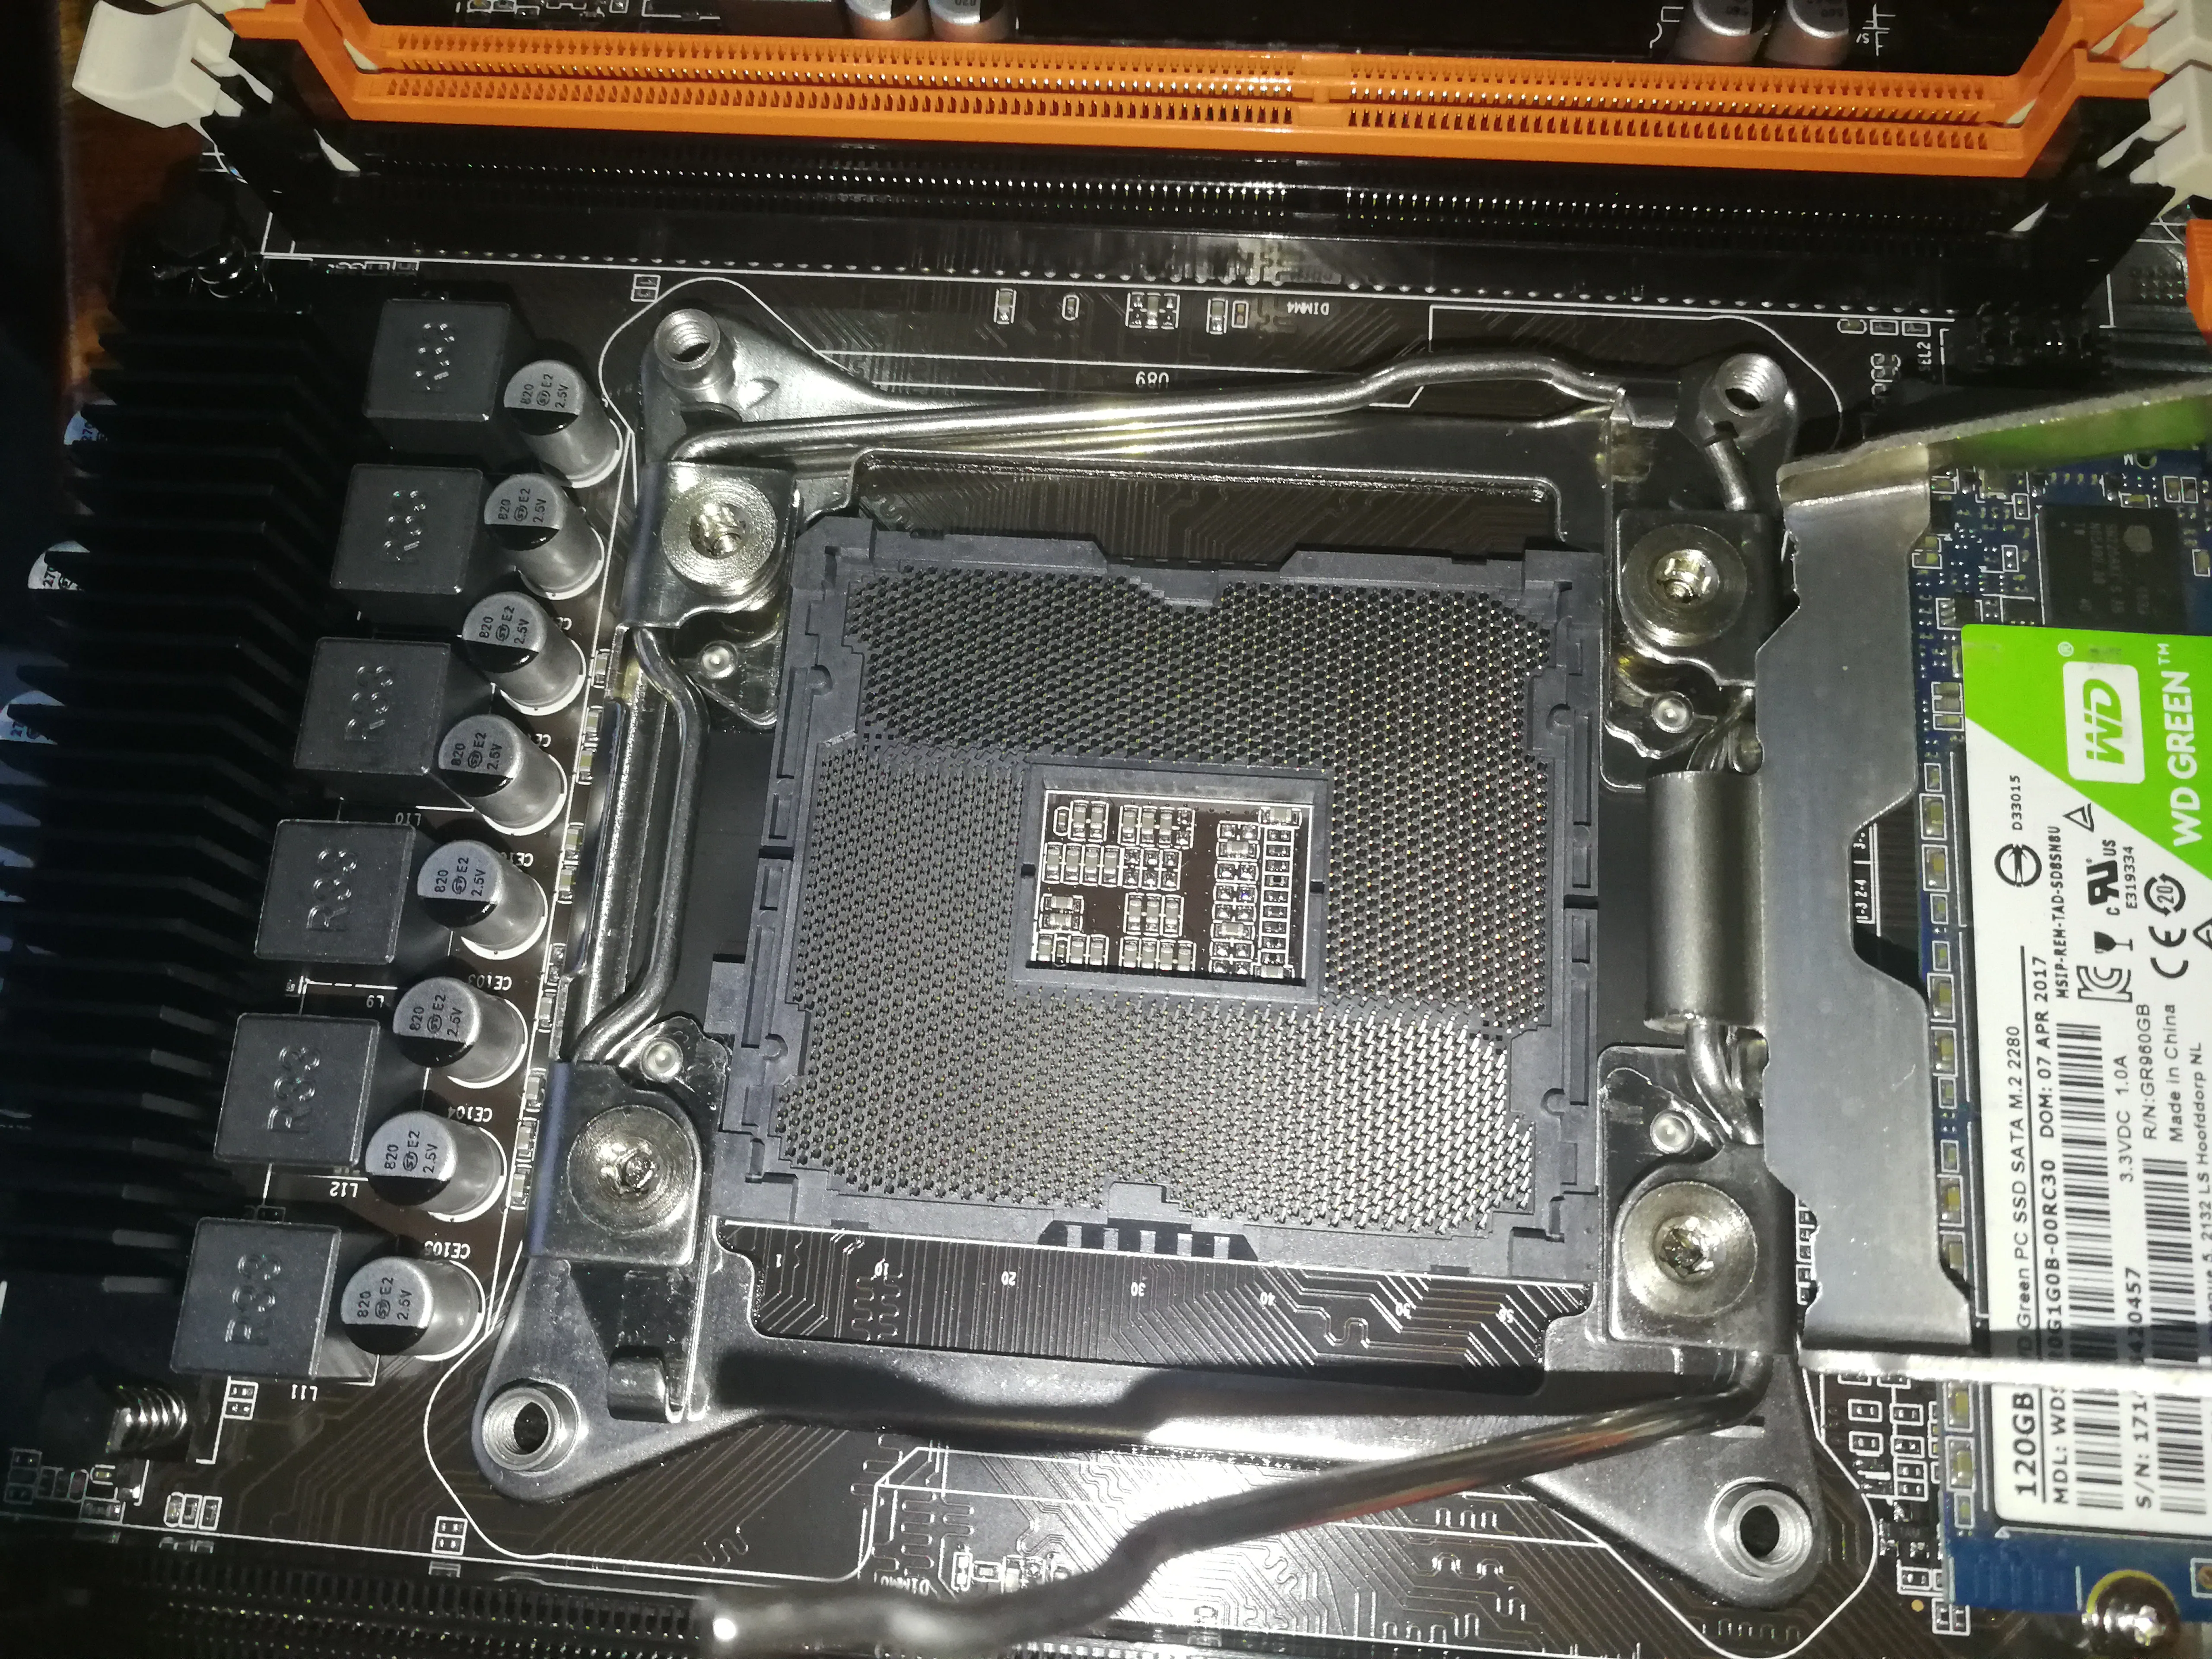
# Motherboard
Produced by a small workshop of a miscellaneous X99 brand


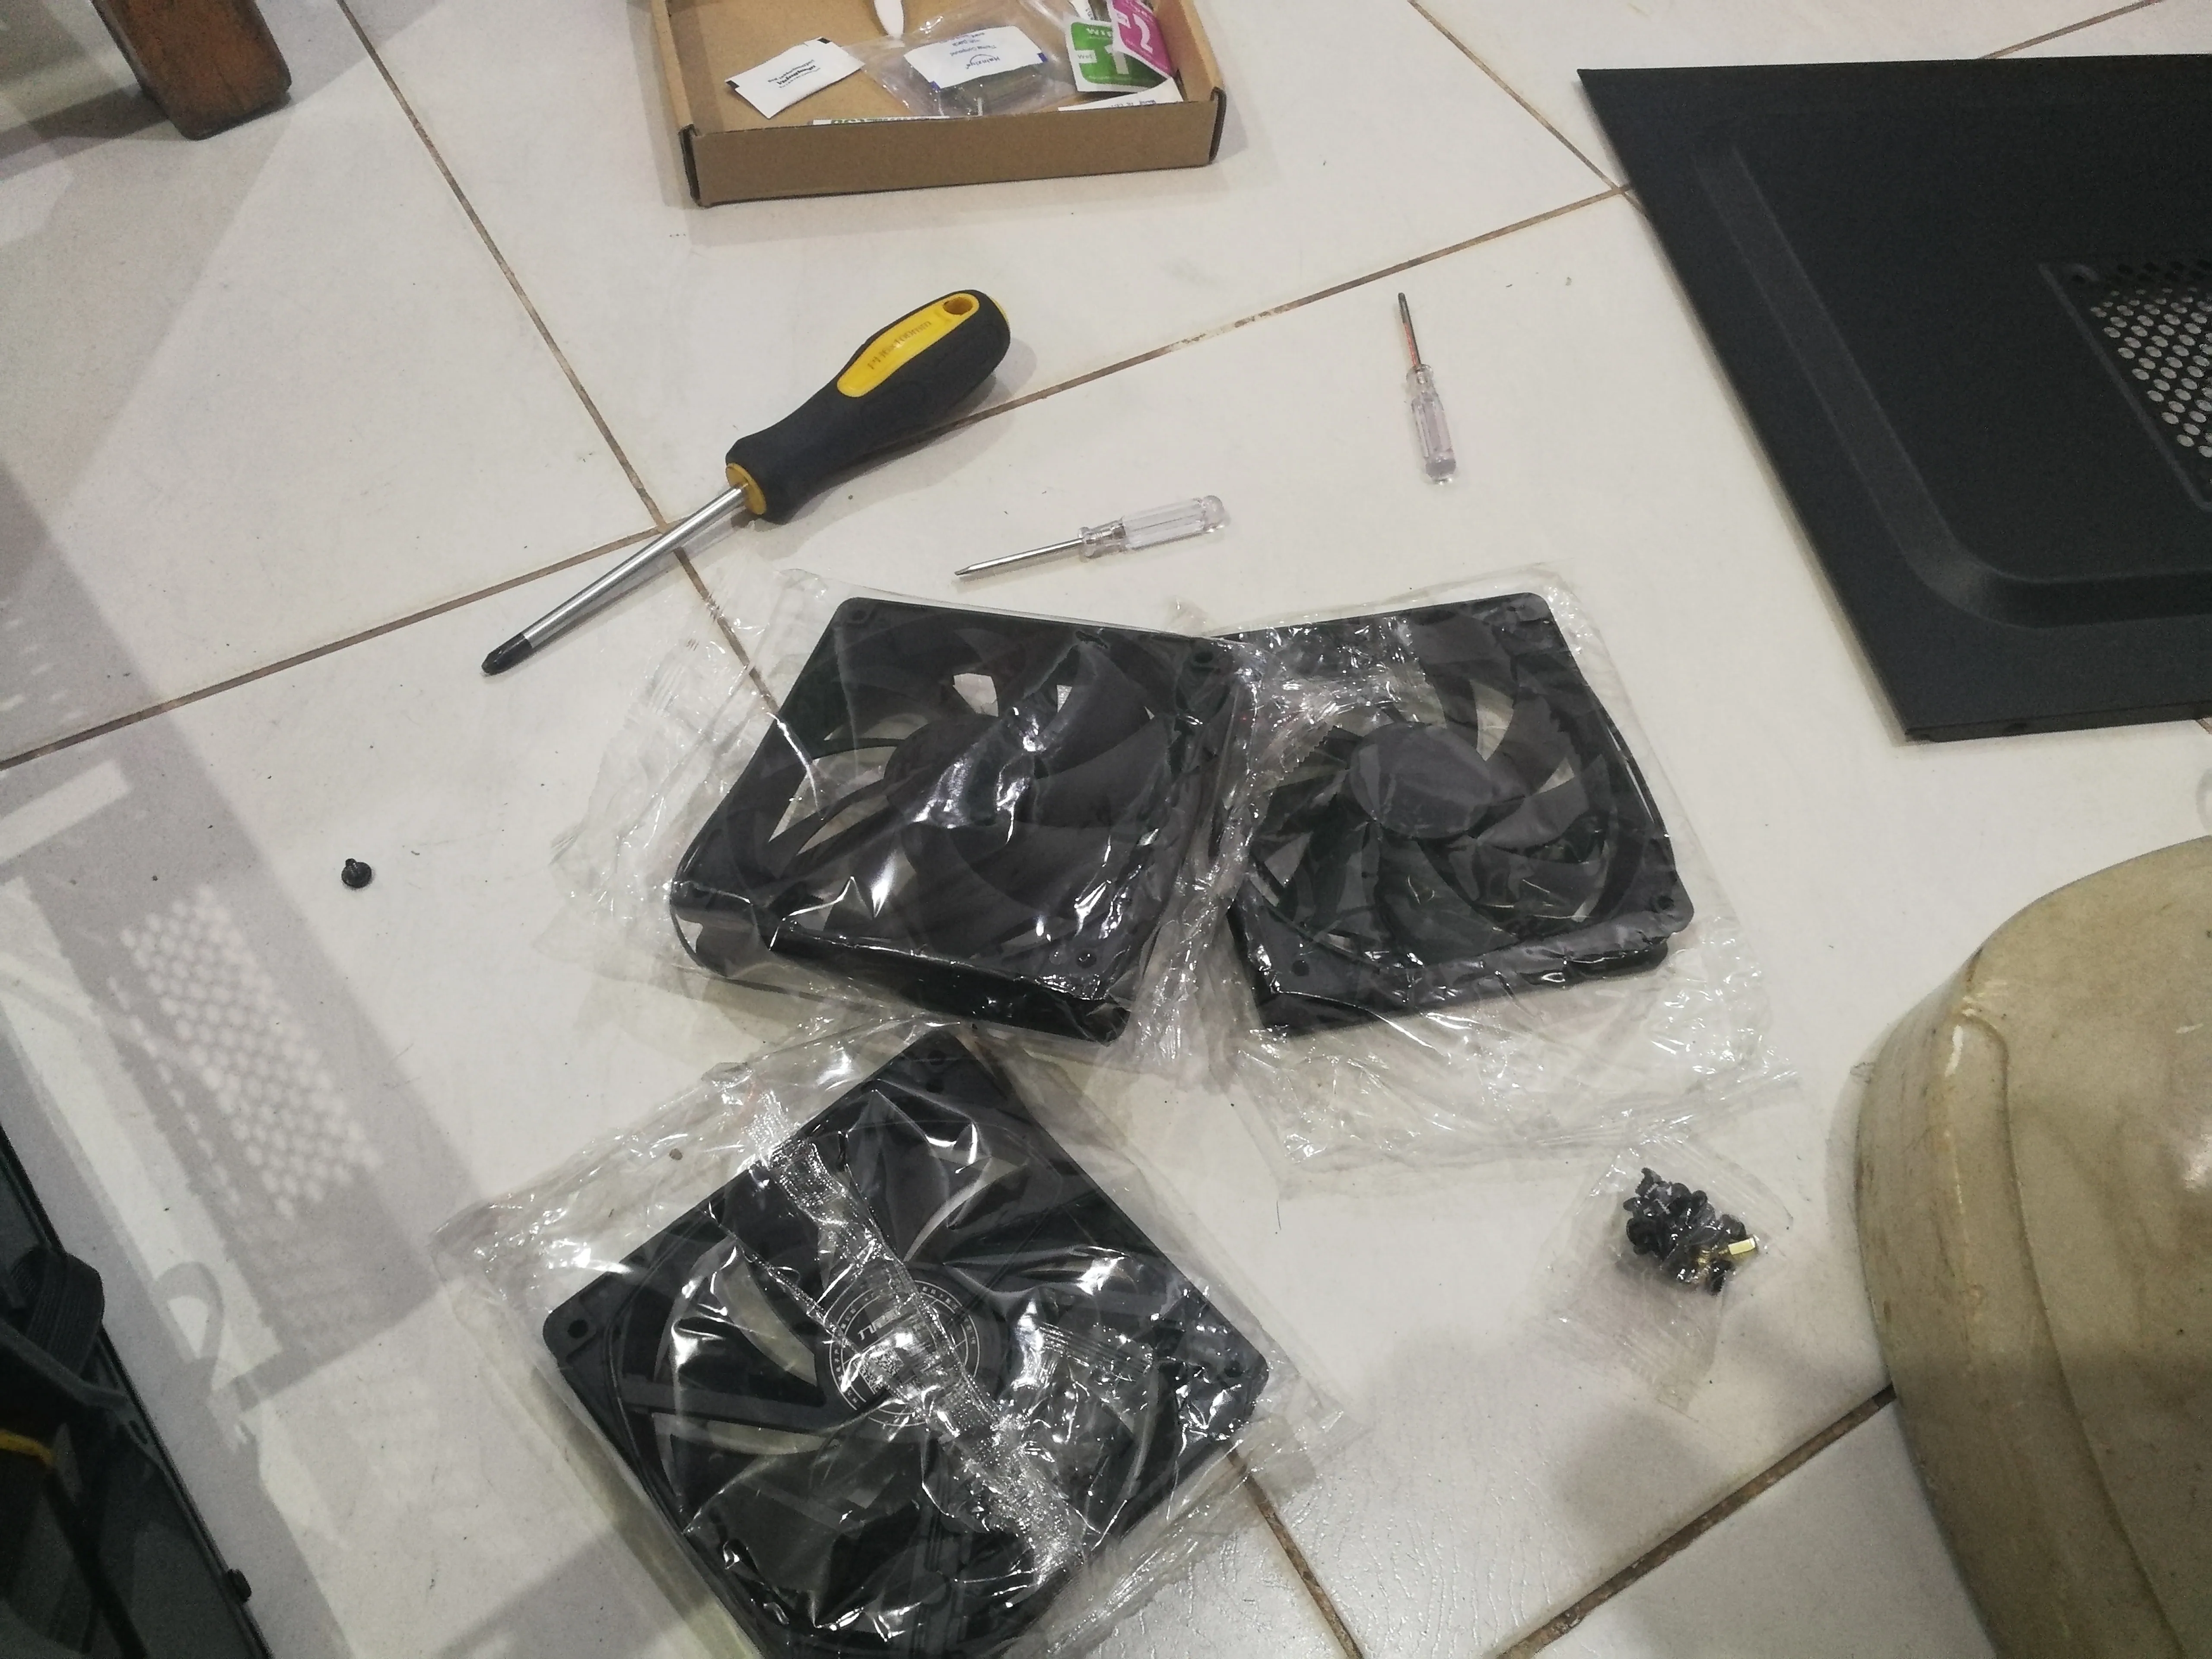
# Chassis fan
I bought three
# Family portrait
# Installation process
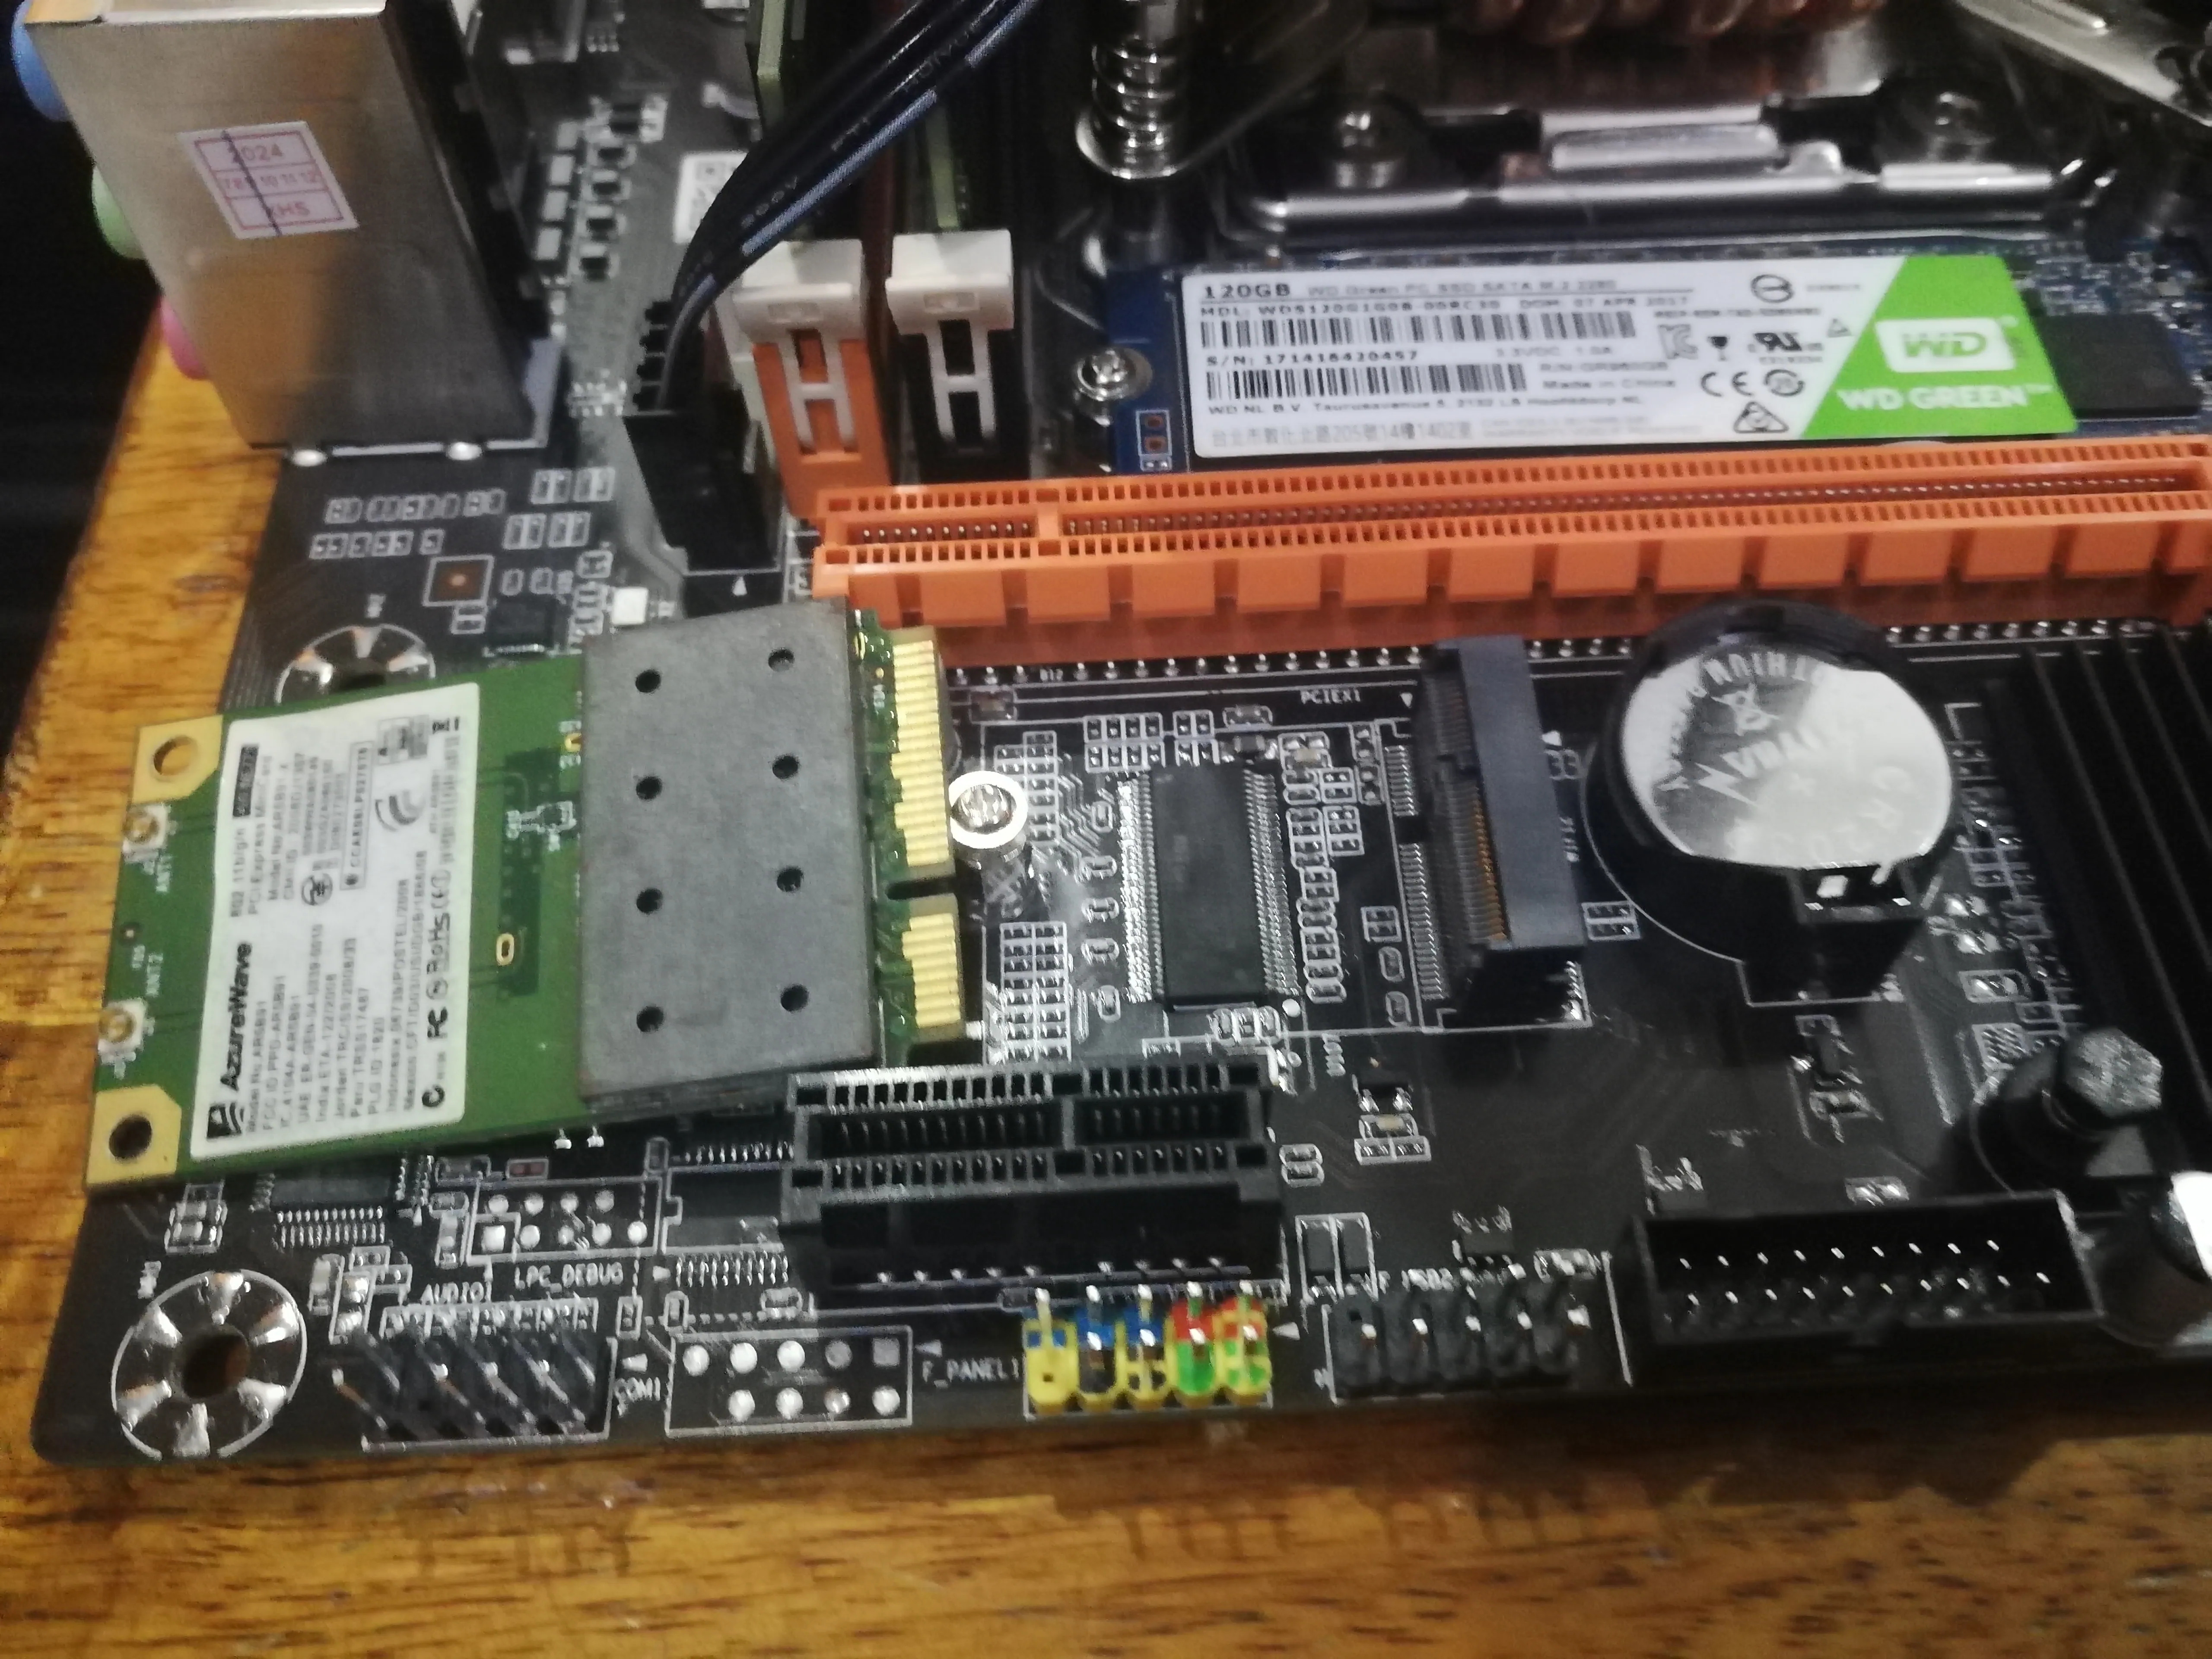
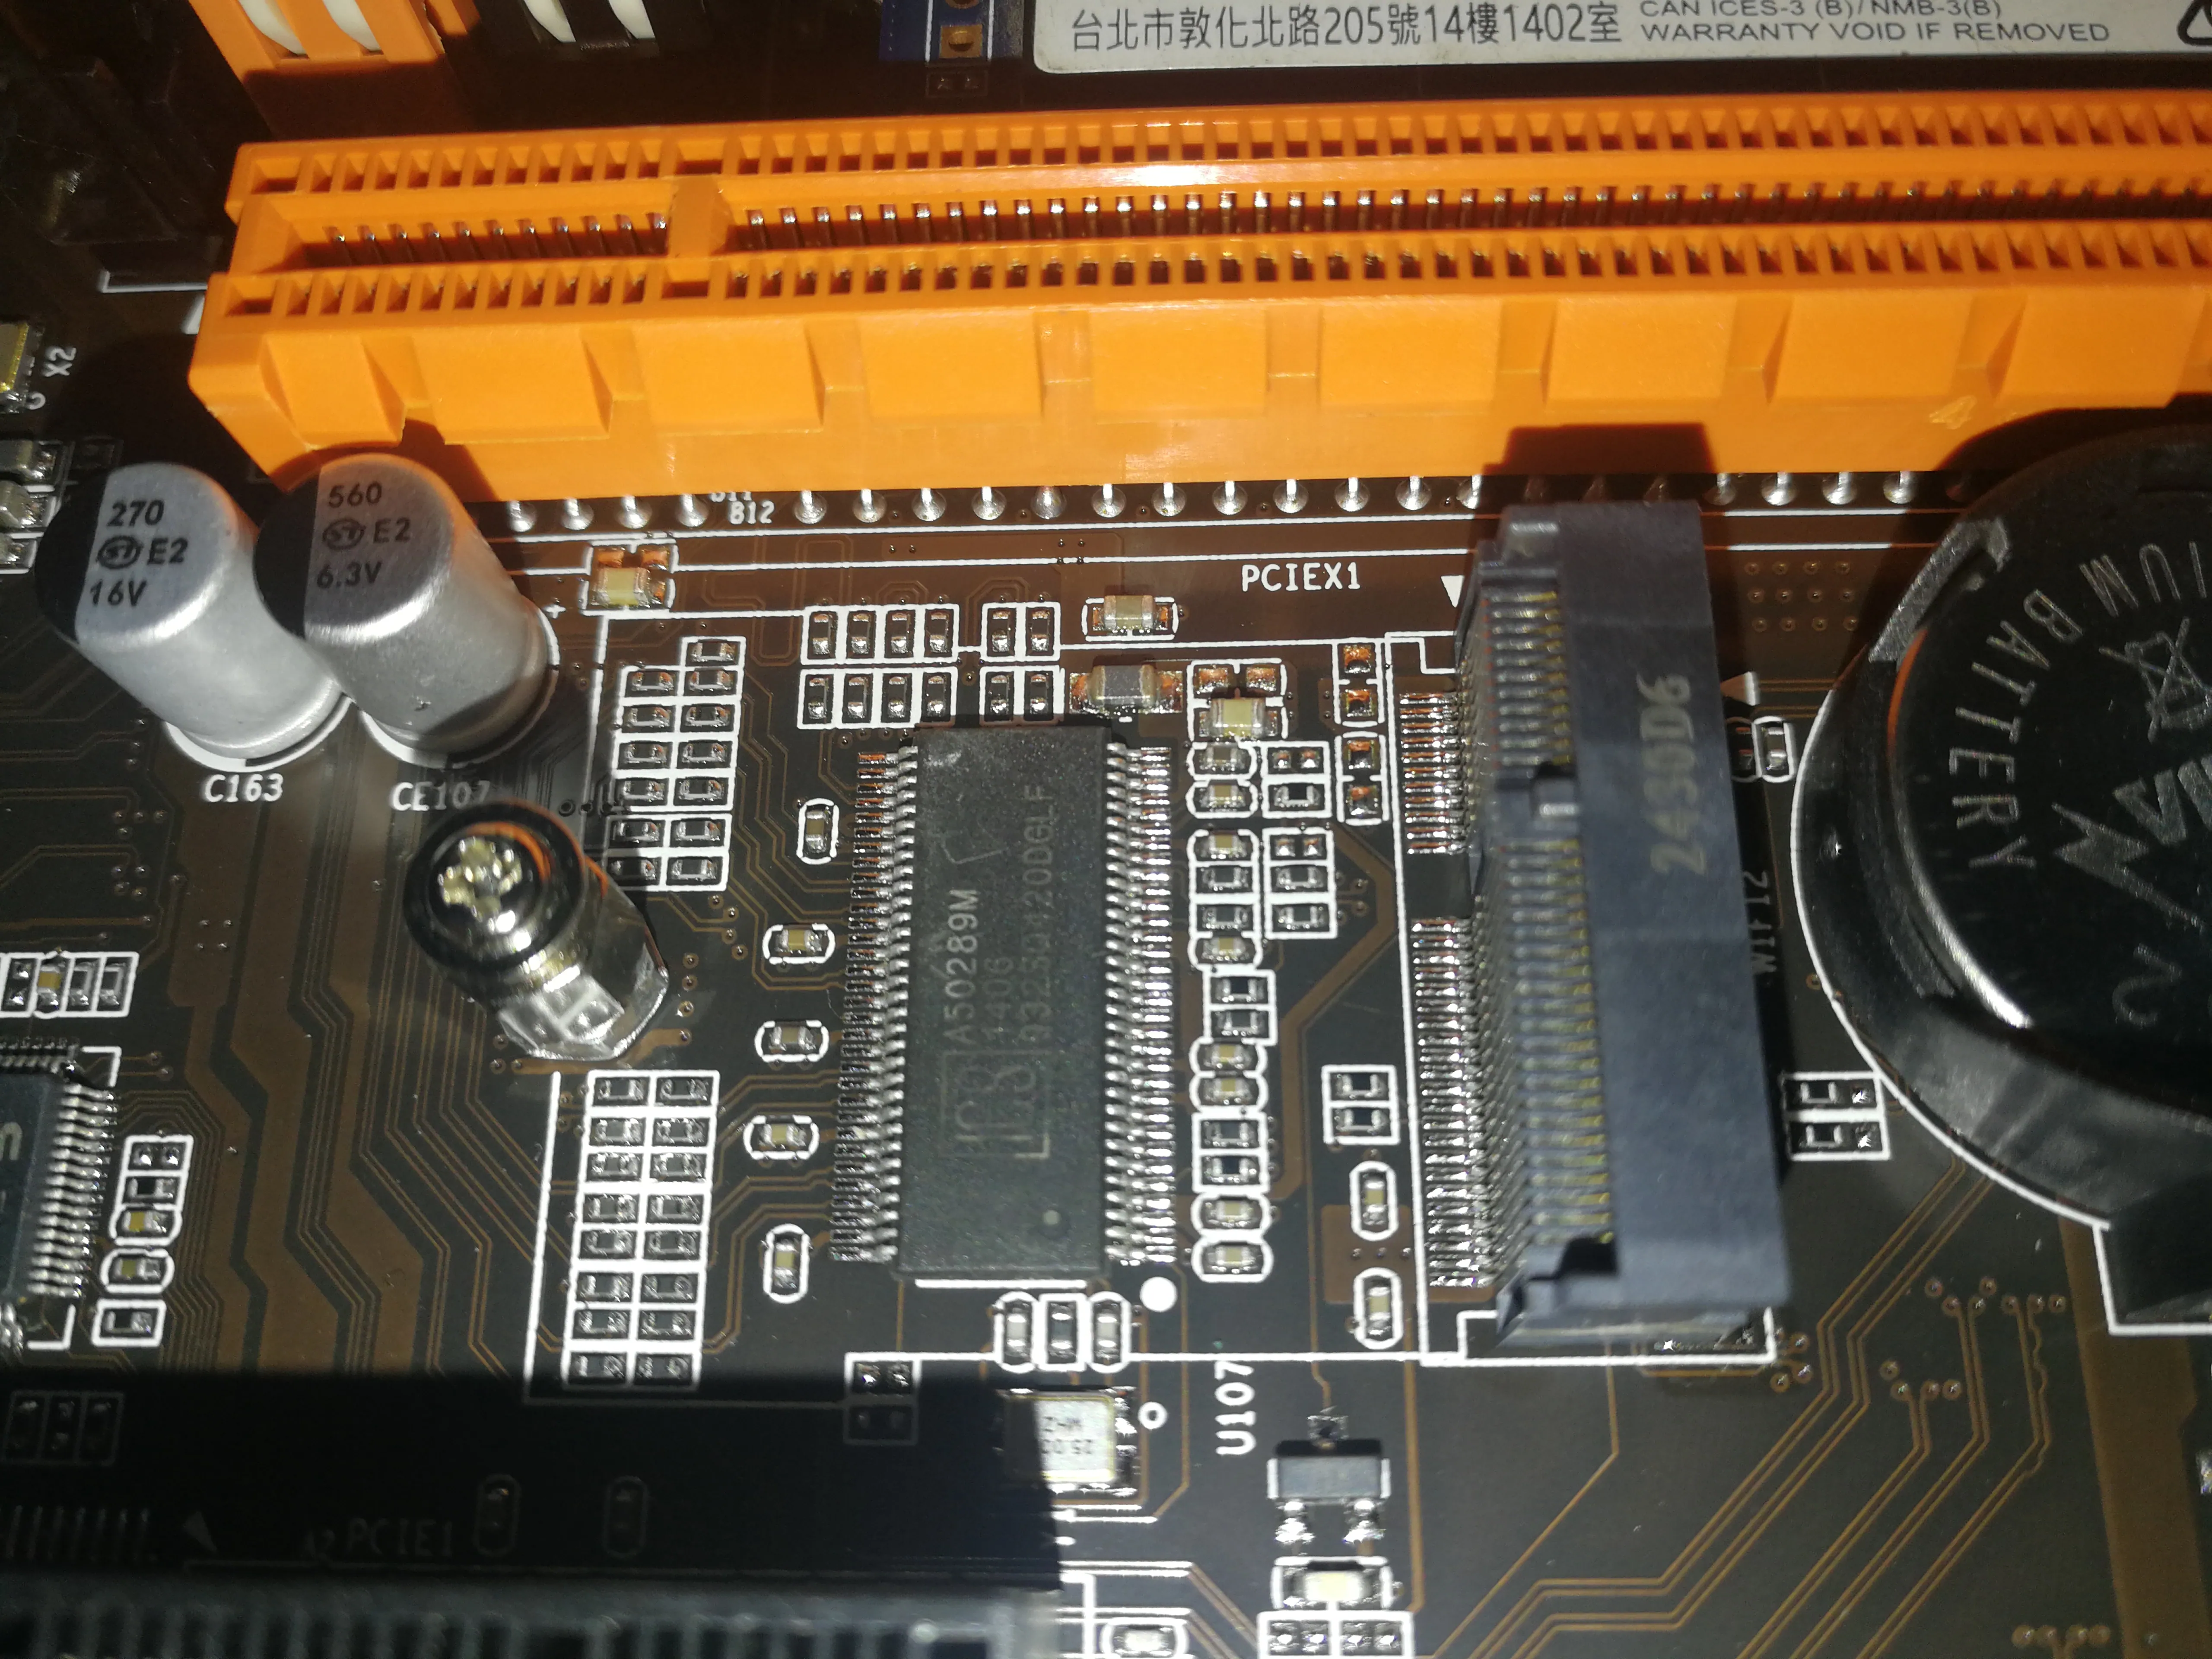
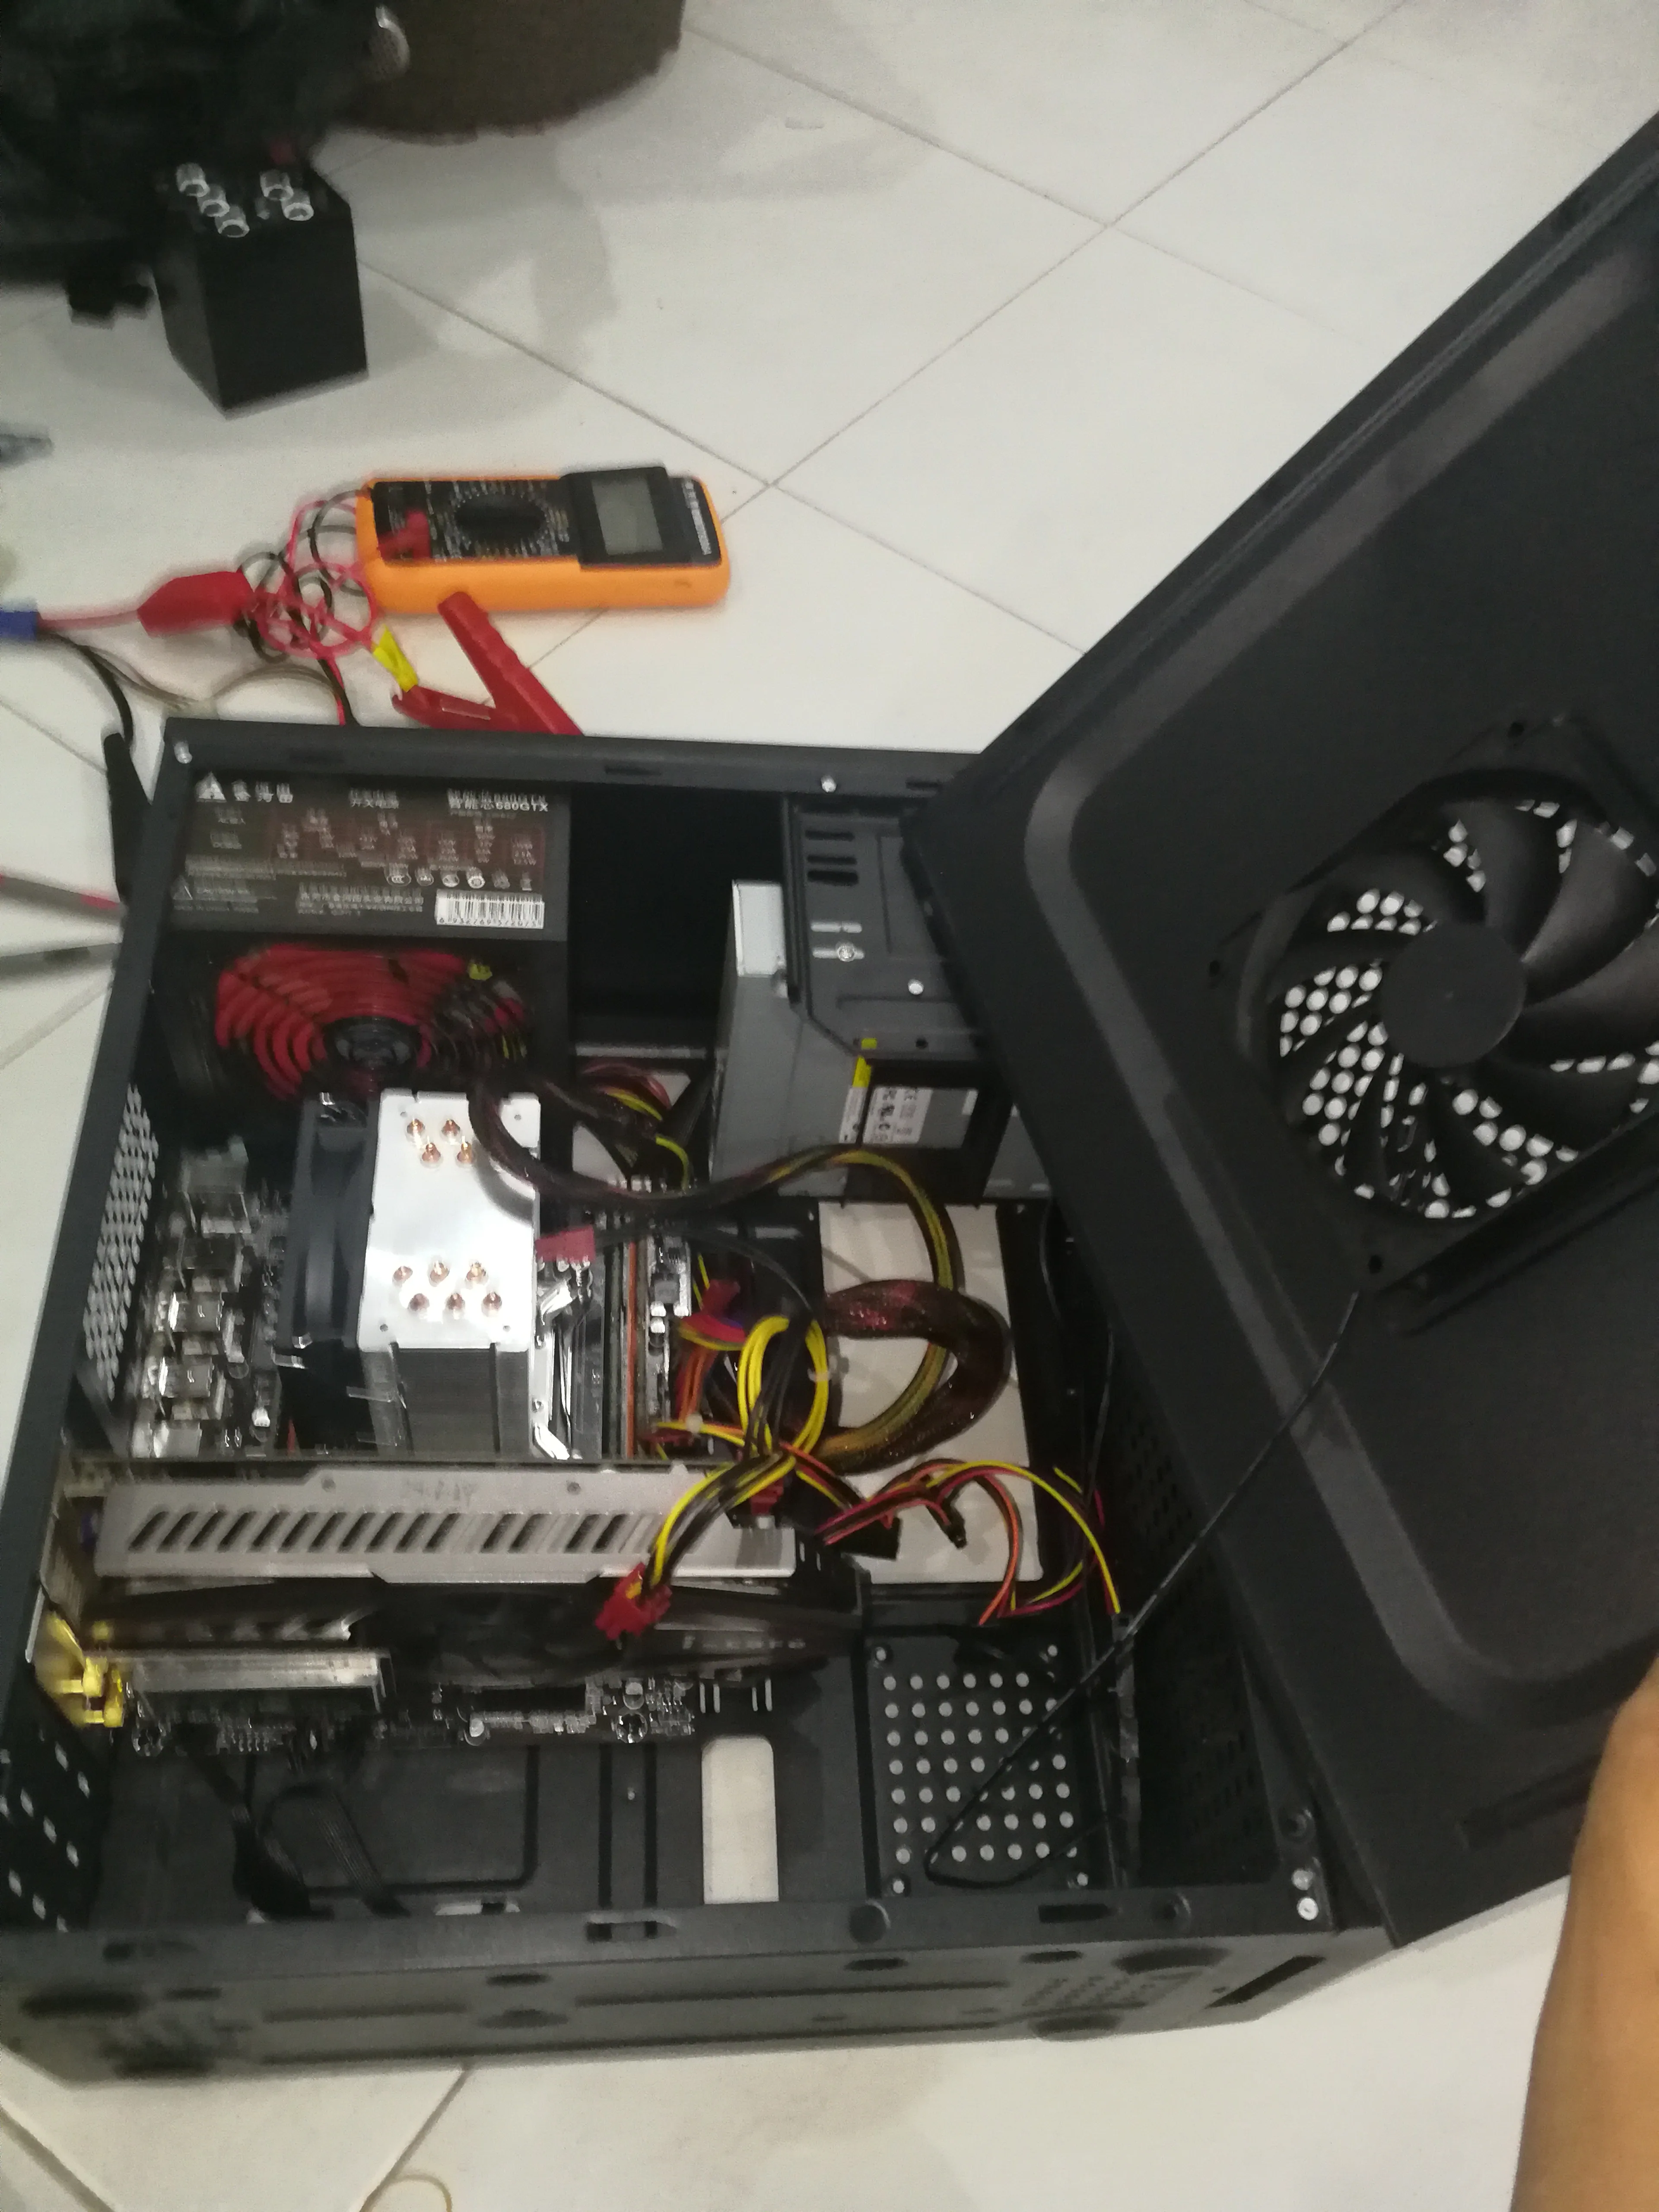
# Installing parts to the motherboard
I wanted to install a network card but found out it was M.2. . .

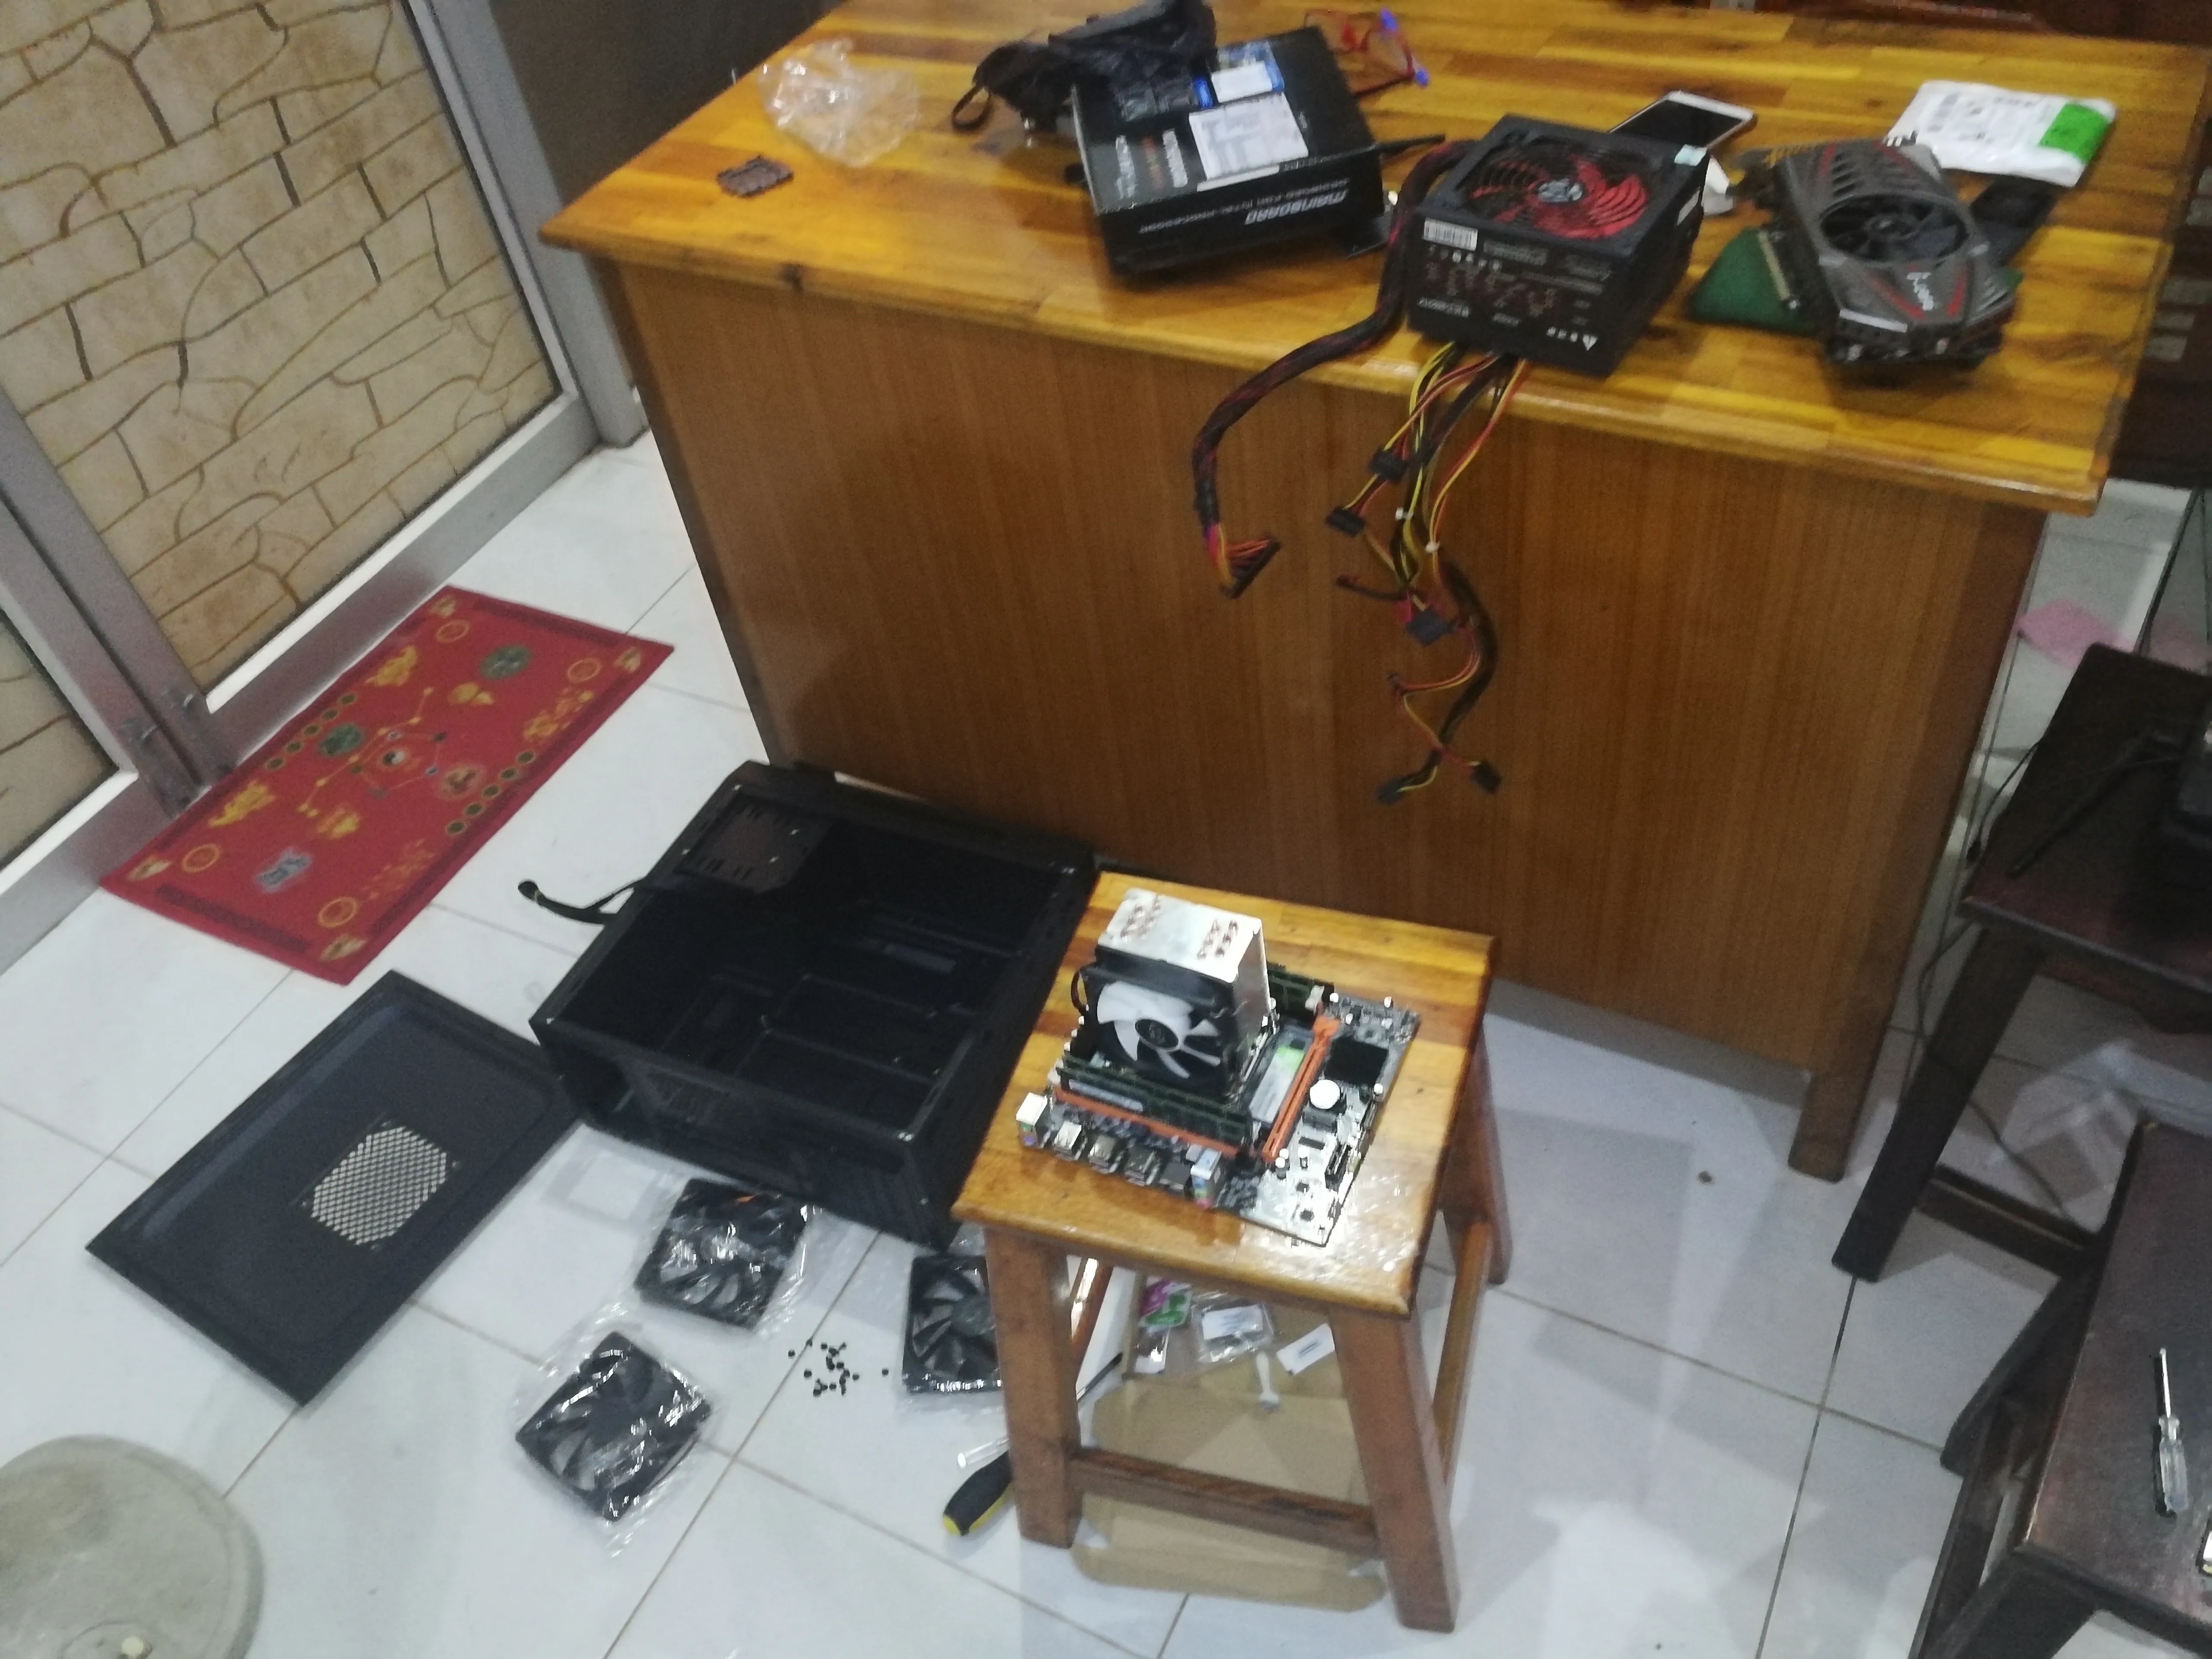

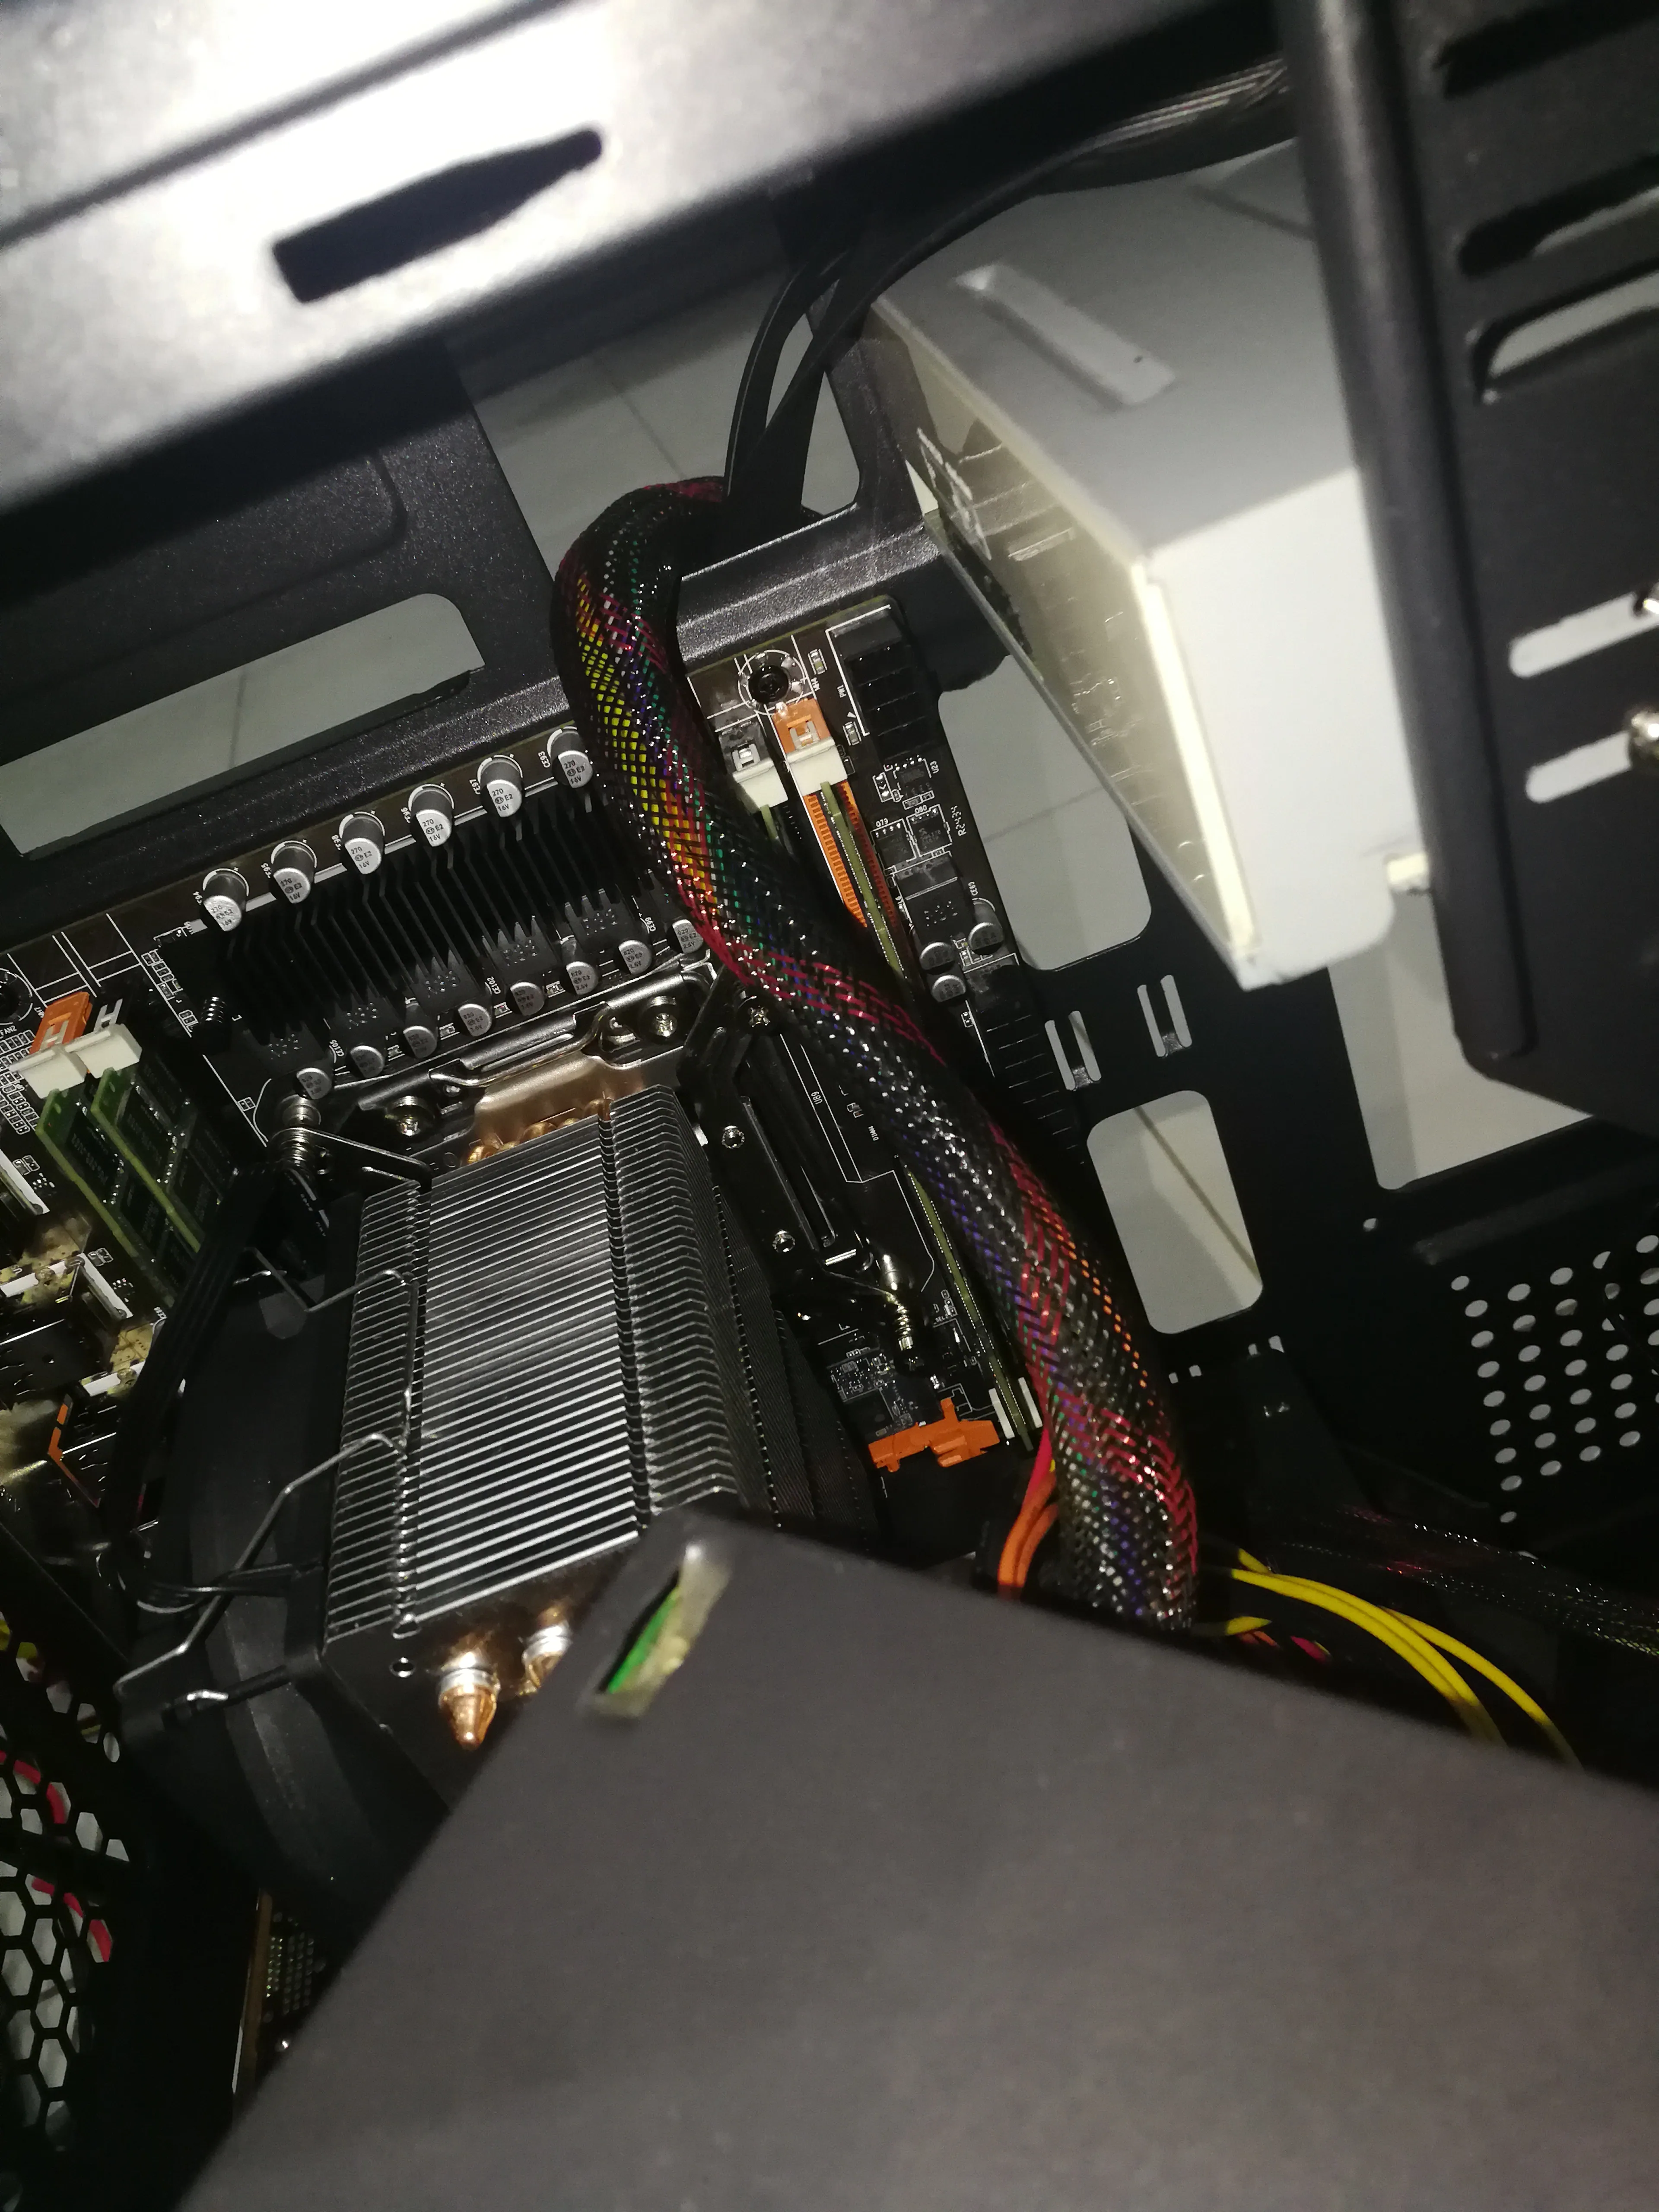
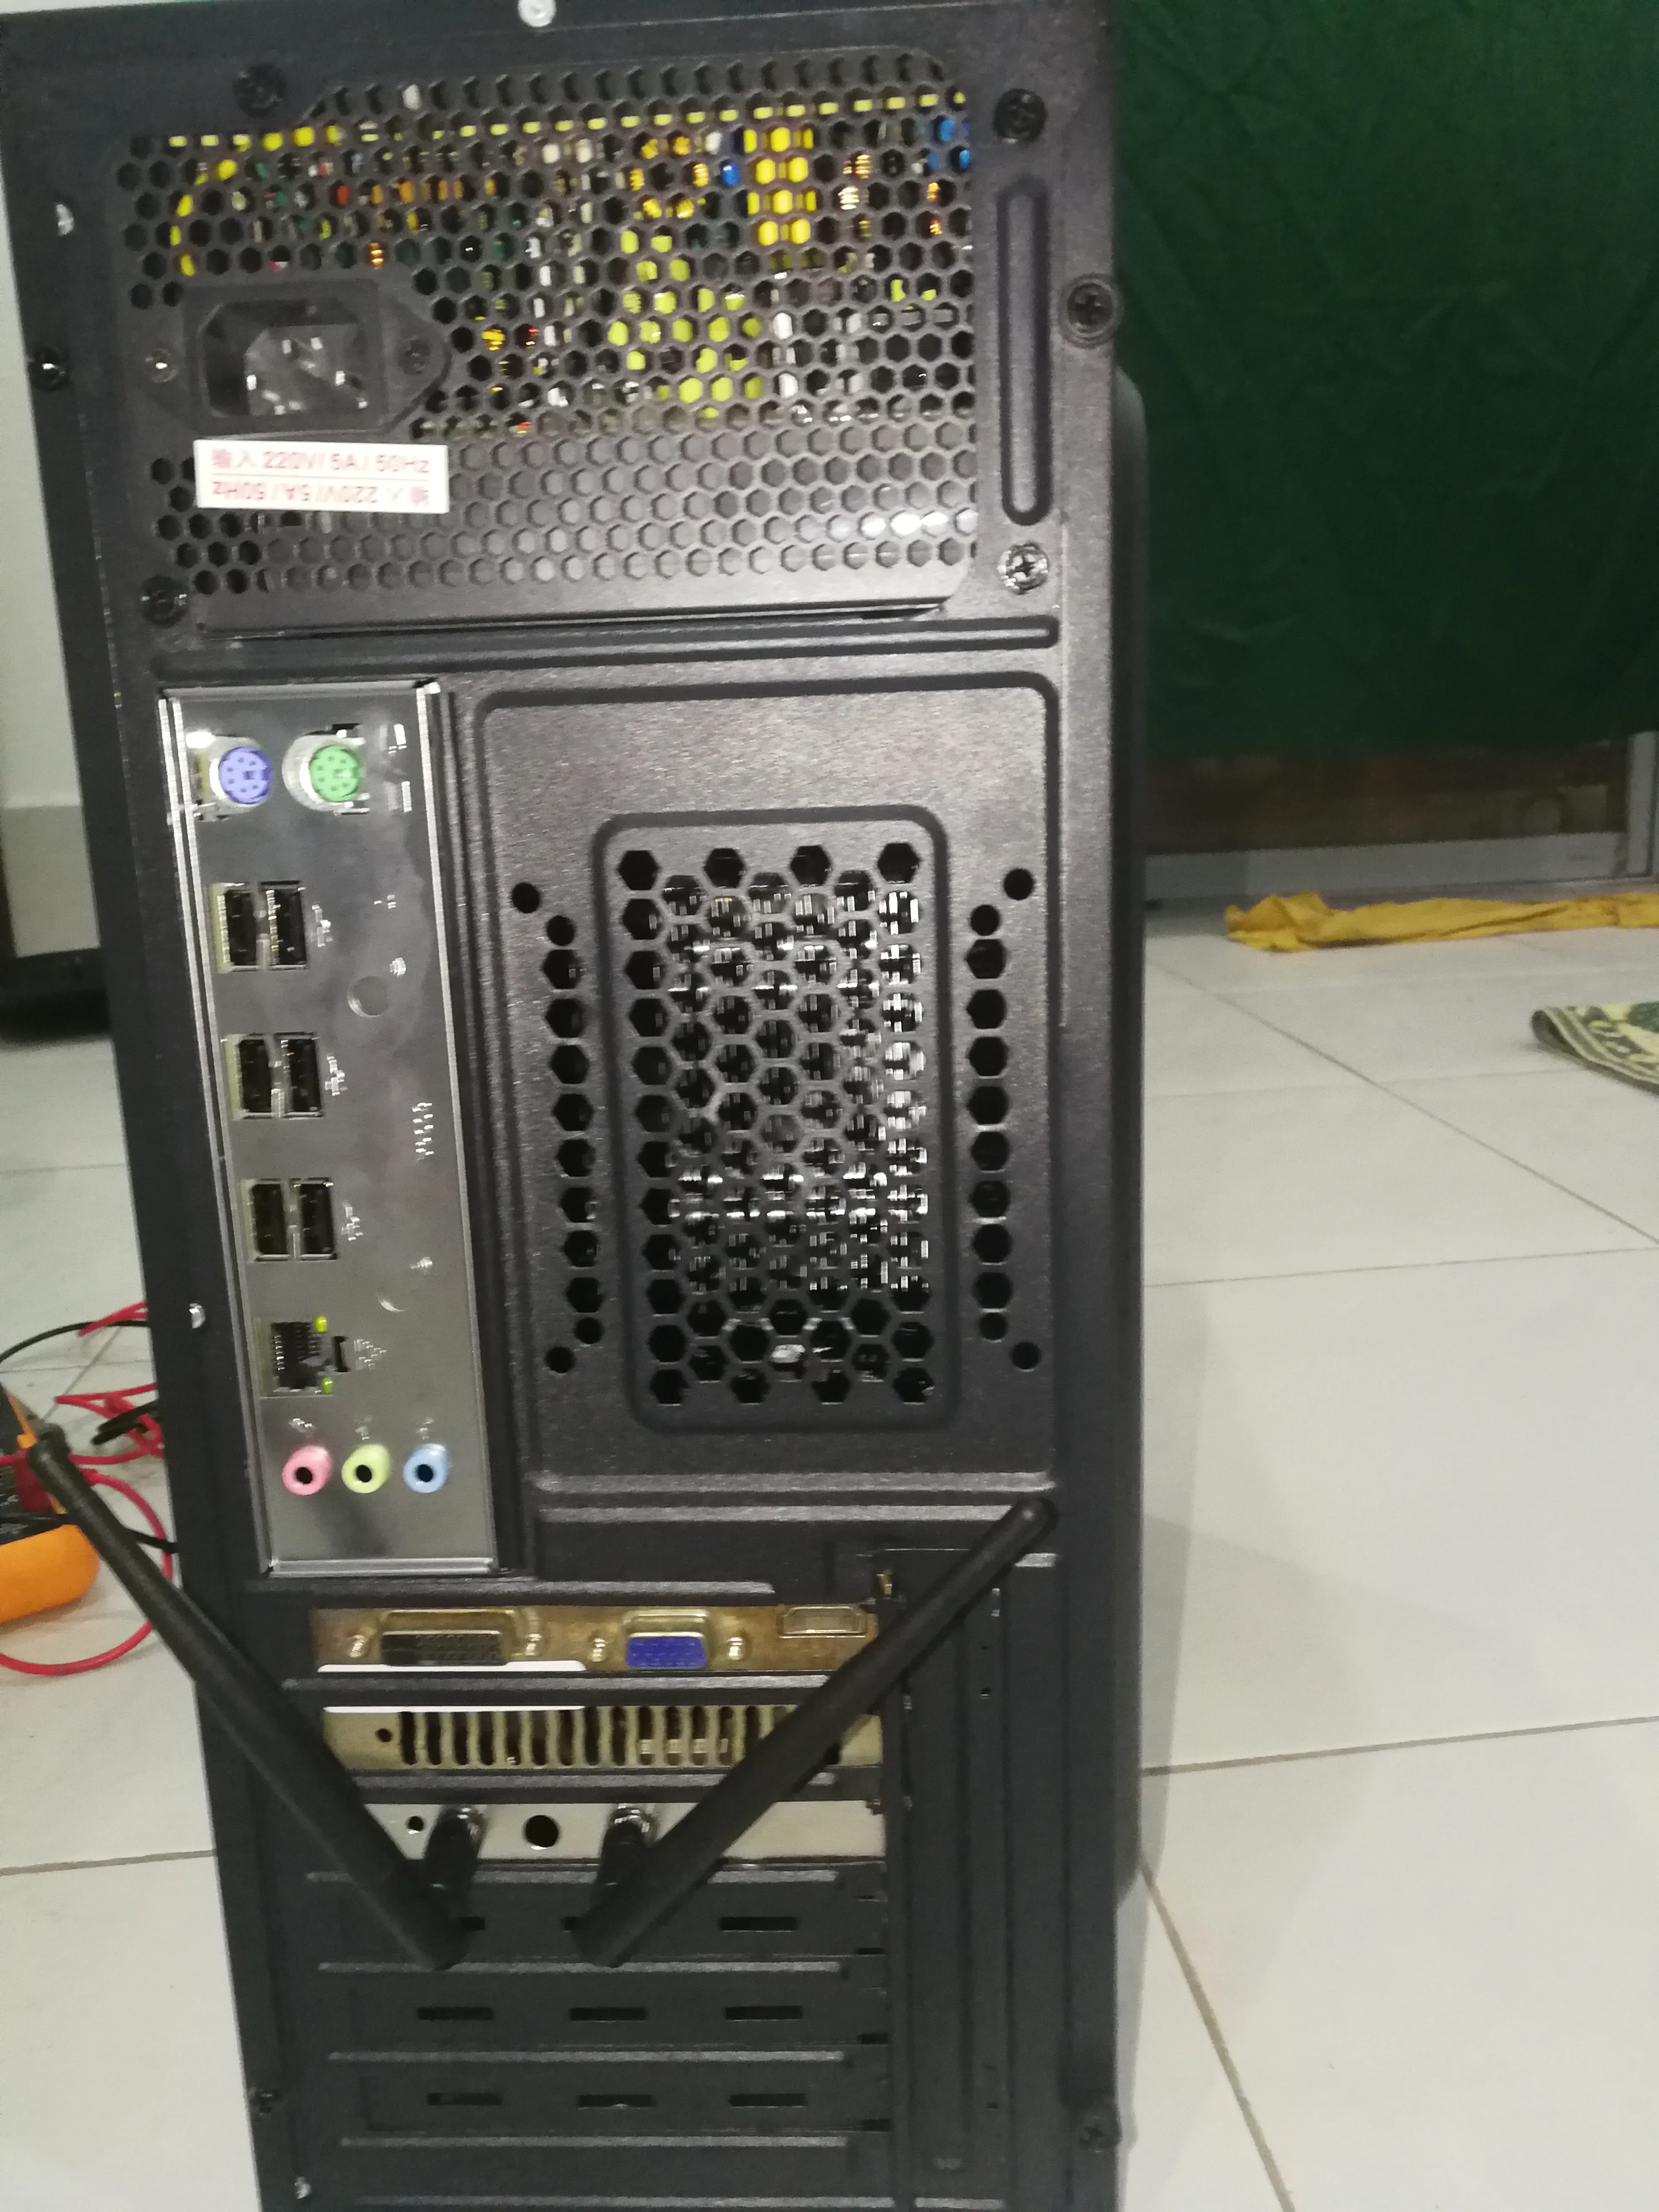
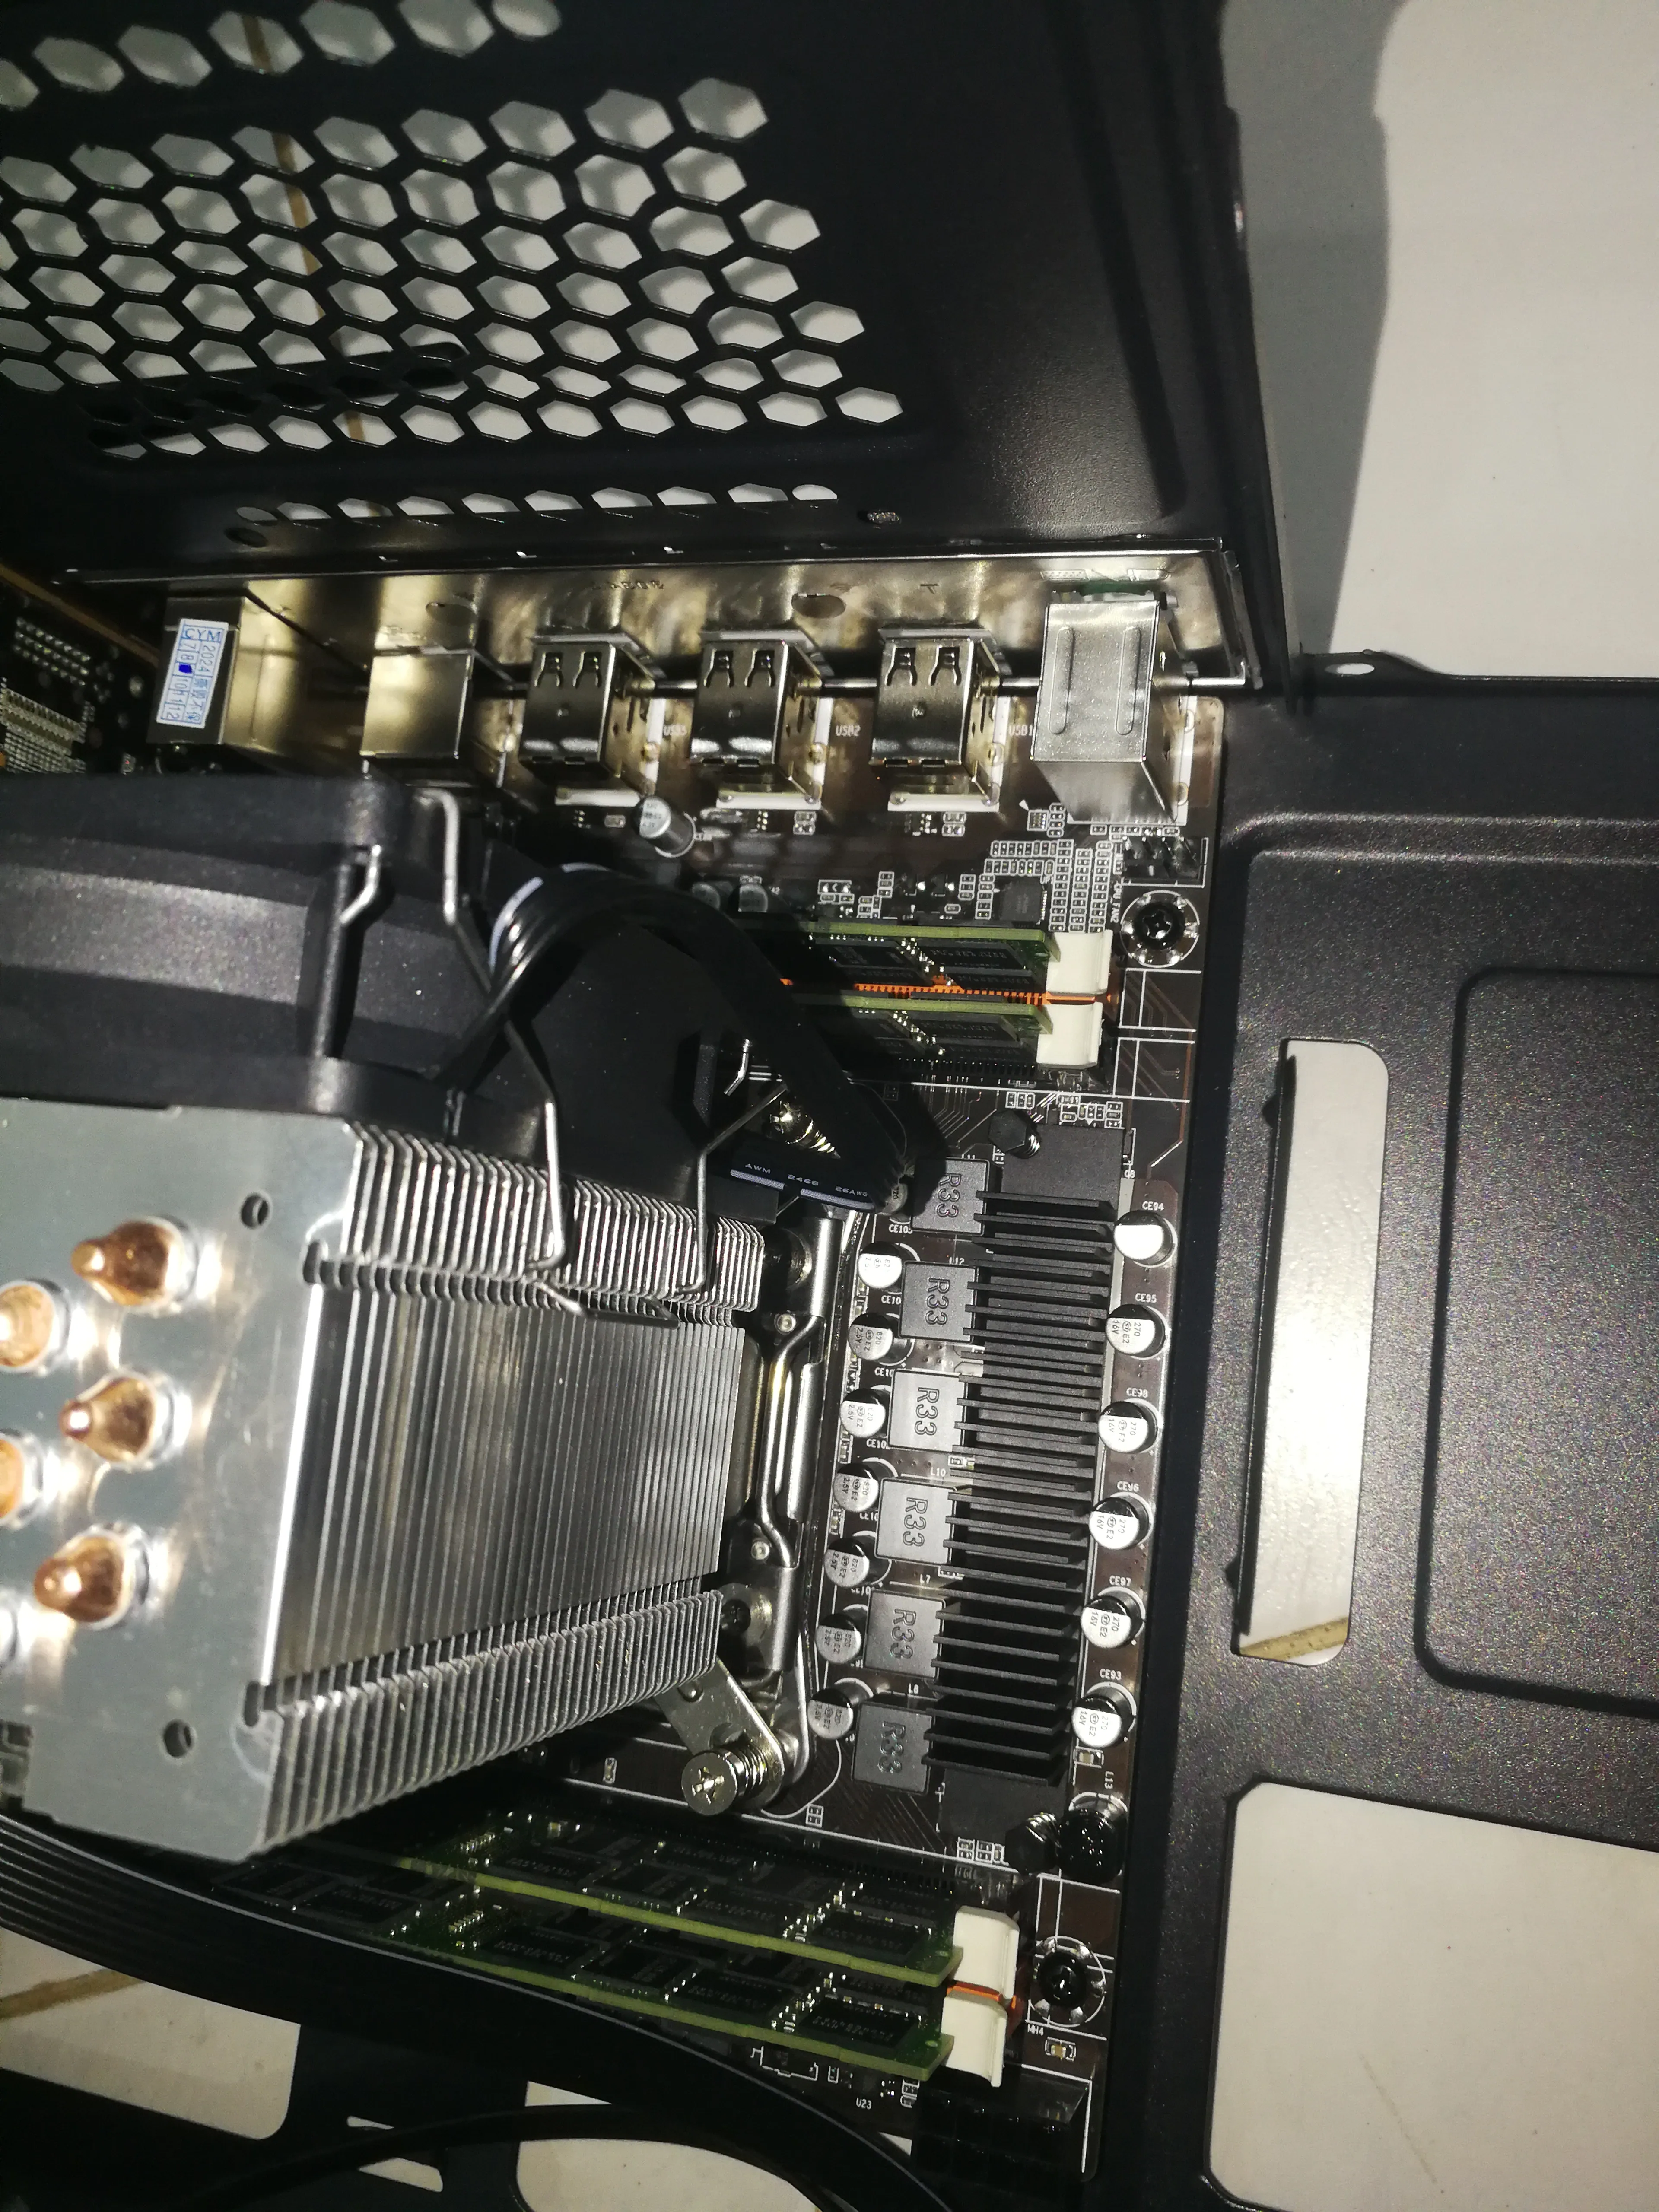
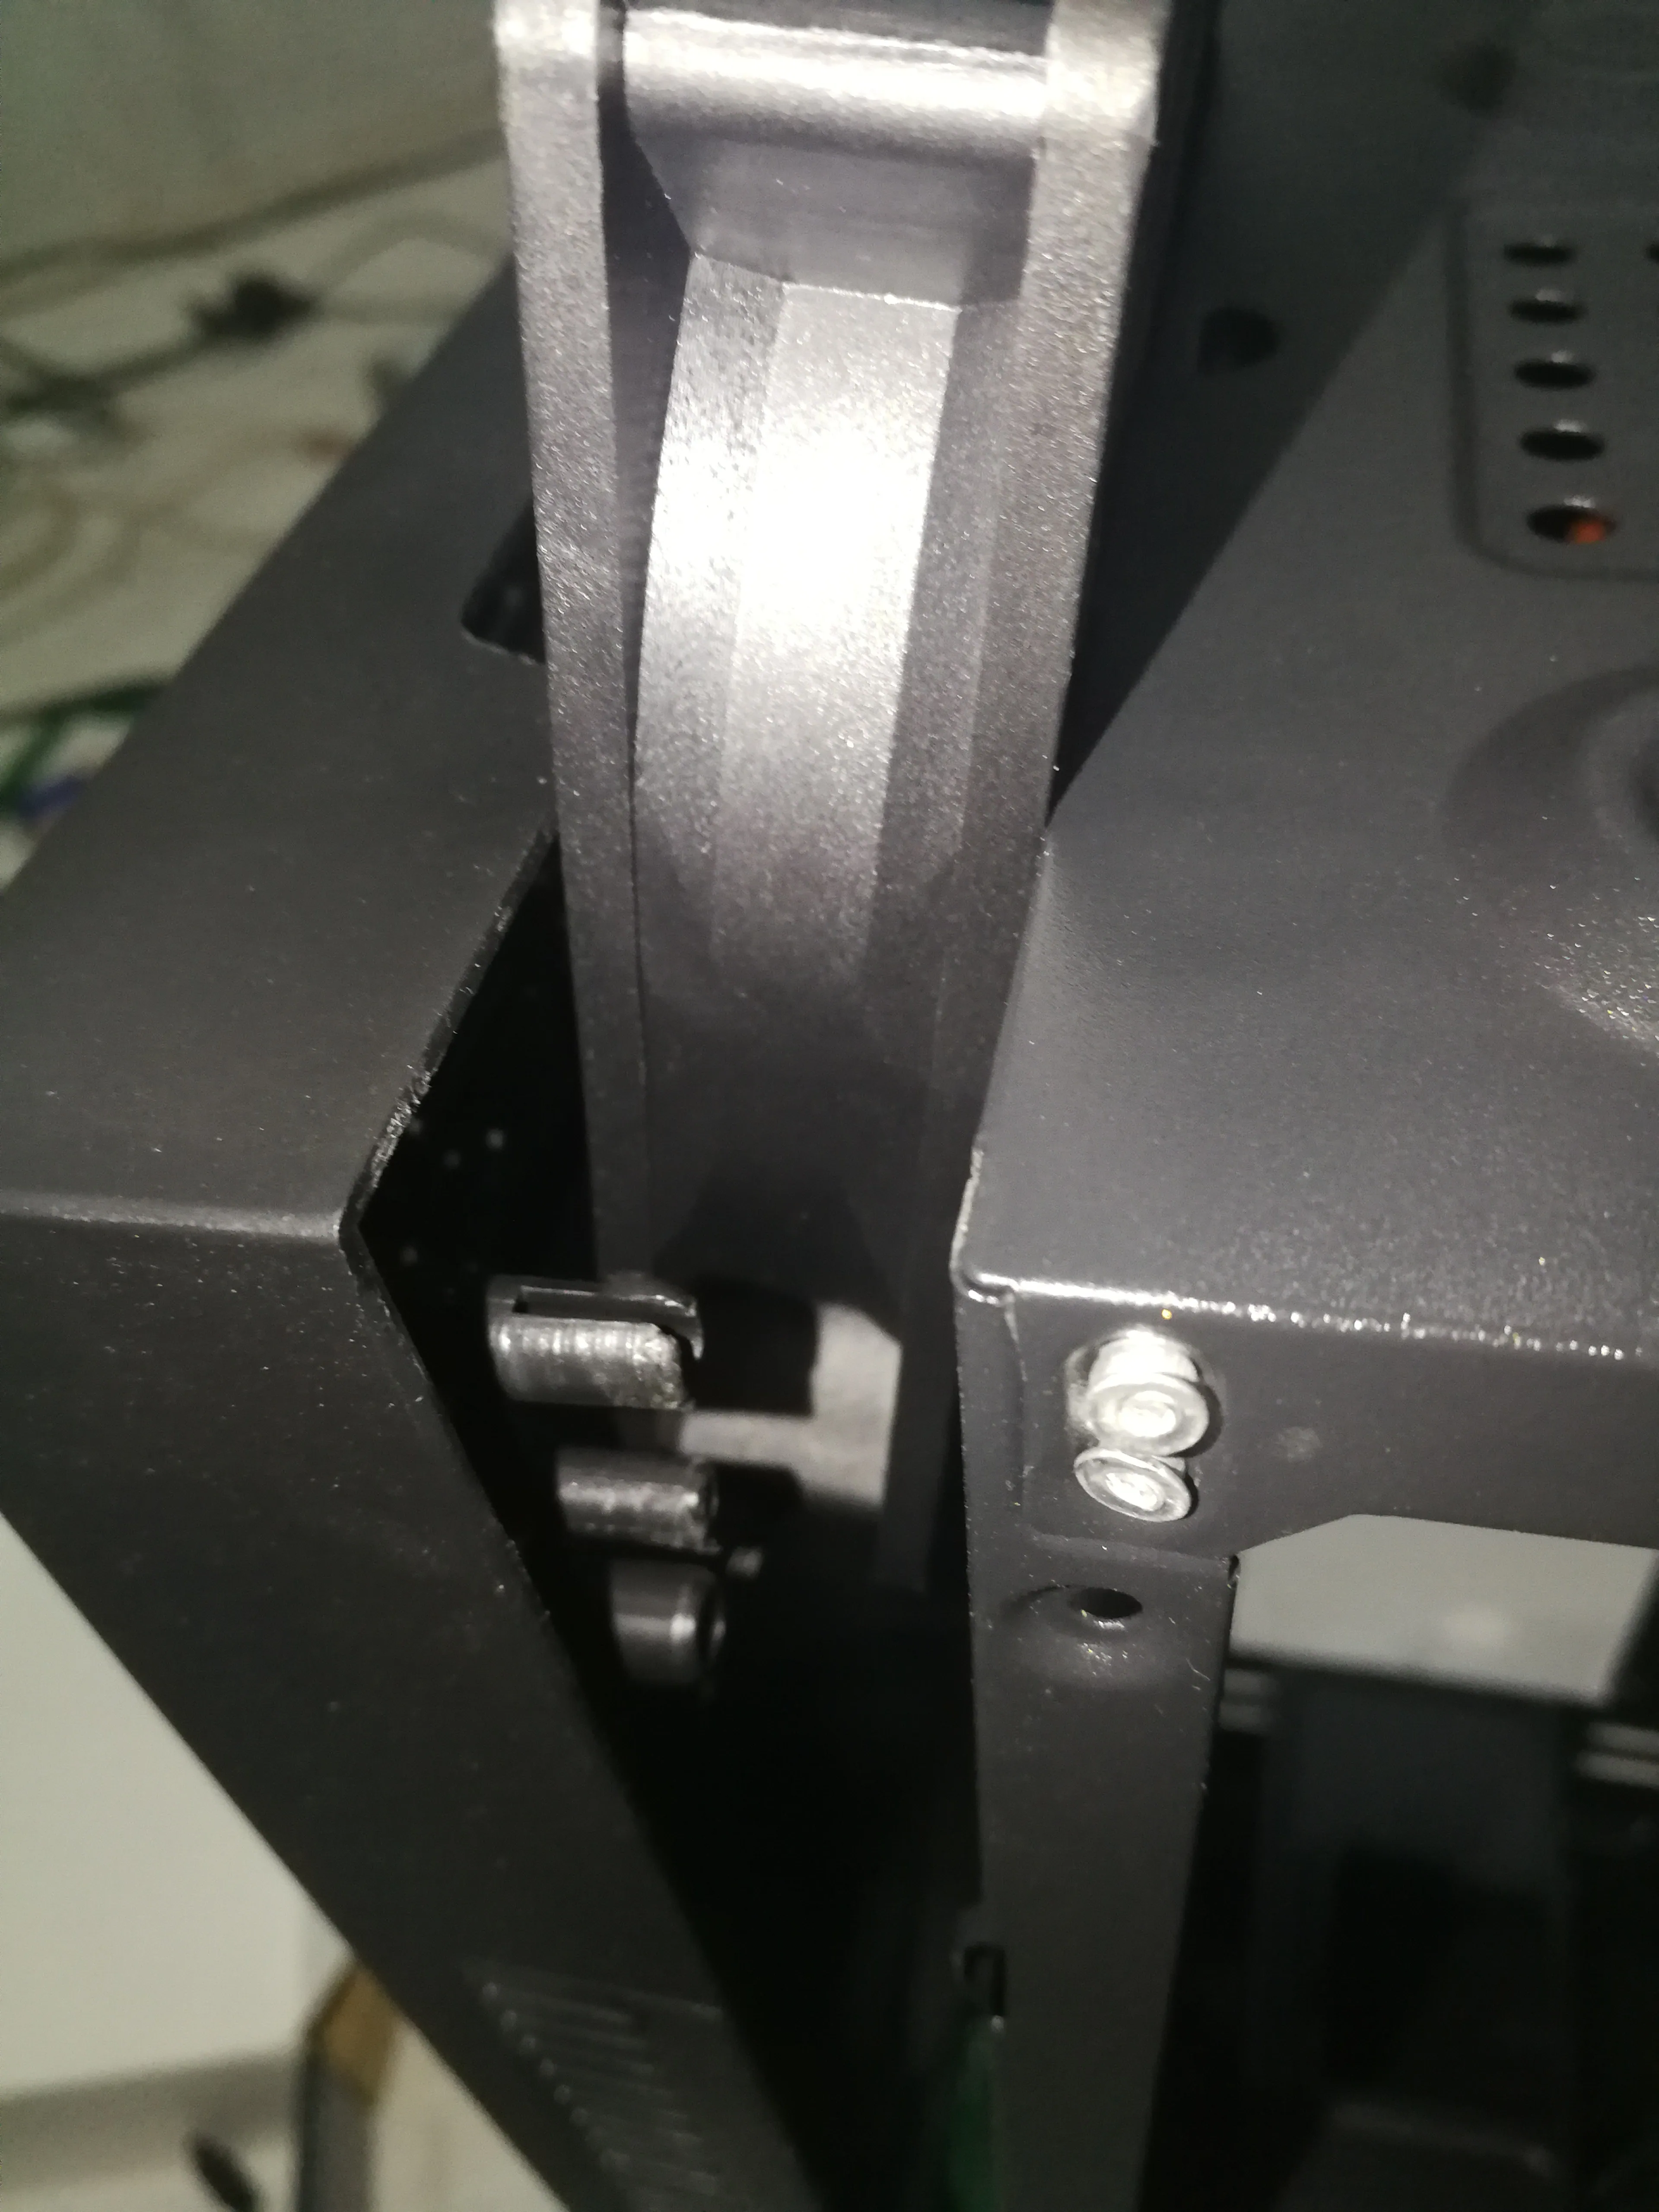
# Install the motherboard to the chassis
Install this inside the chassis
# Install the power supply


# Weird operation but observe the chassis

# Install the system


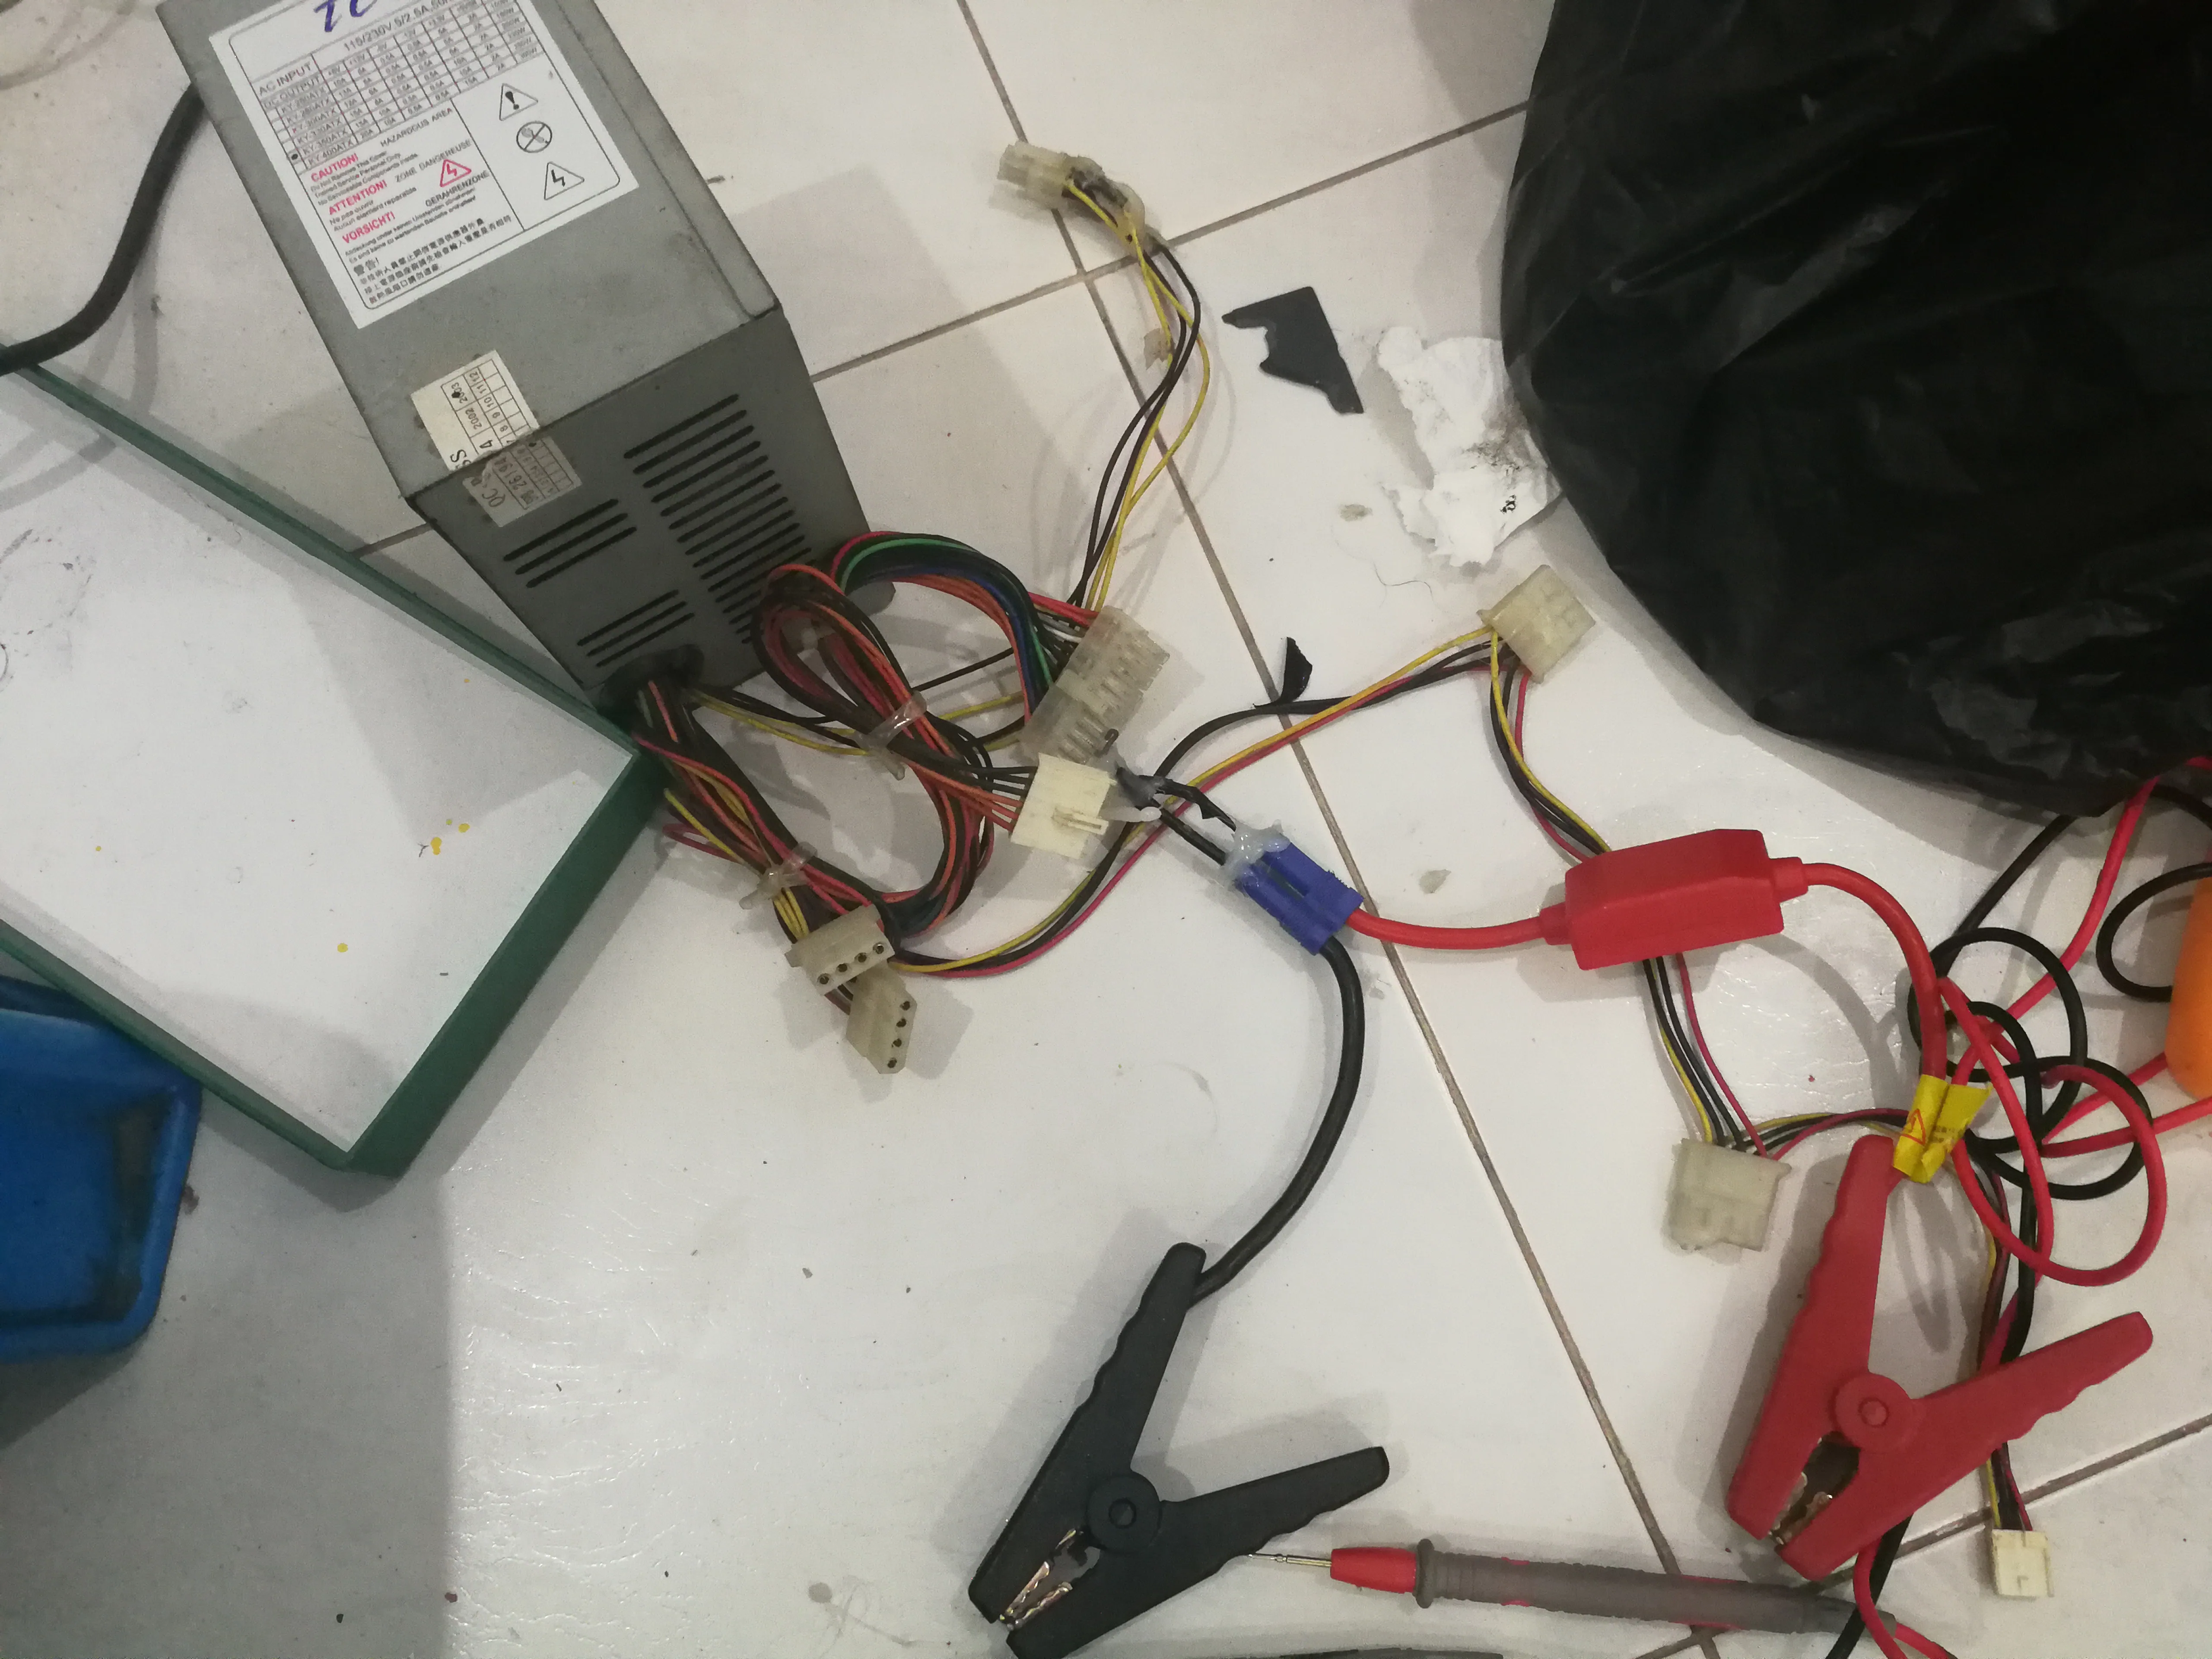
# Convert an old computer power supply to a charger
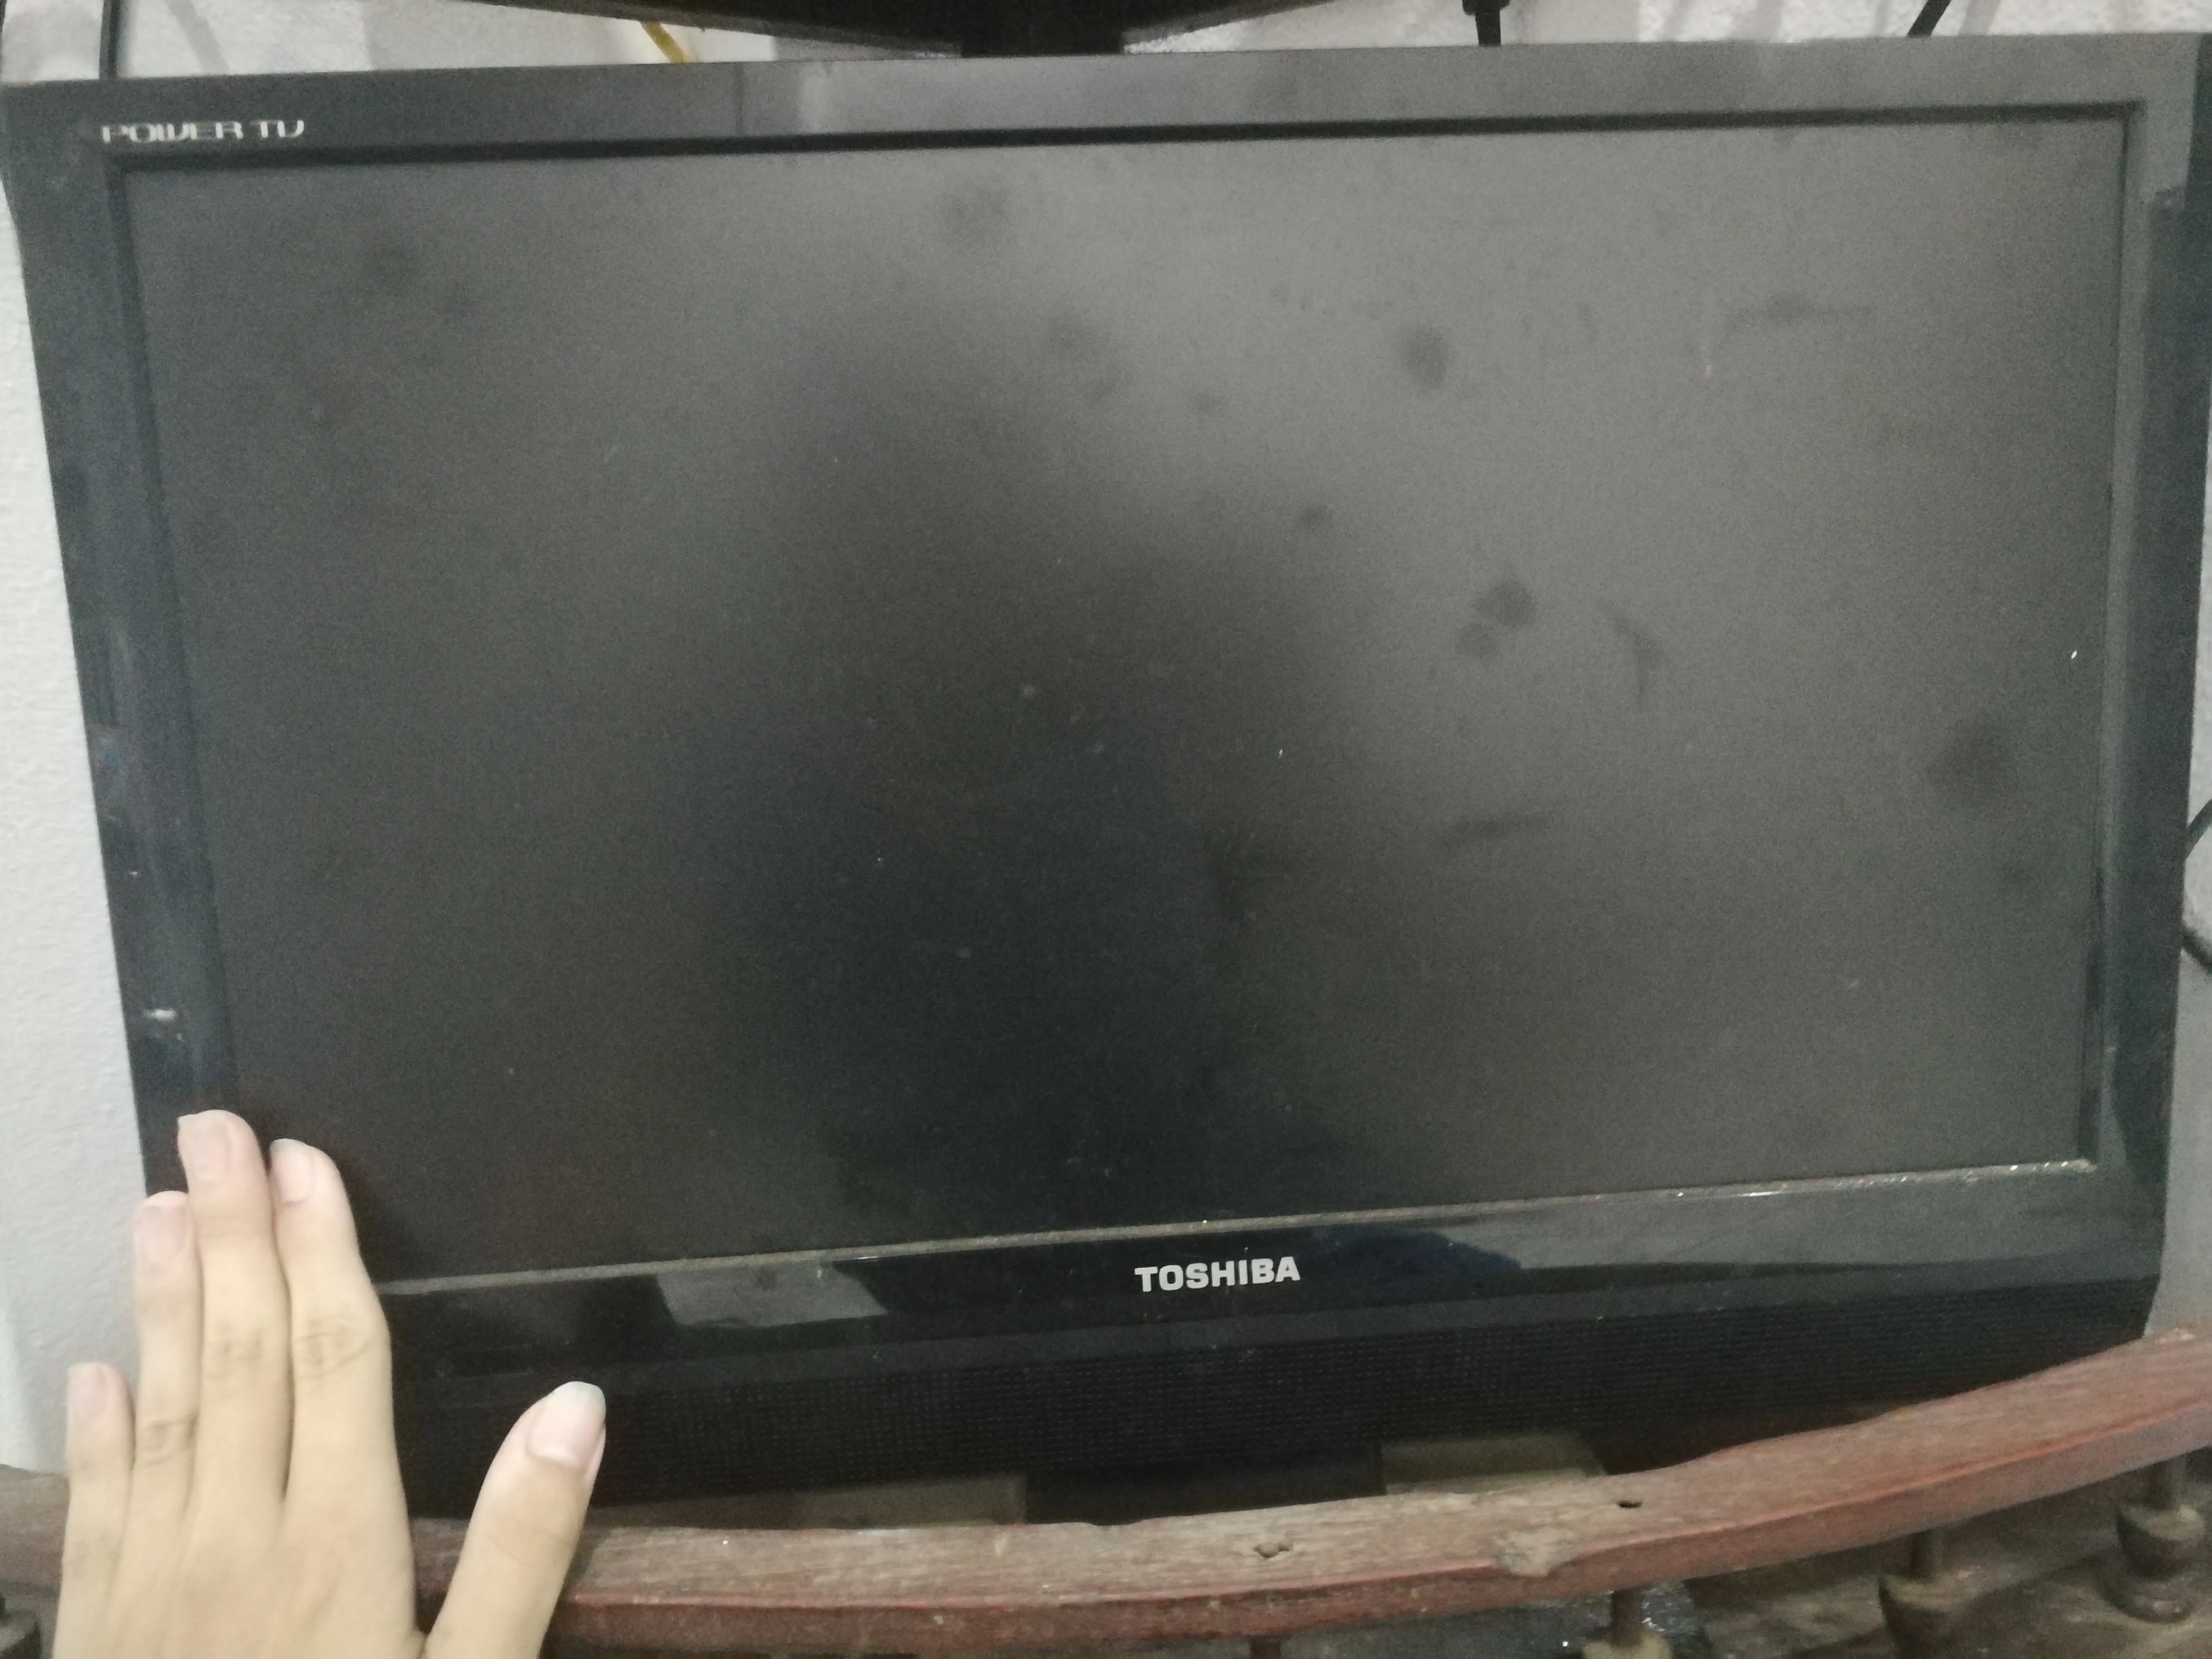
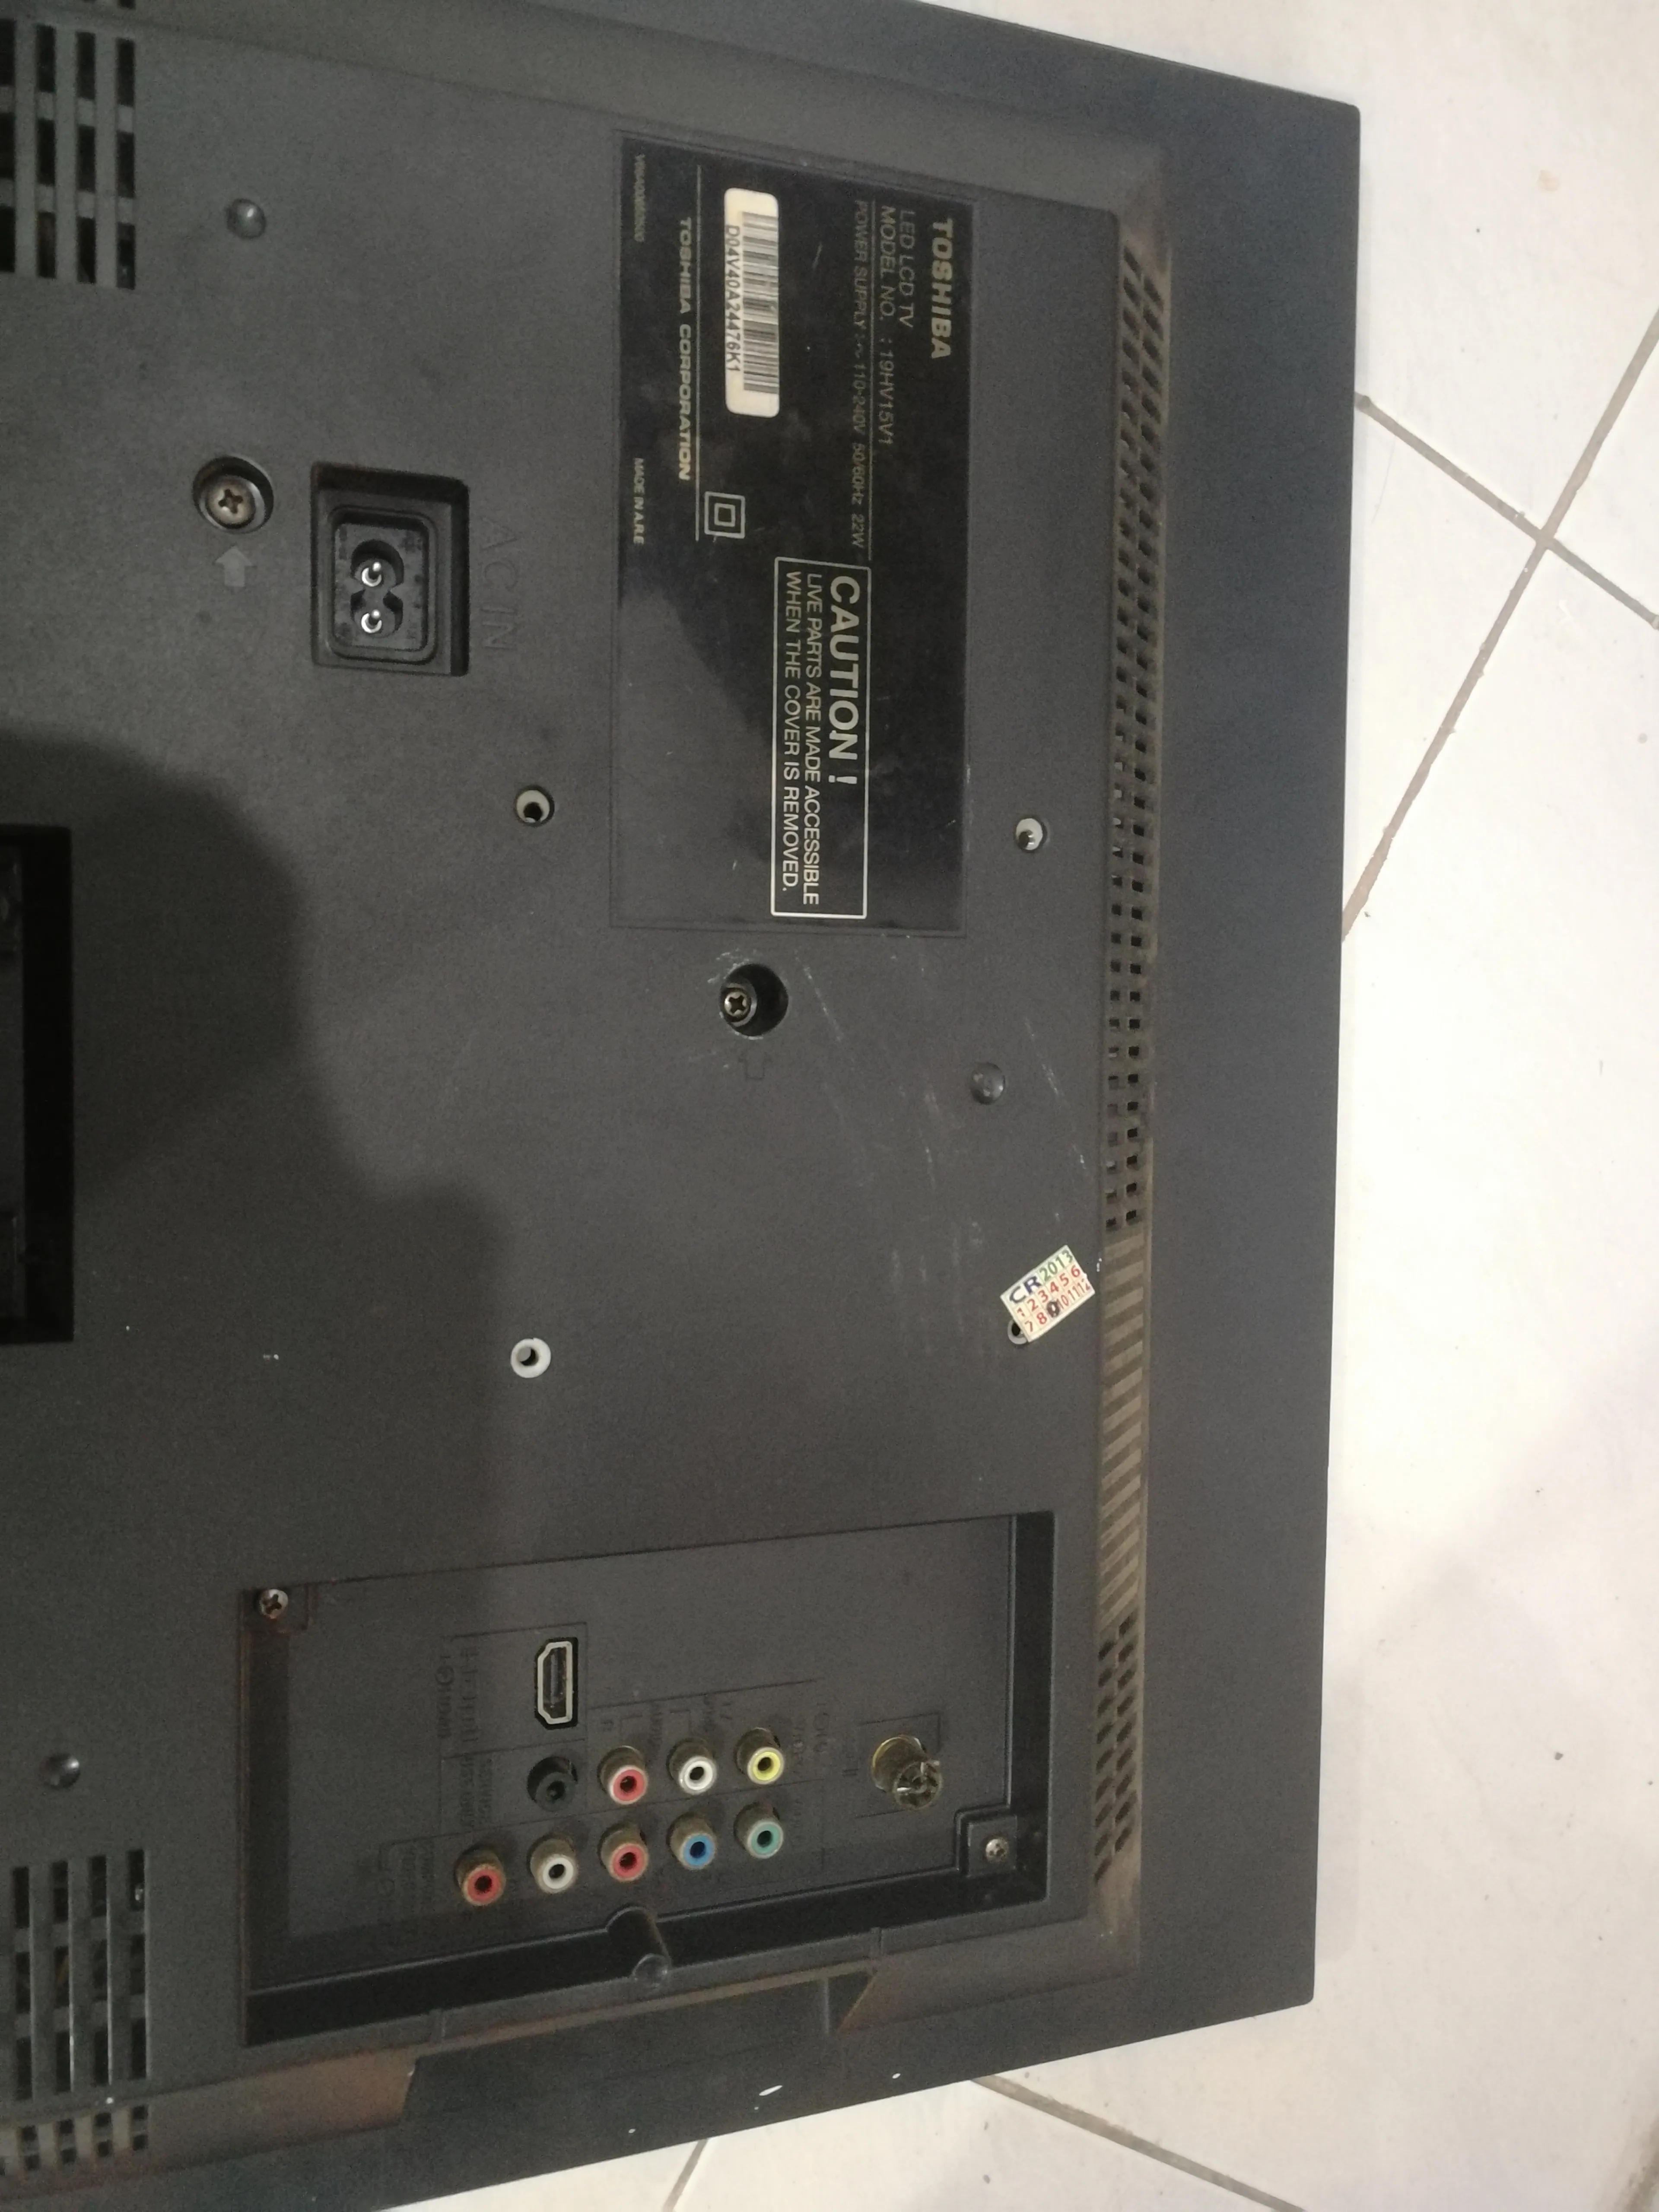
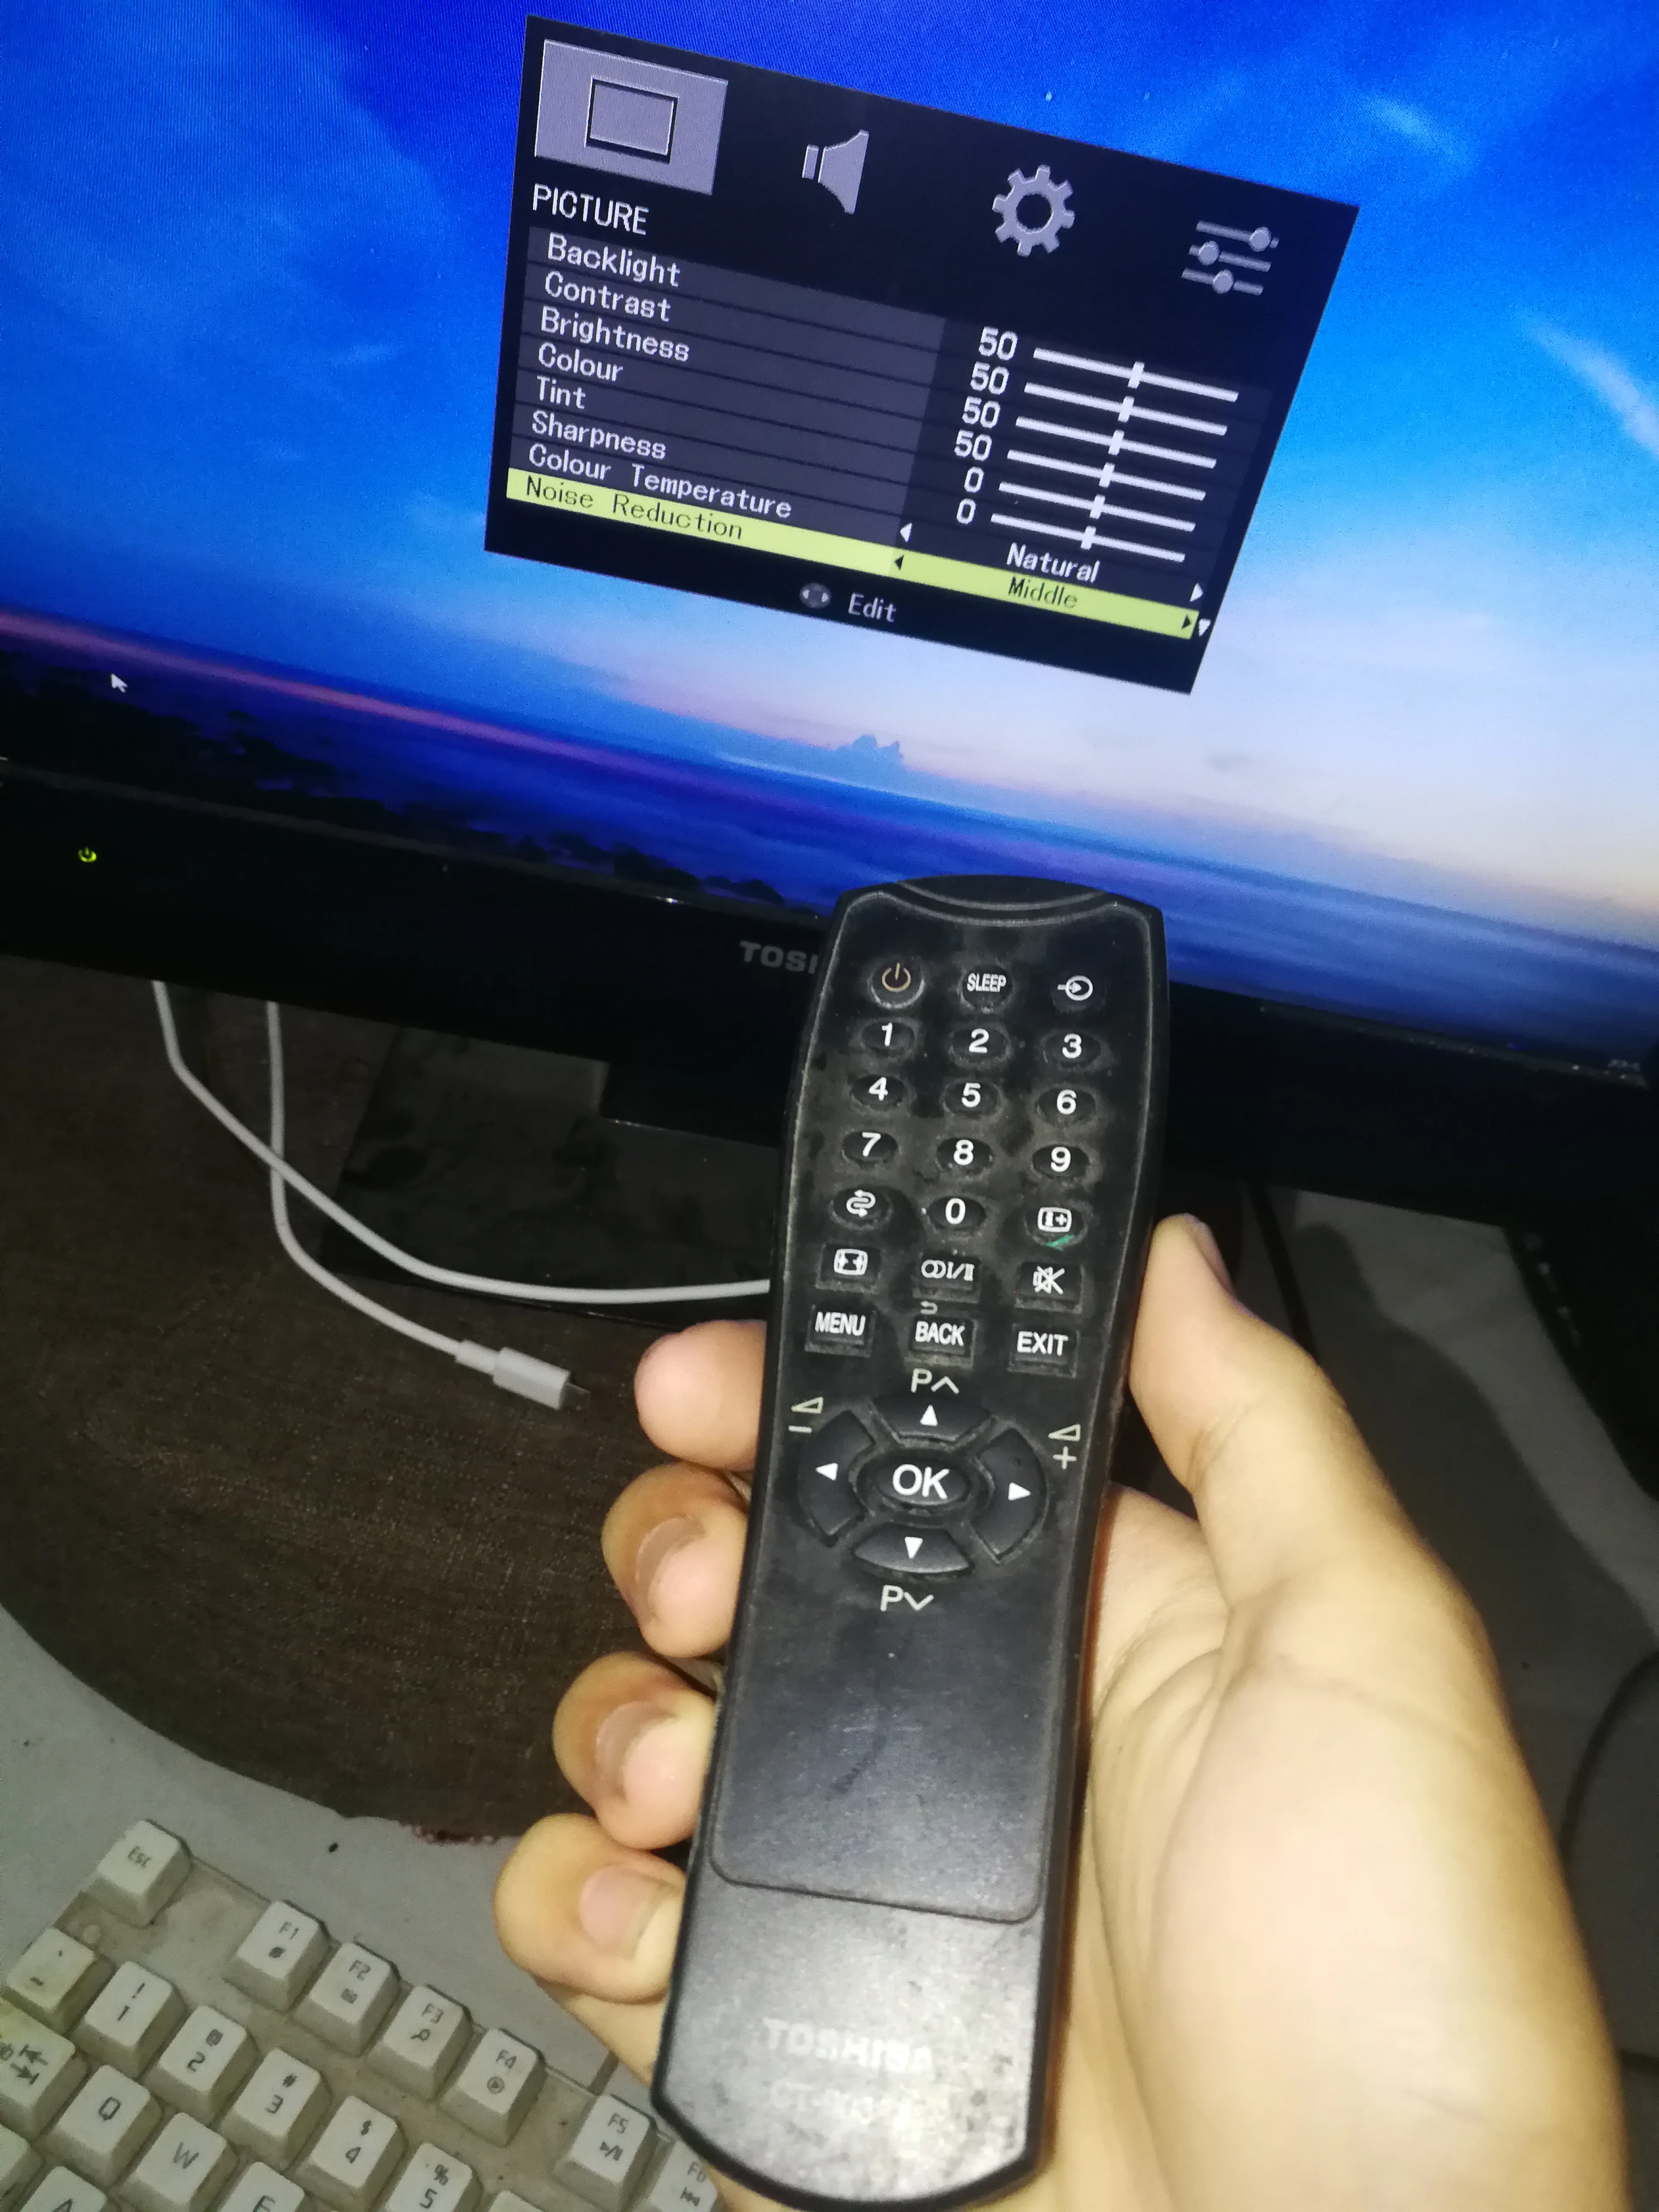
# Monitor
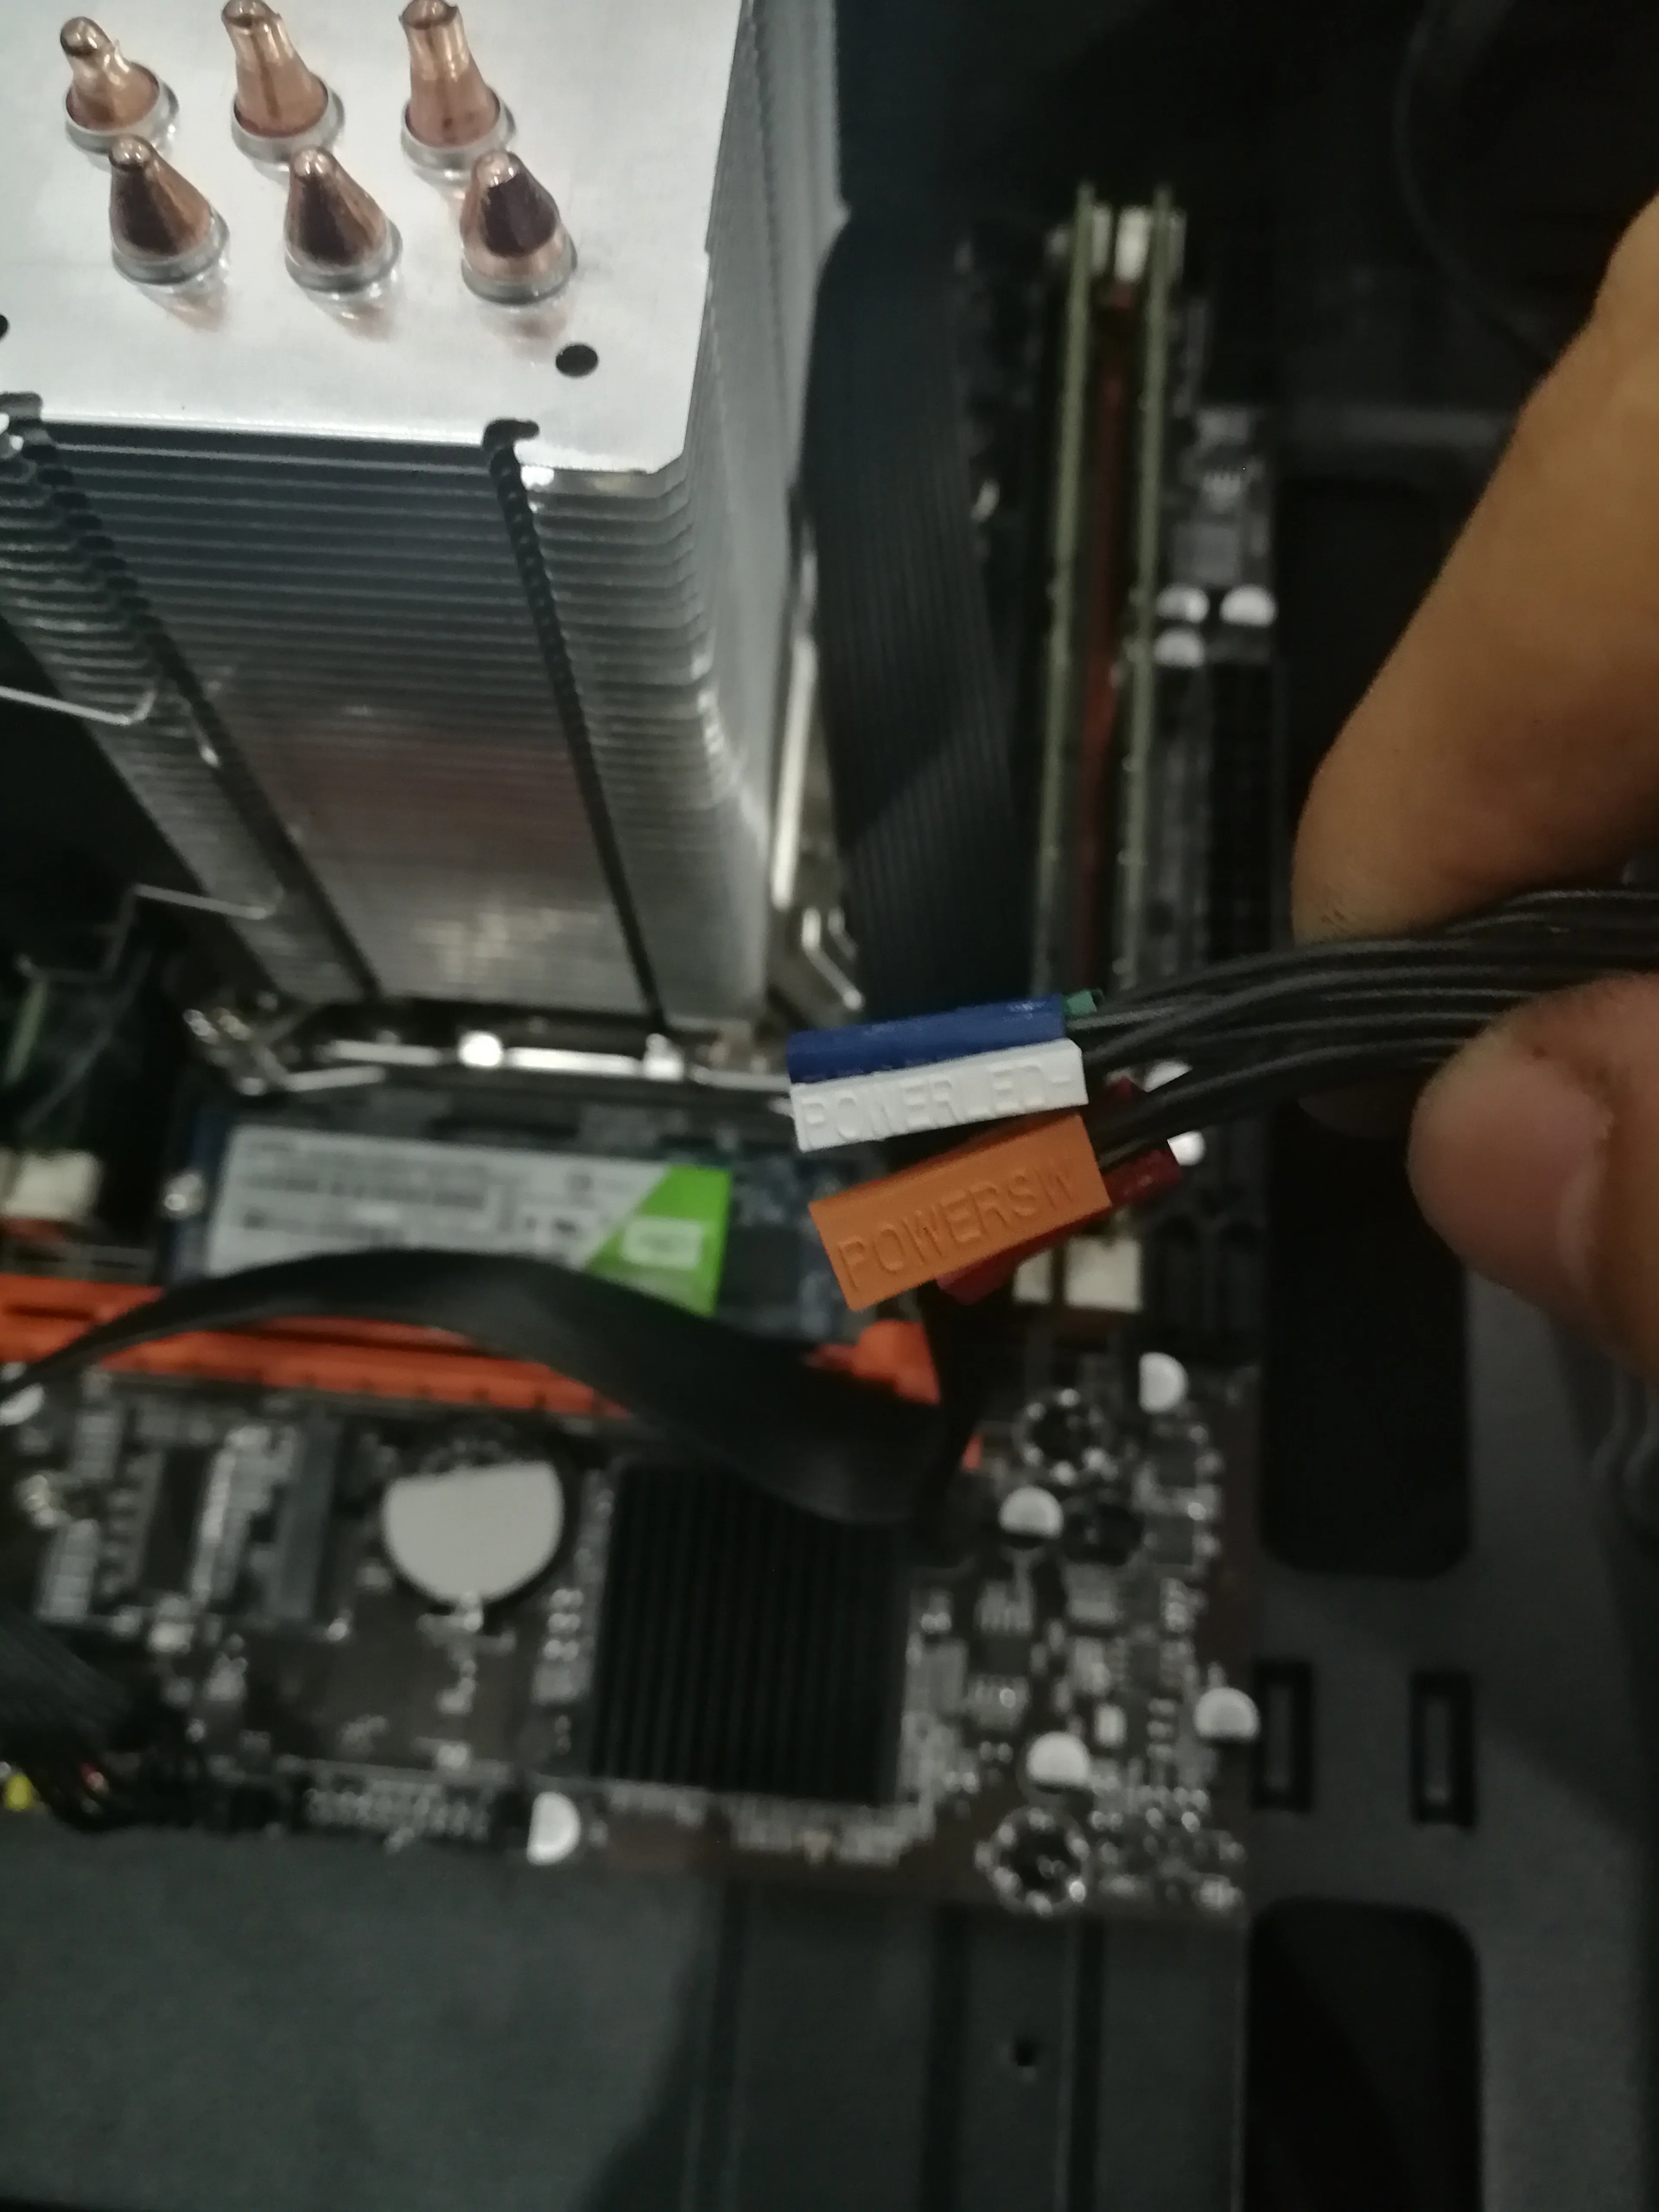
# Install the motherboard pins
# Install the PCIE wireless network card

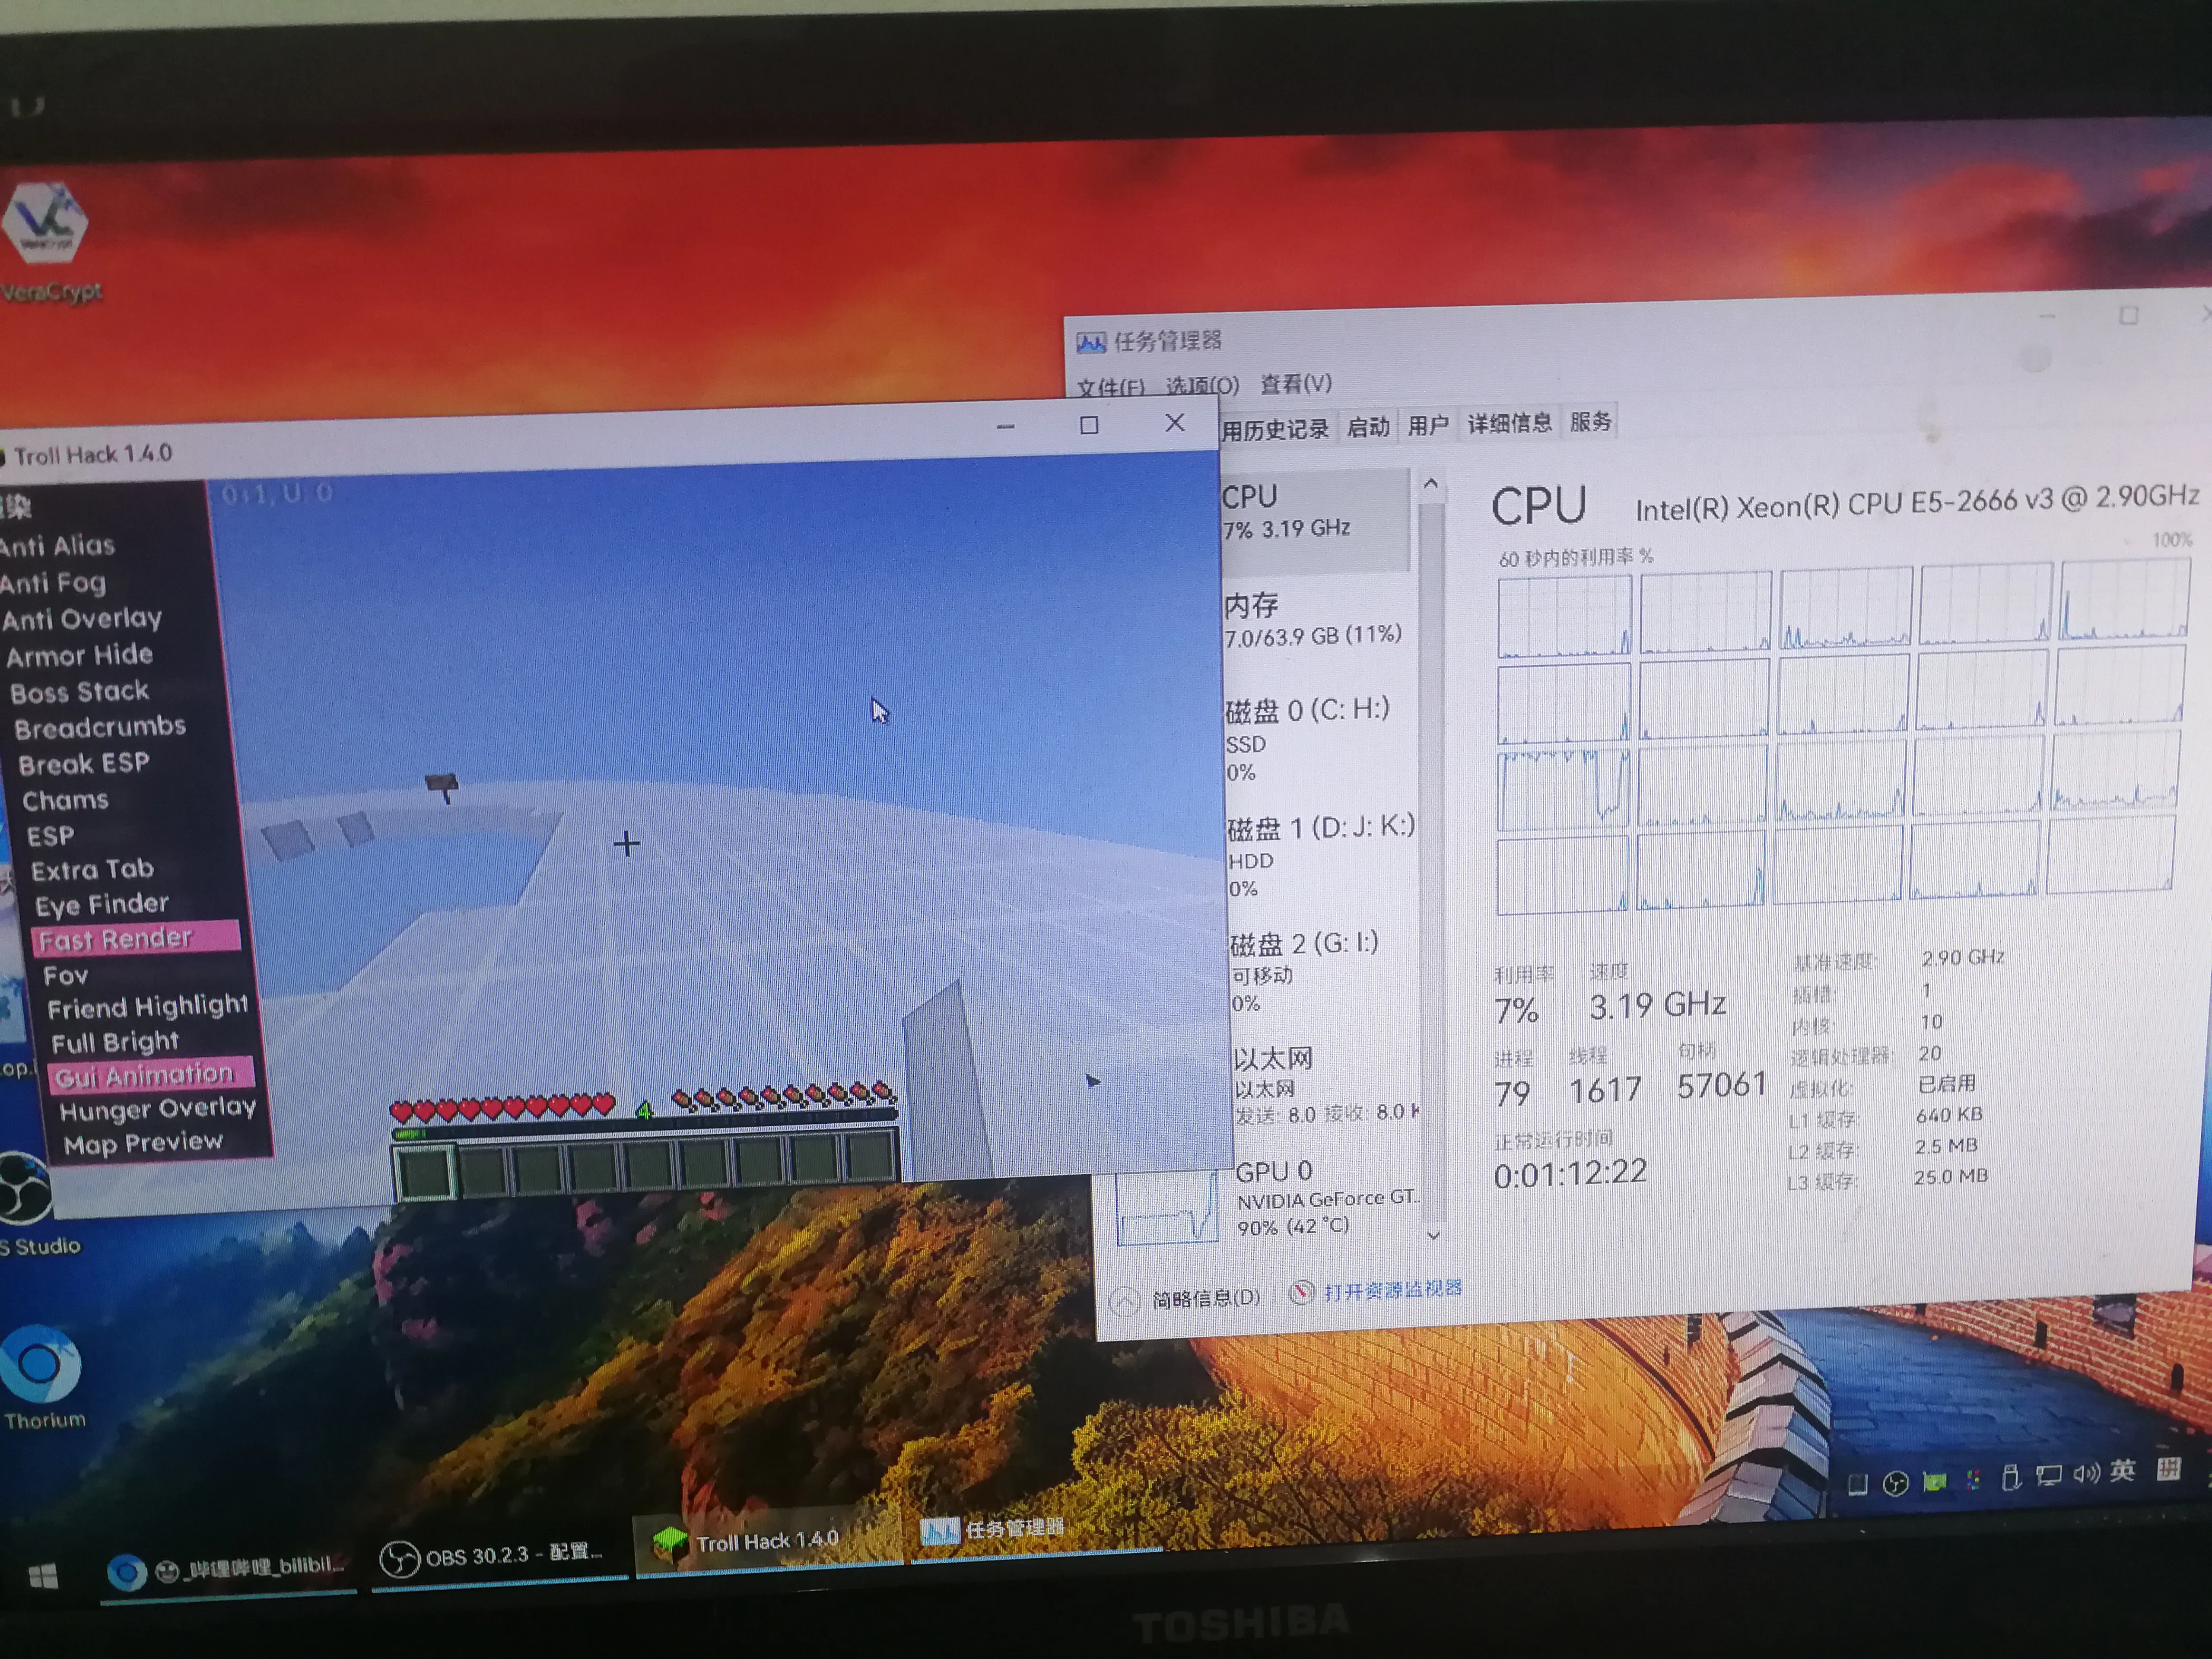
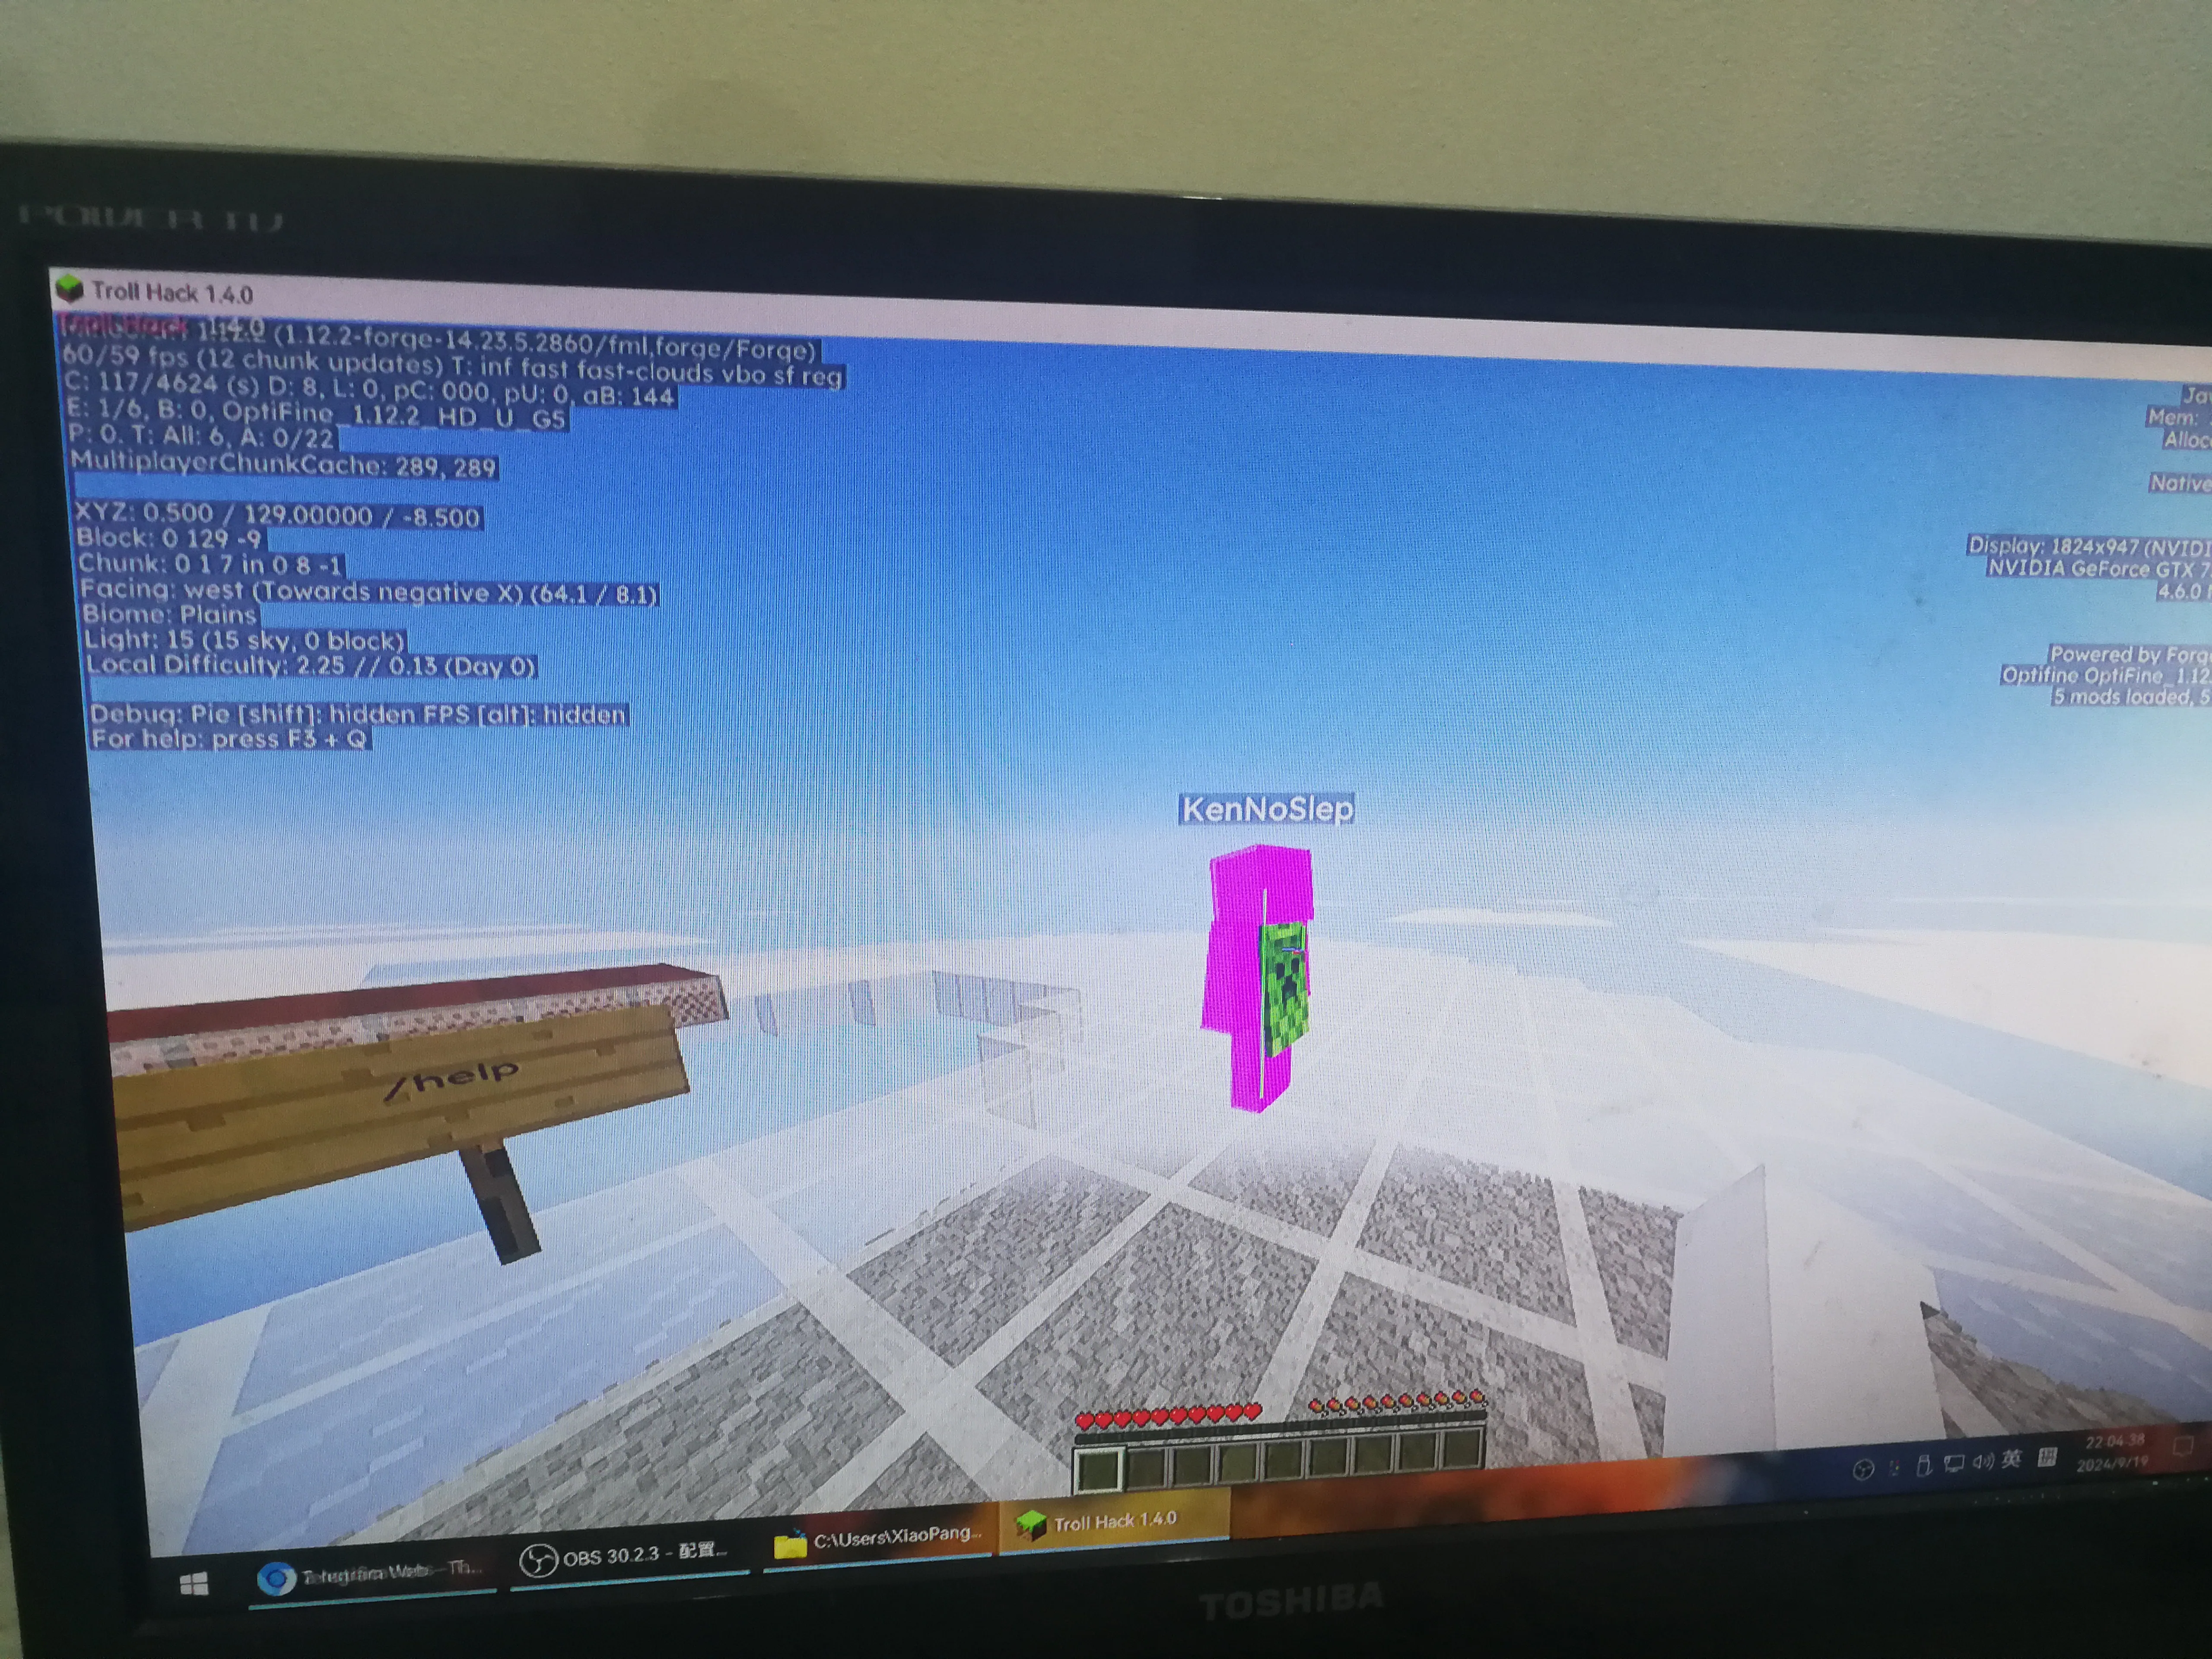
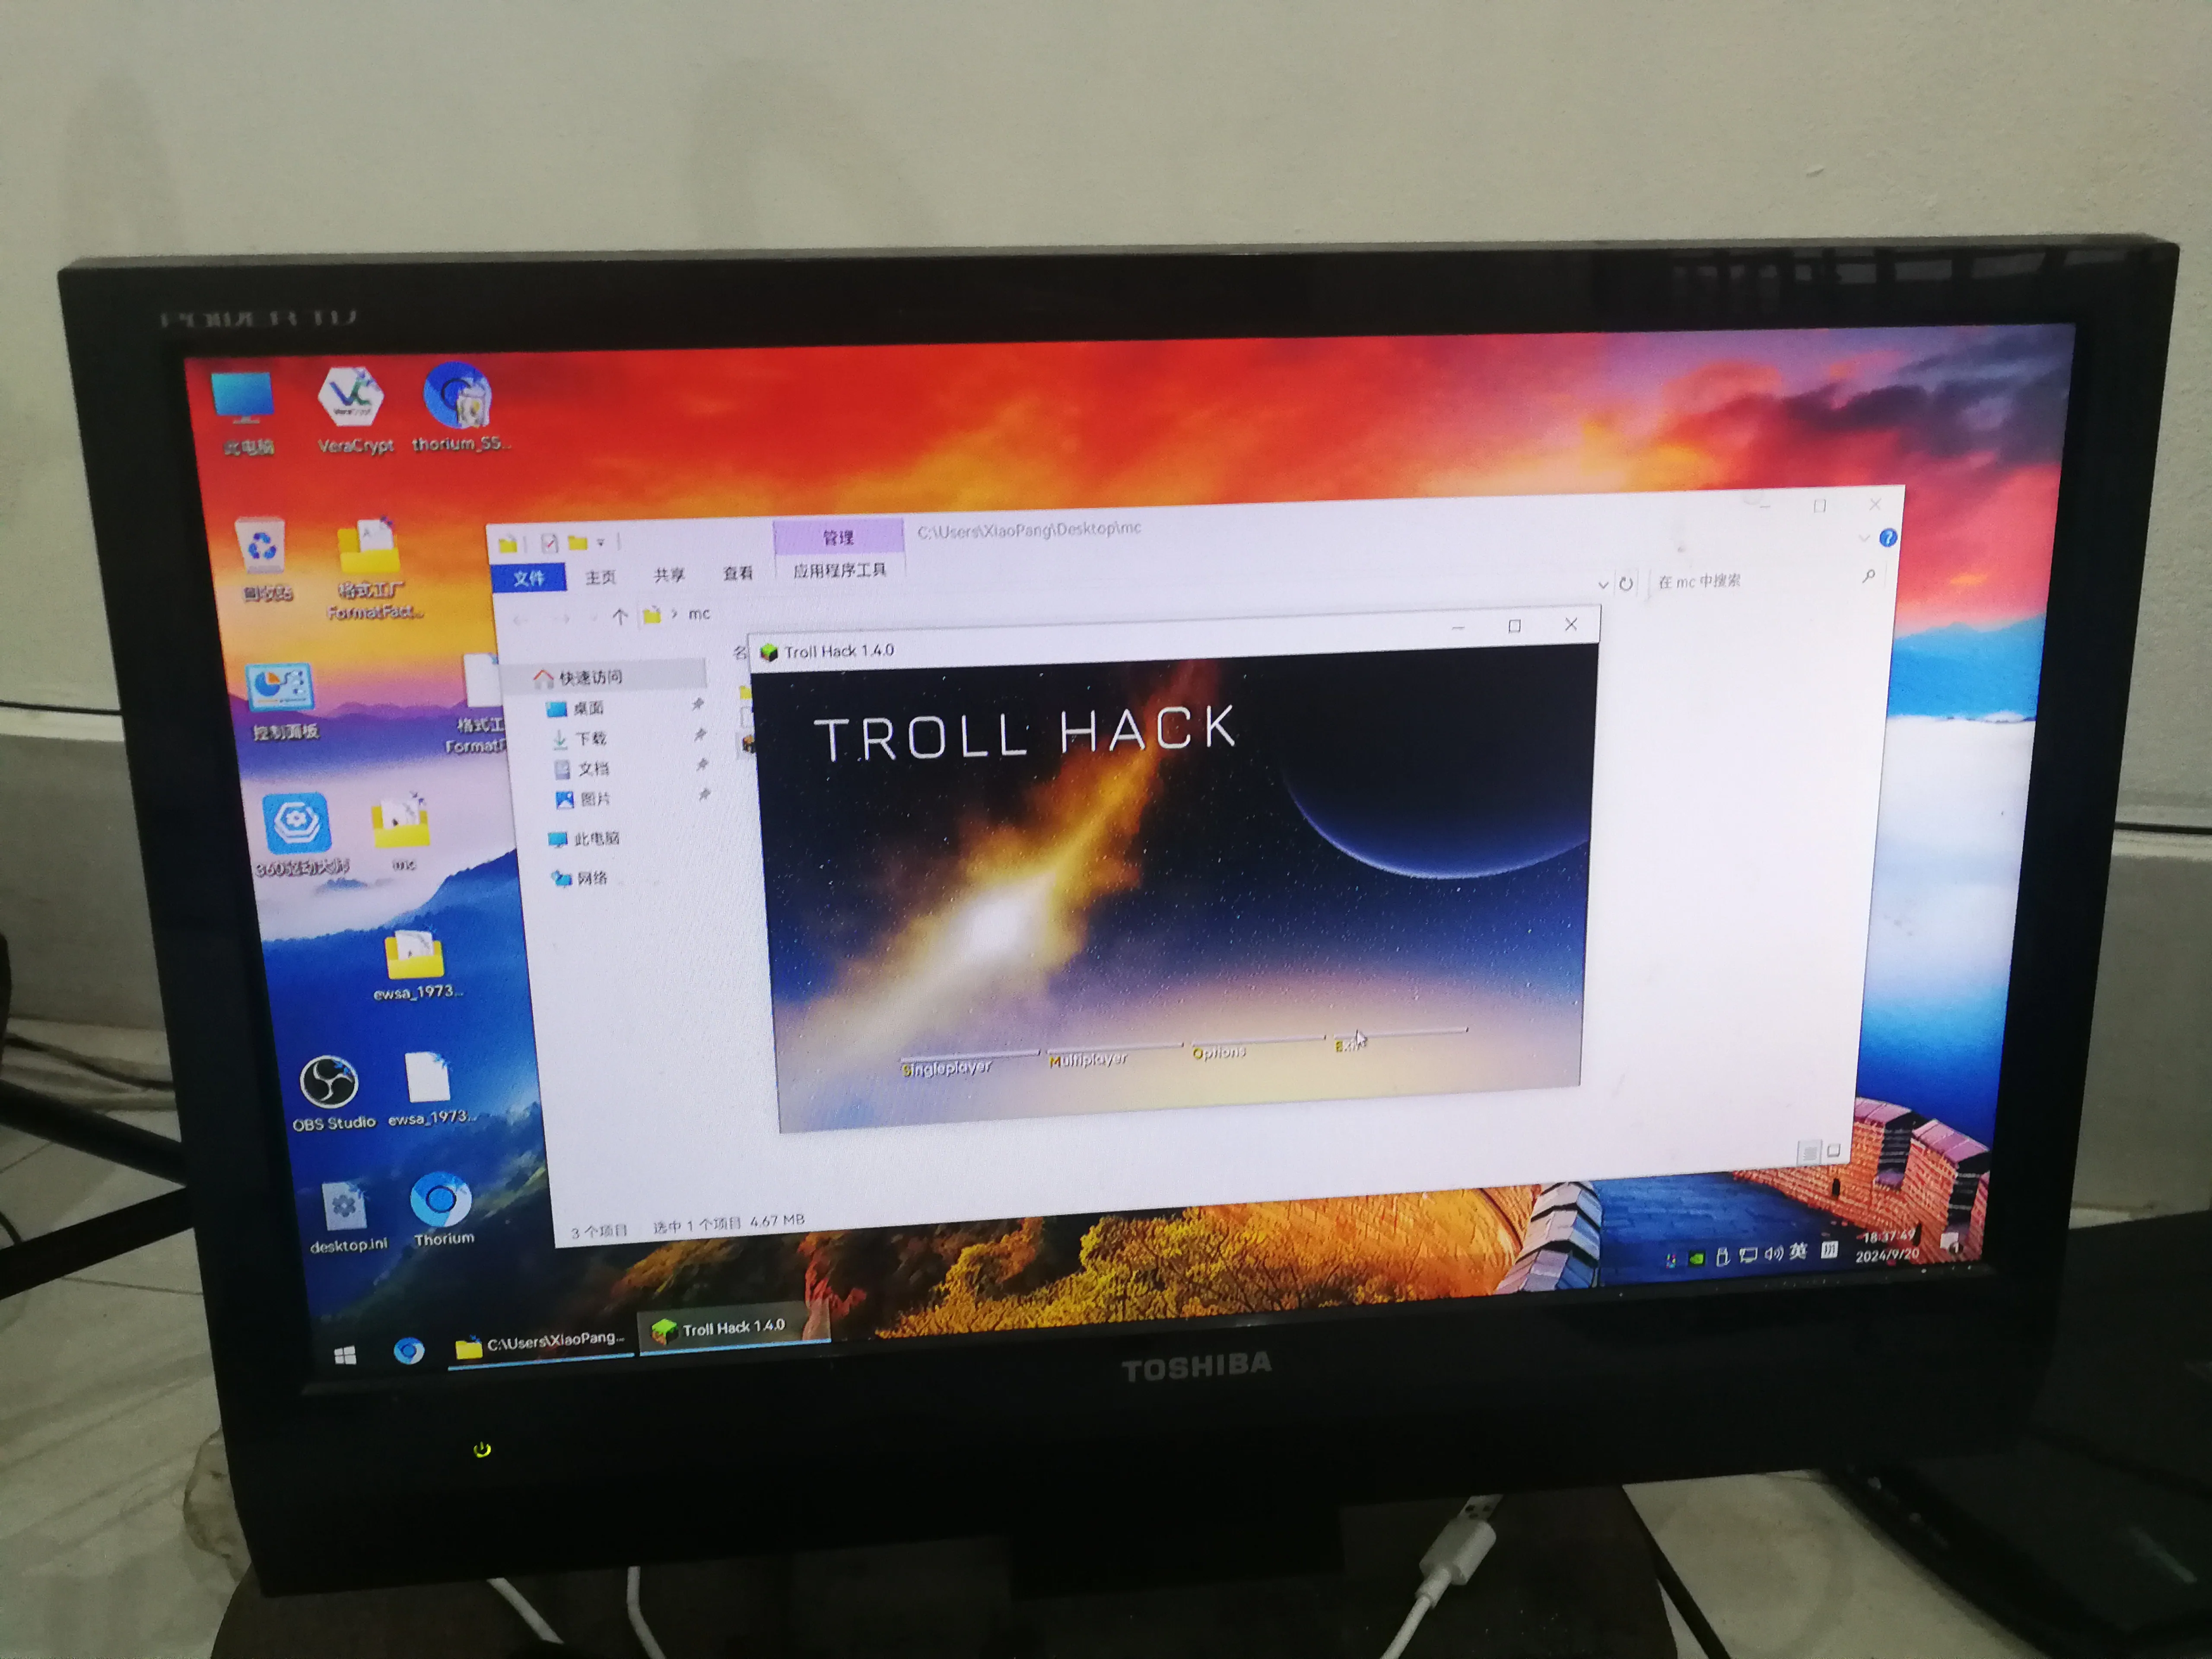
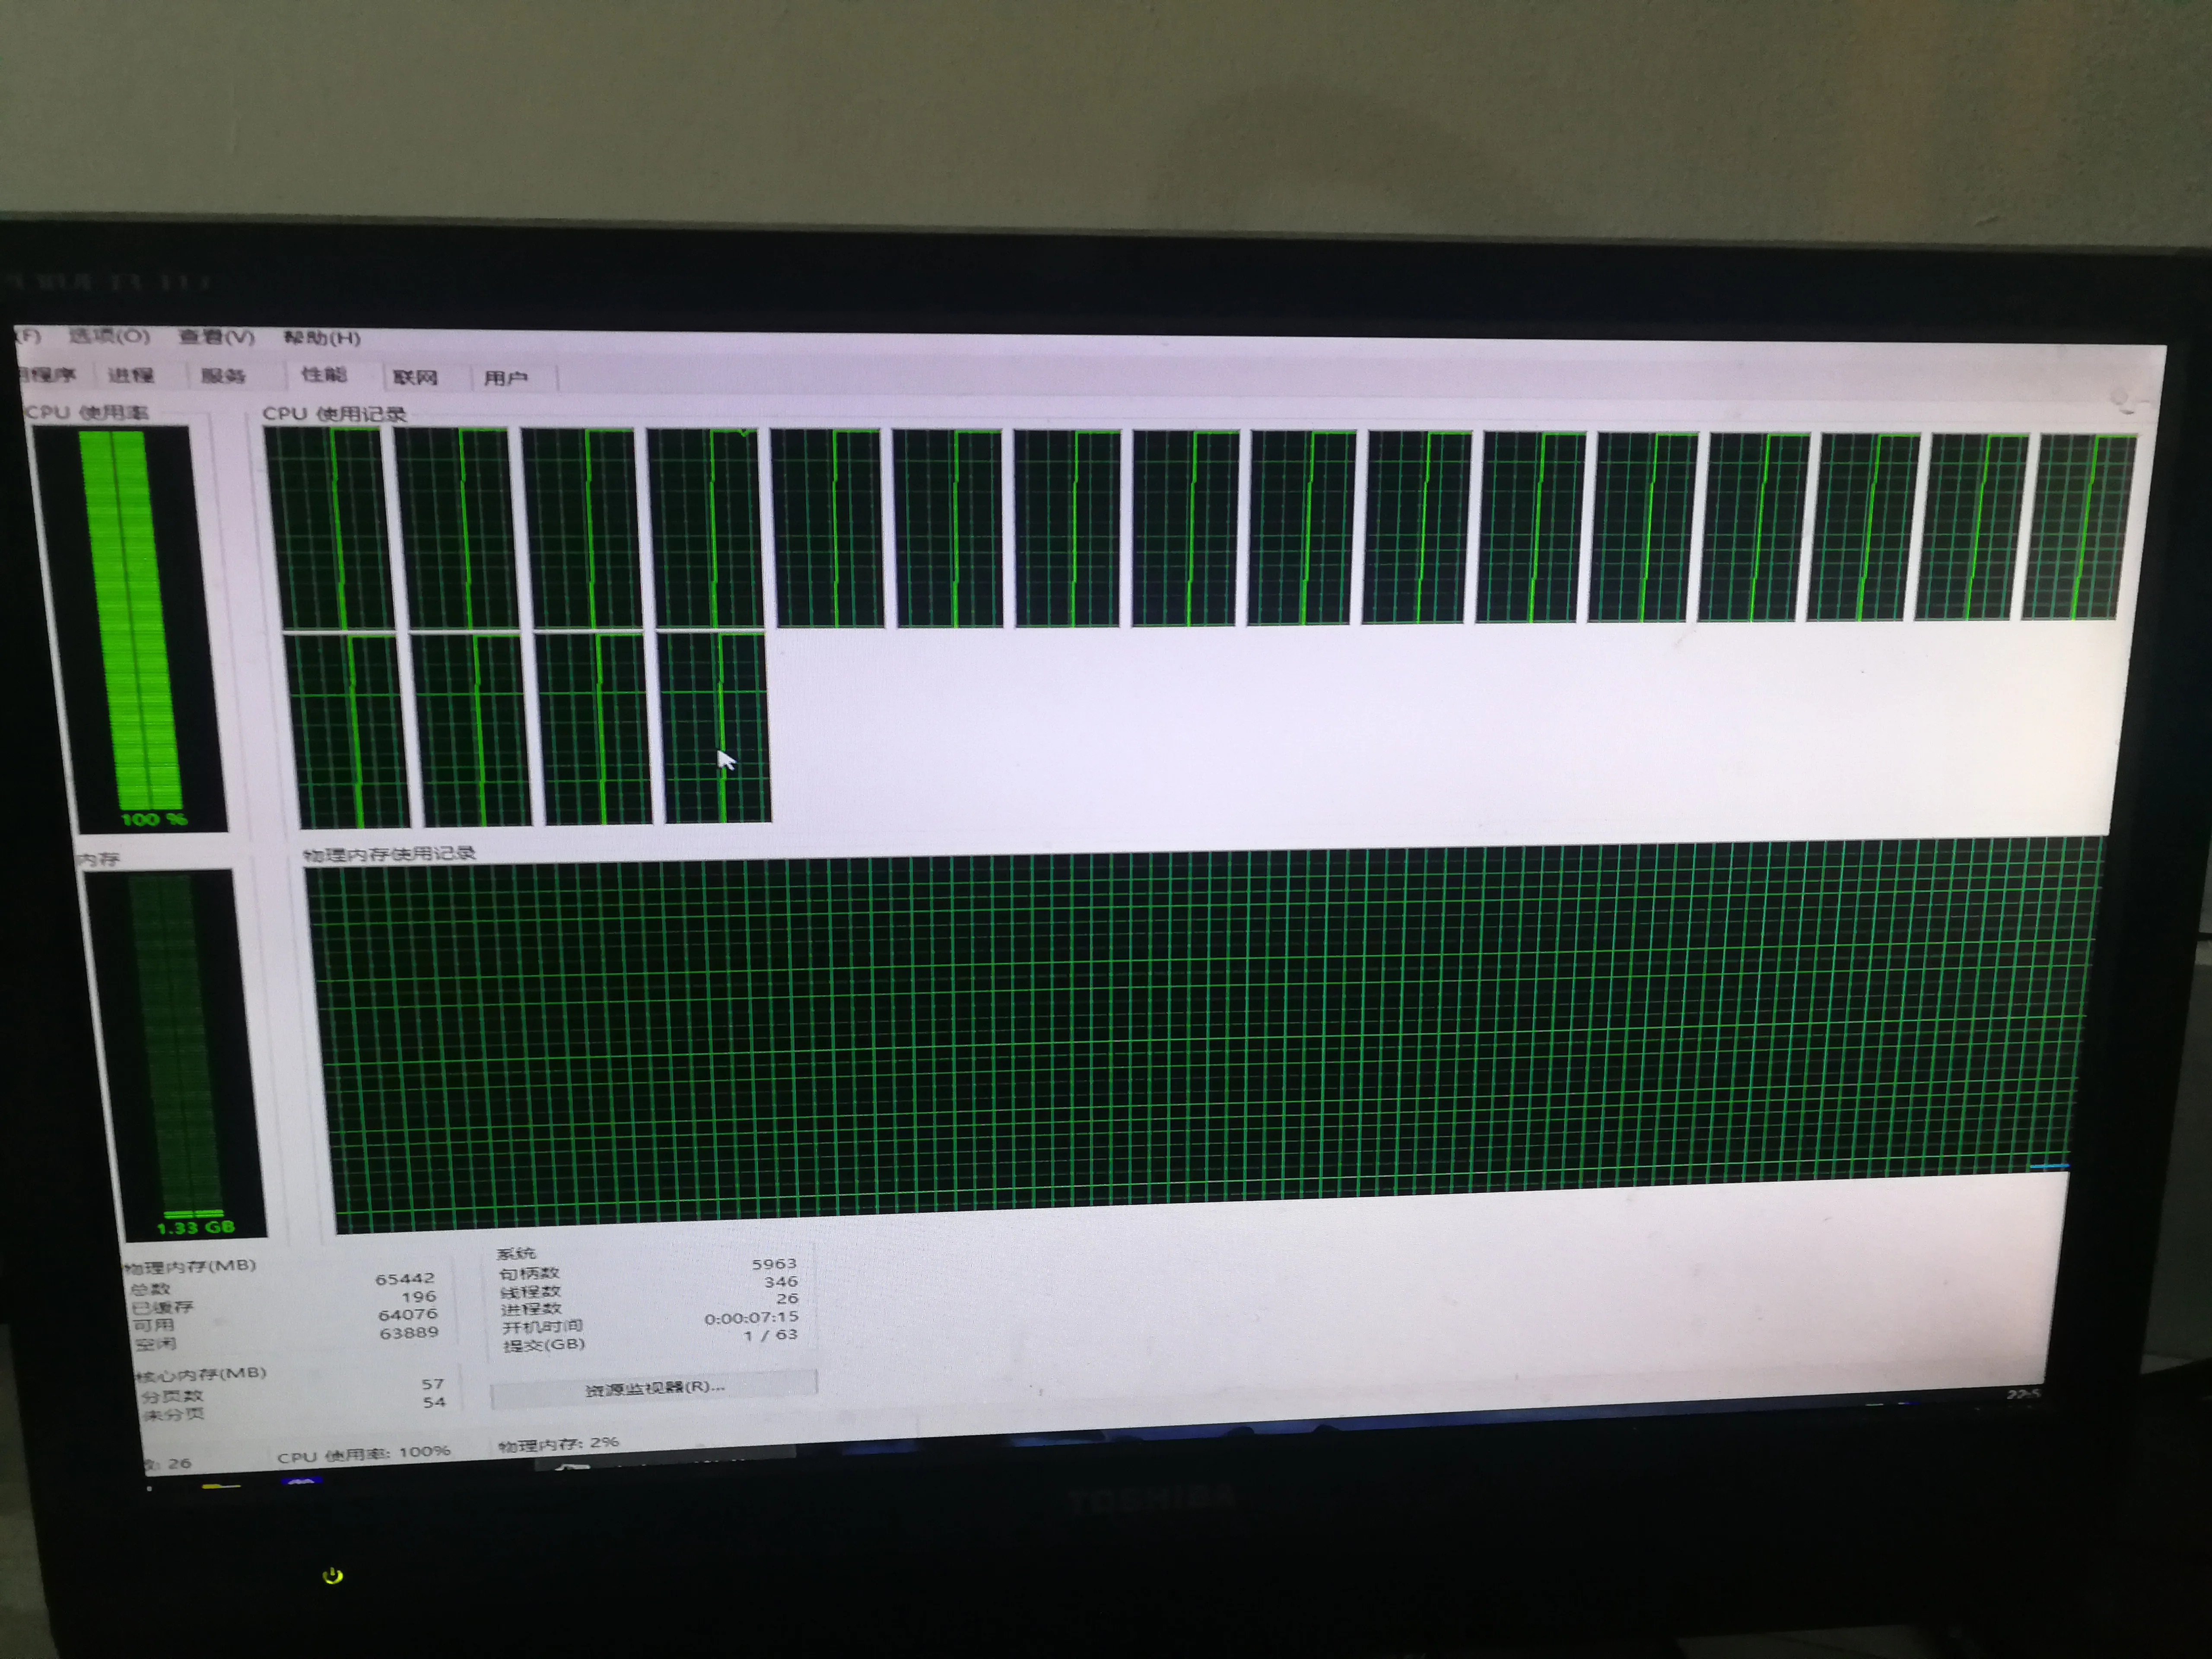
# GTX960 Minecraft TrollHack frame rate test
# Second-hand deteriorated gaming mouse

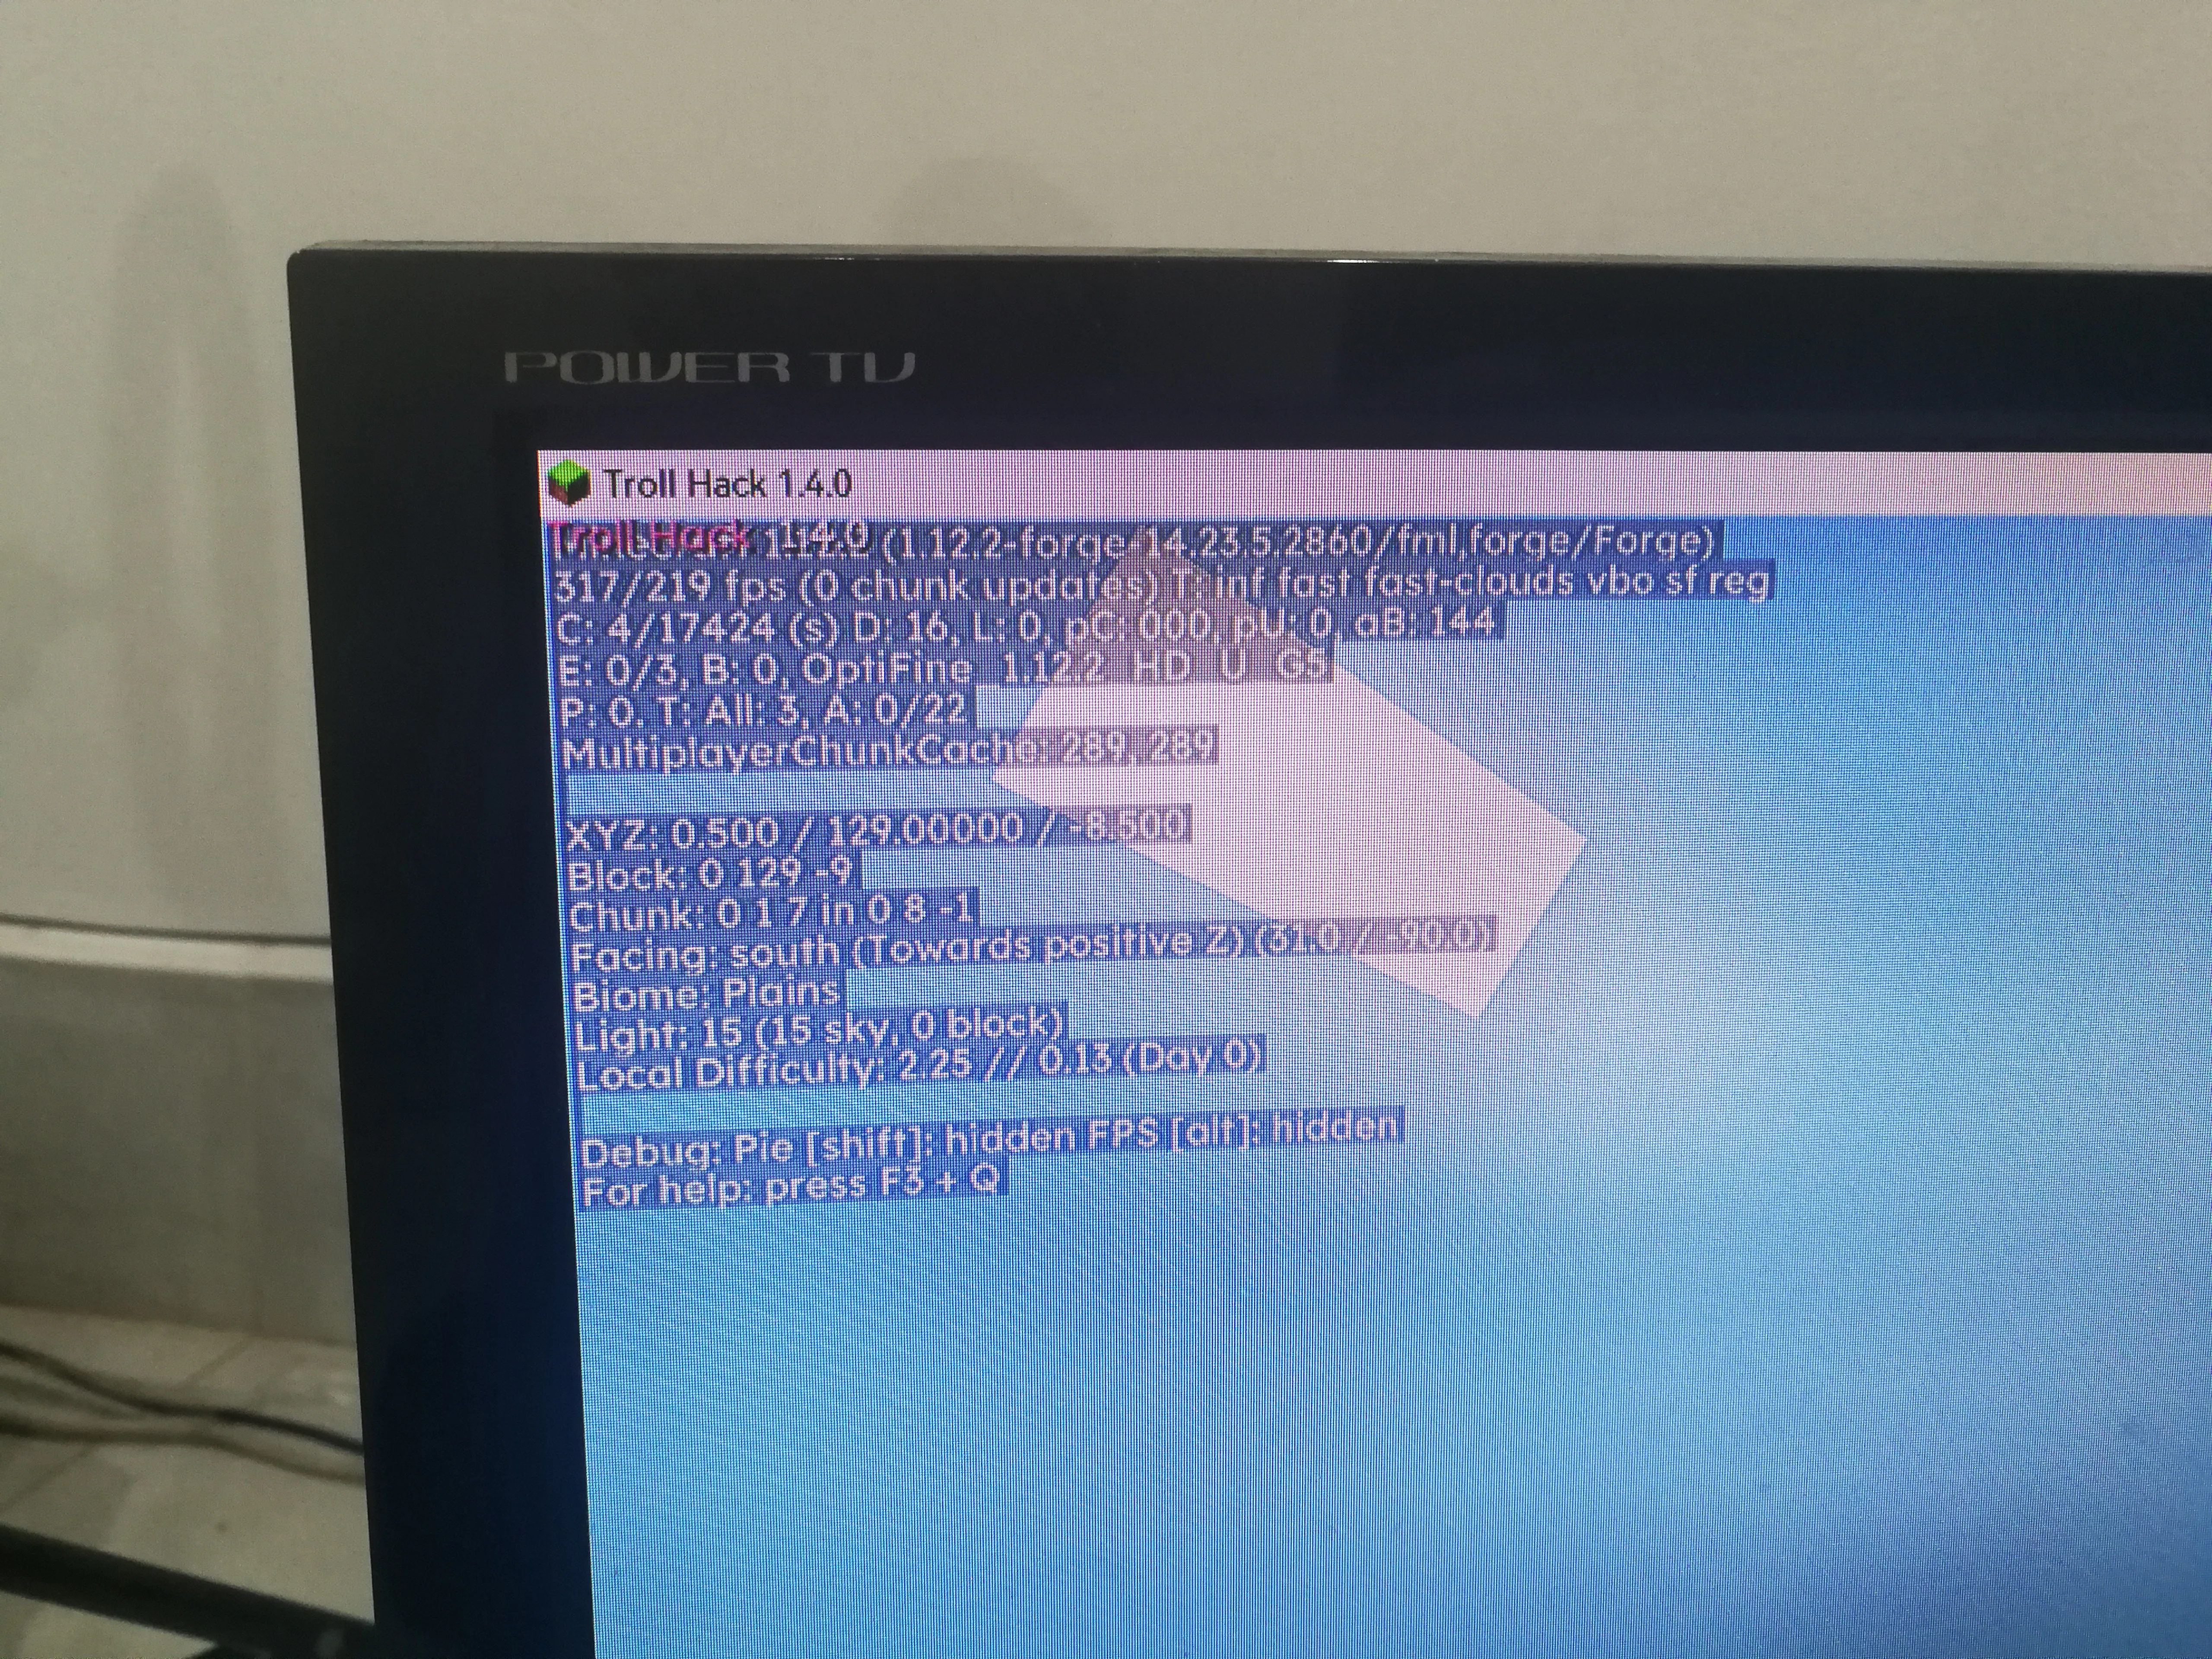
# Minecraft has 200FPS when looking at the sky
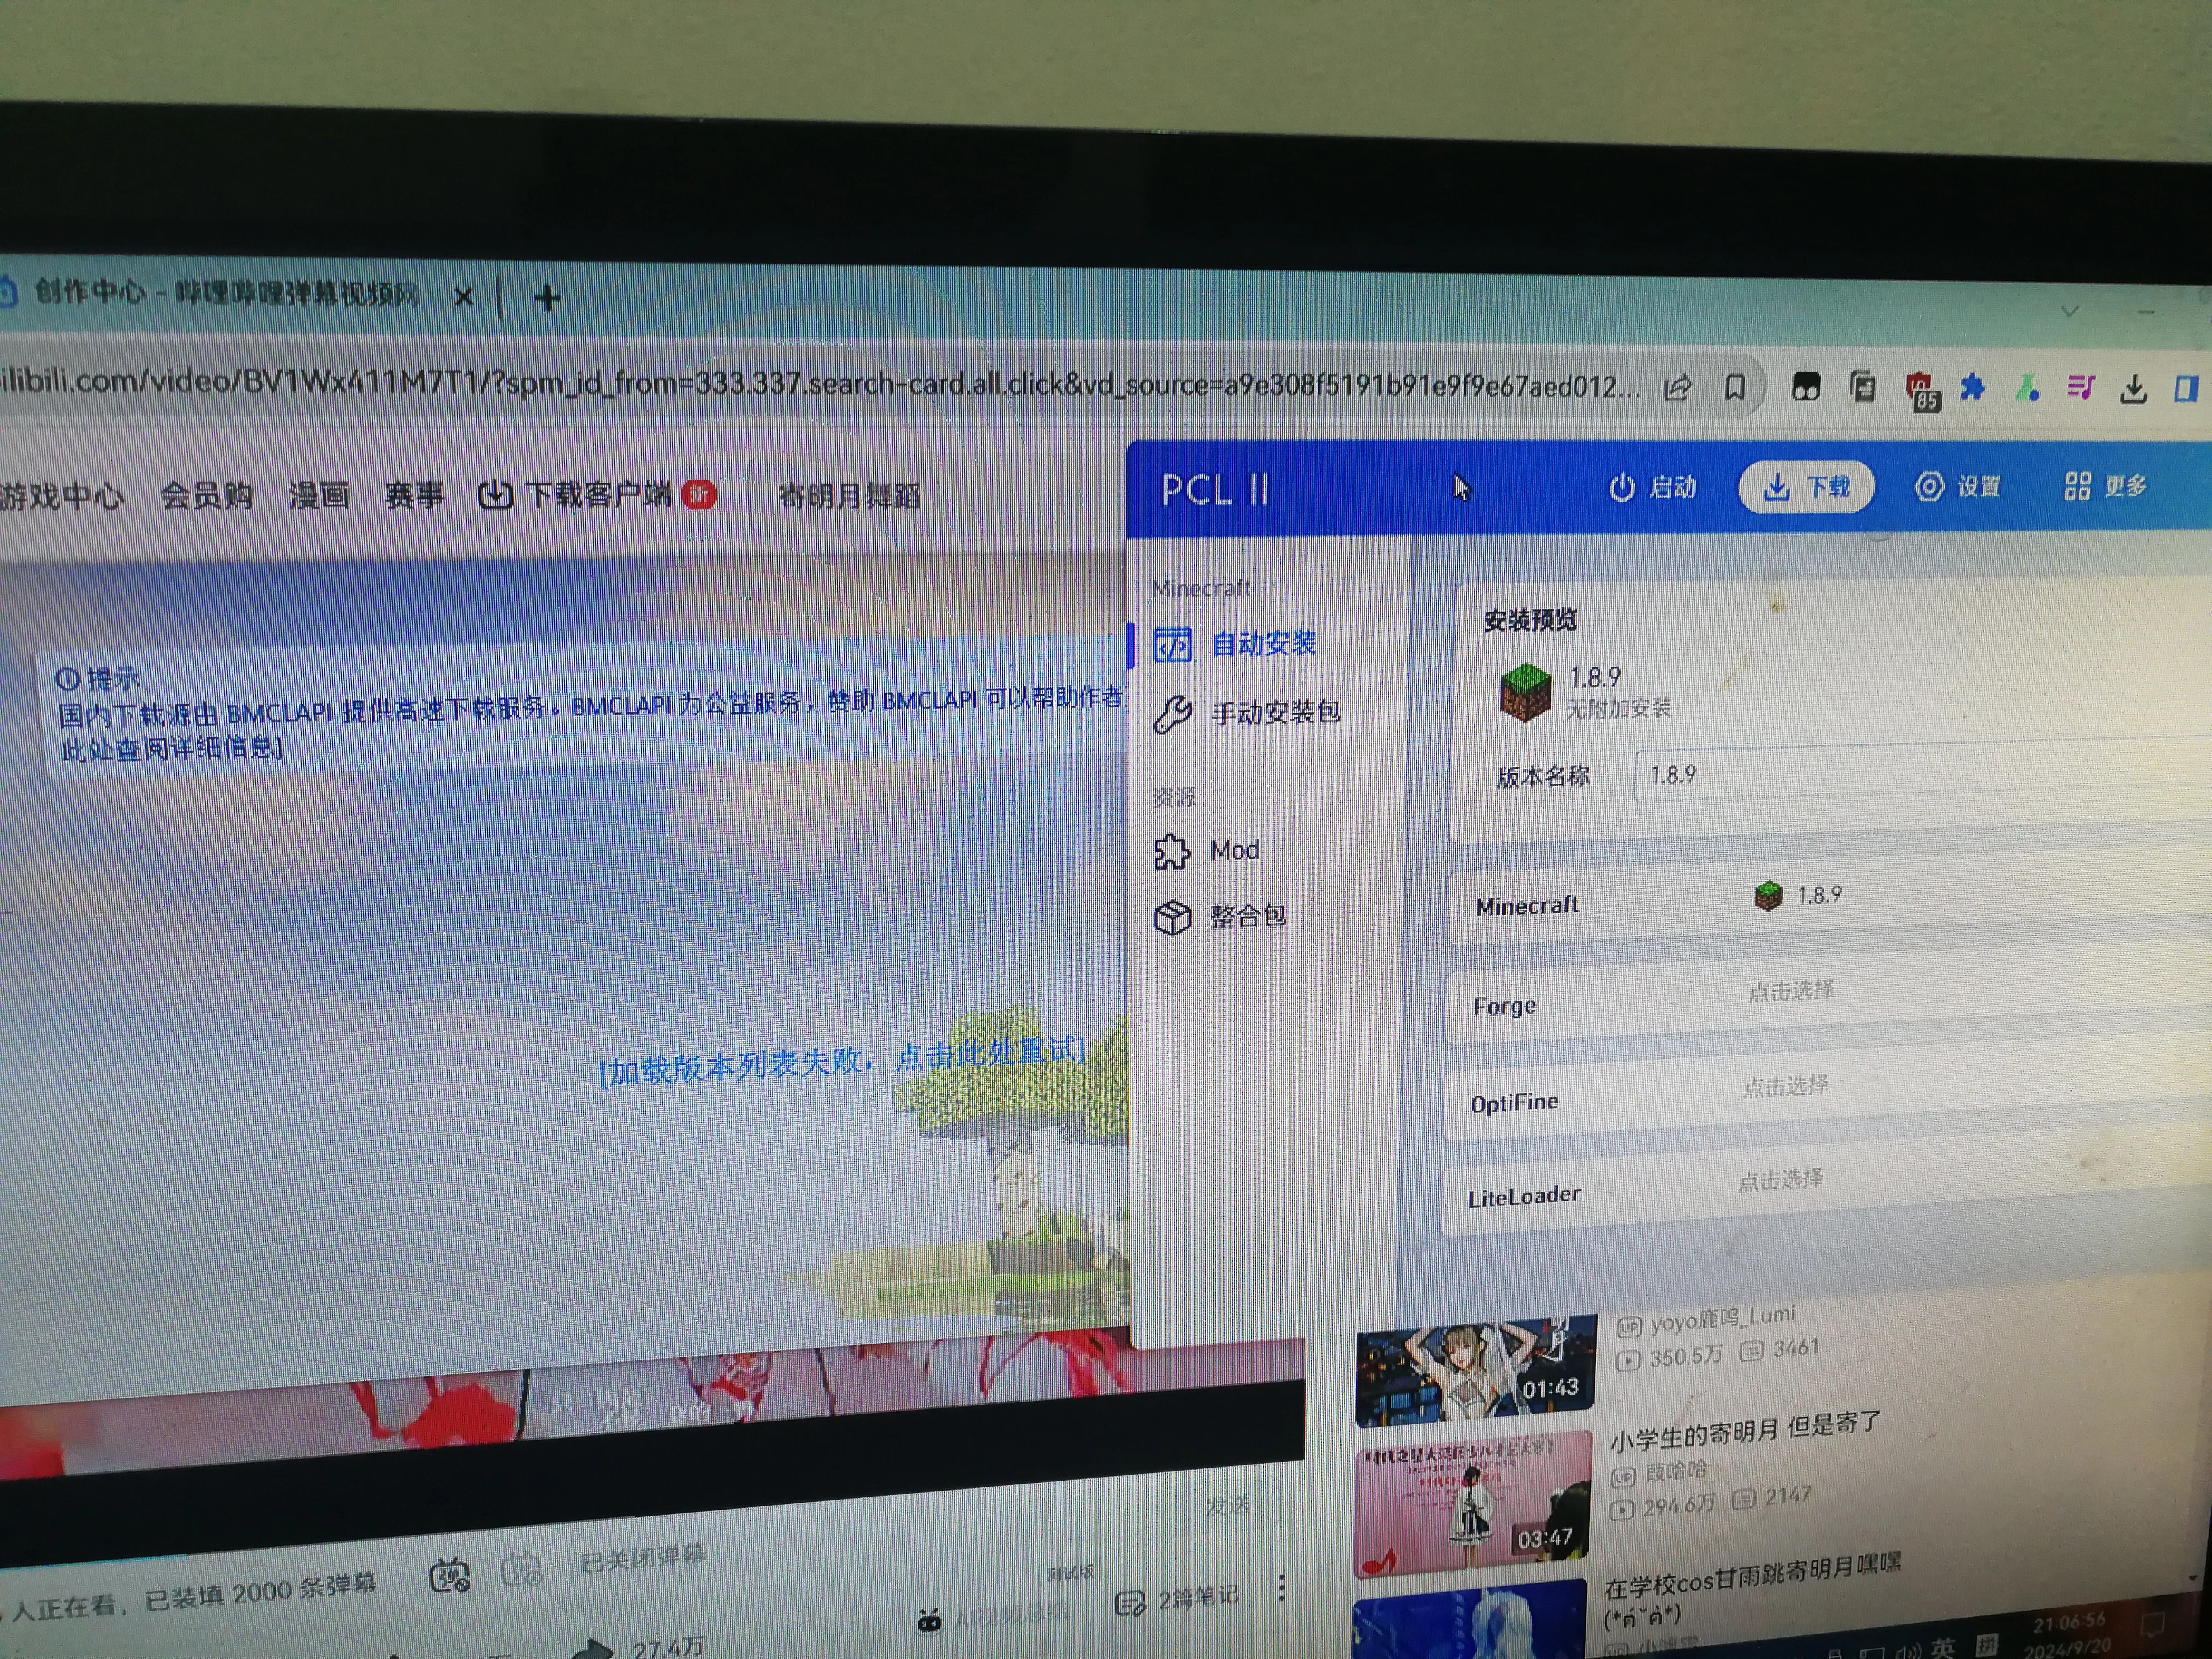
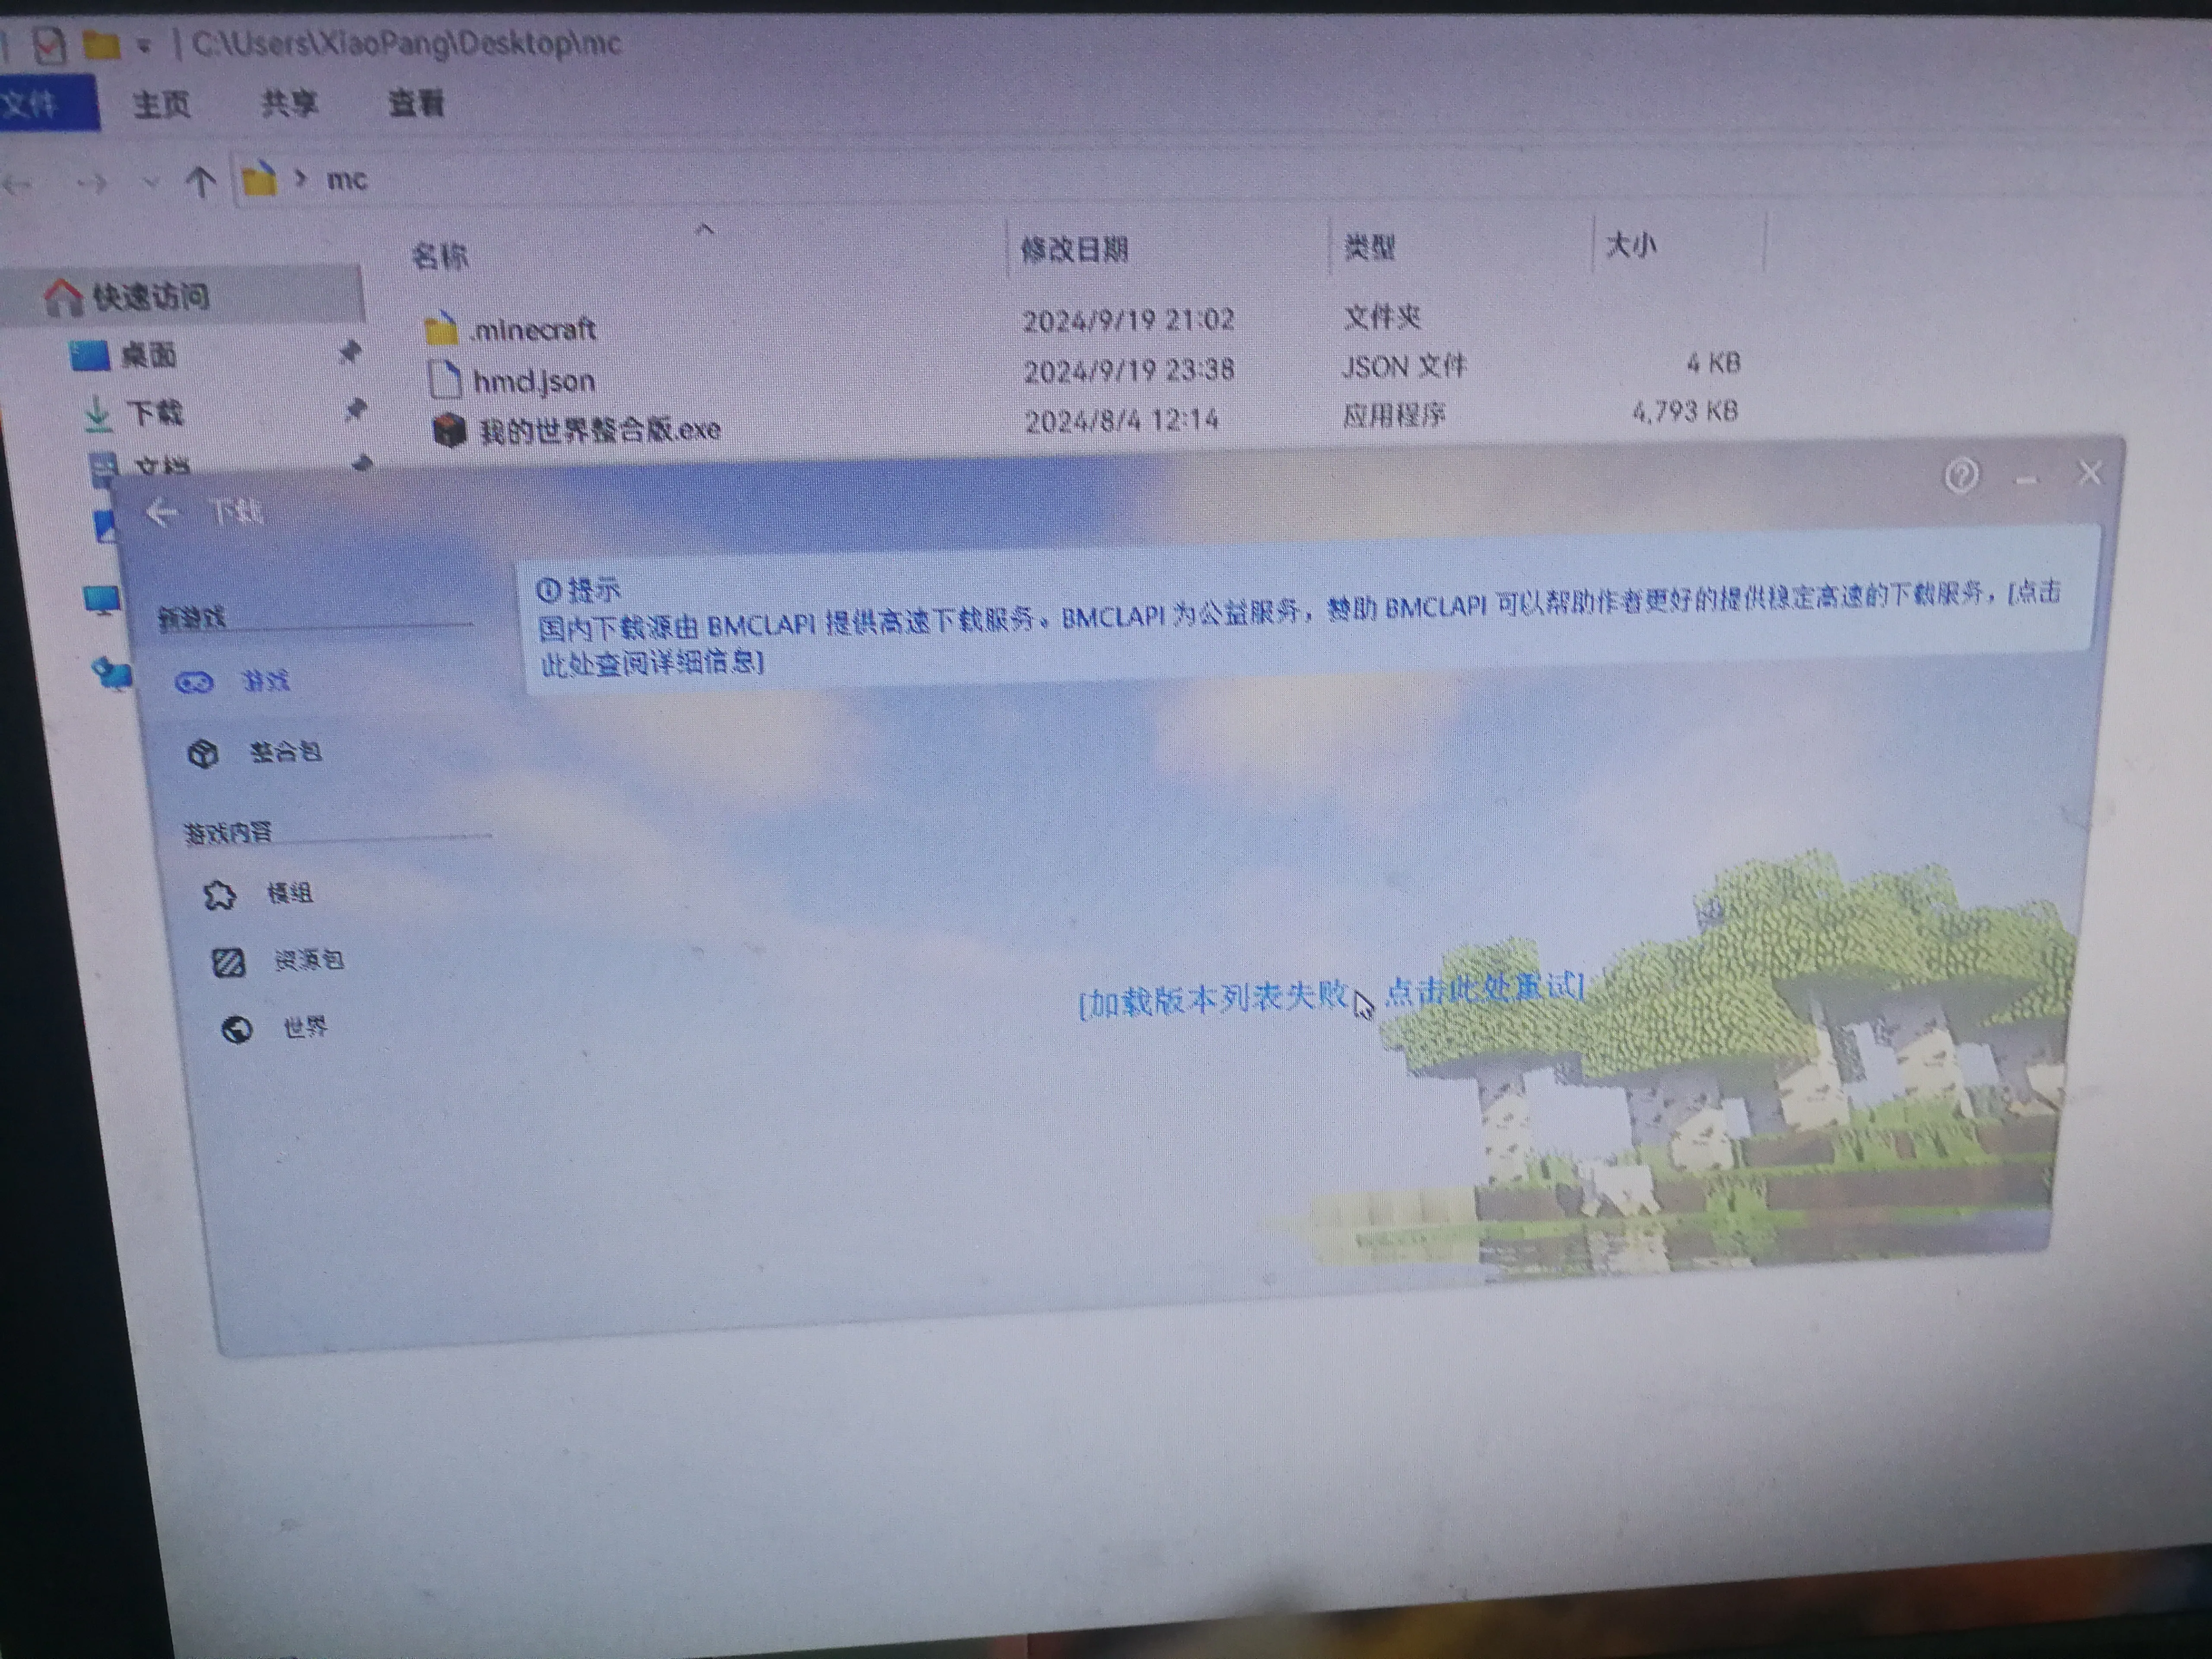
# I want to download 1.21.1 but I found that there is no network connection
# Resurrected and entered the game again
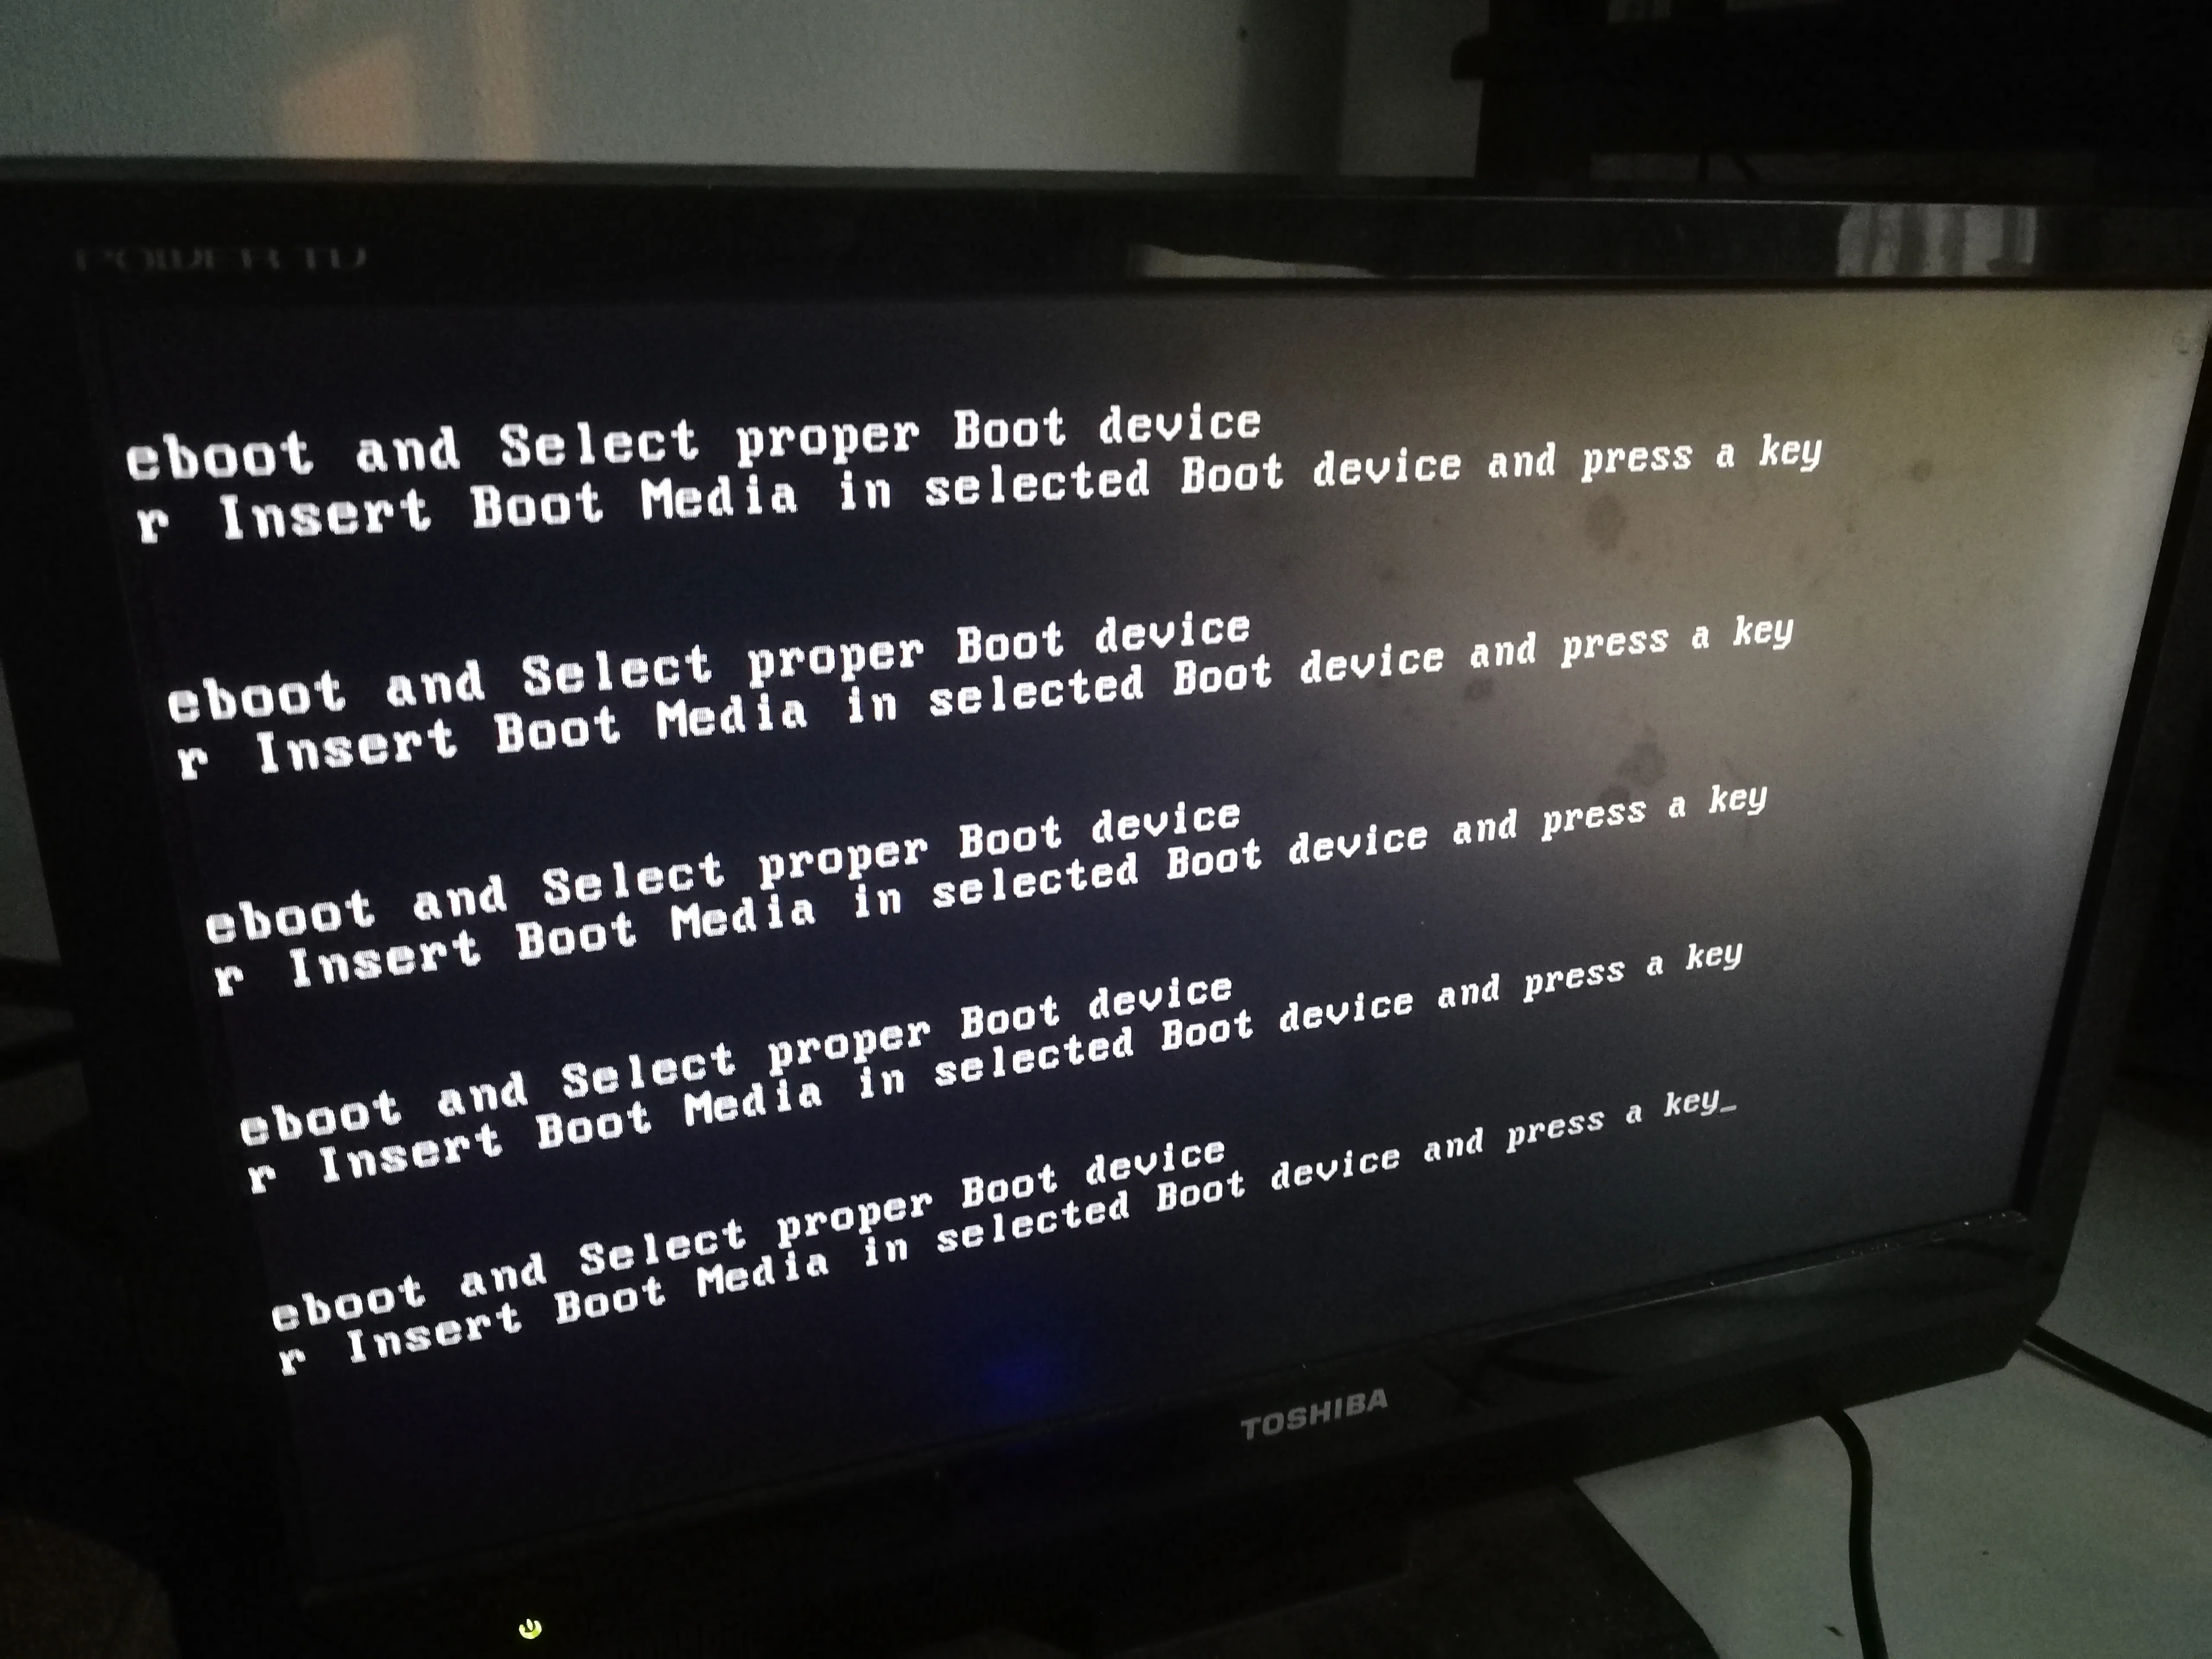
# The screen is distorted again after playing MC

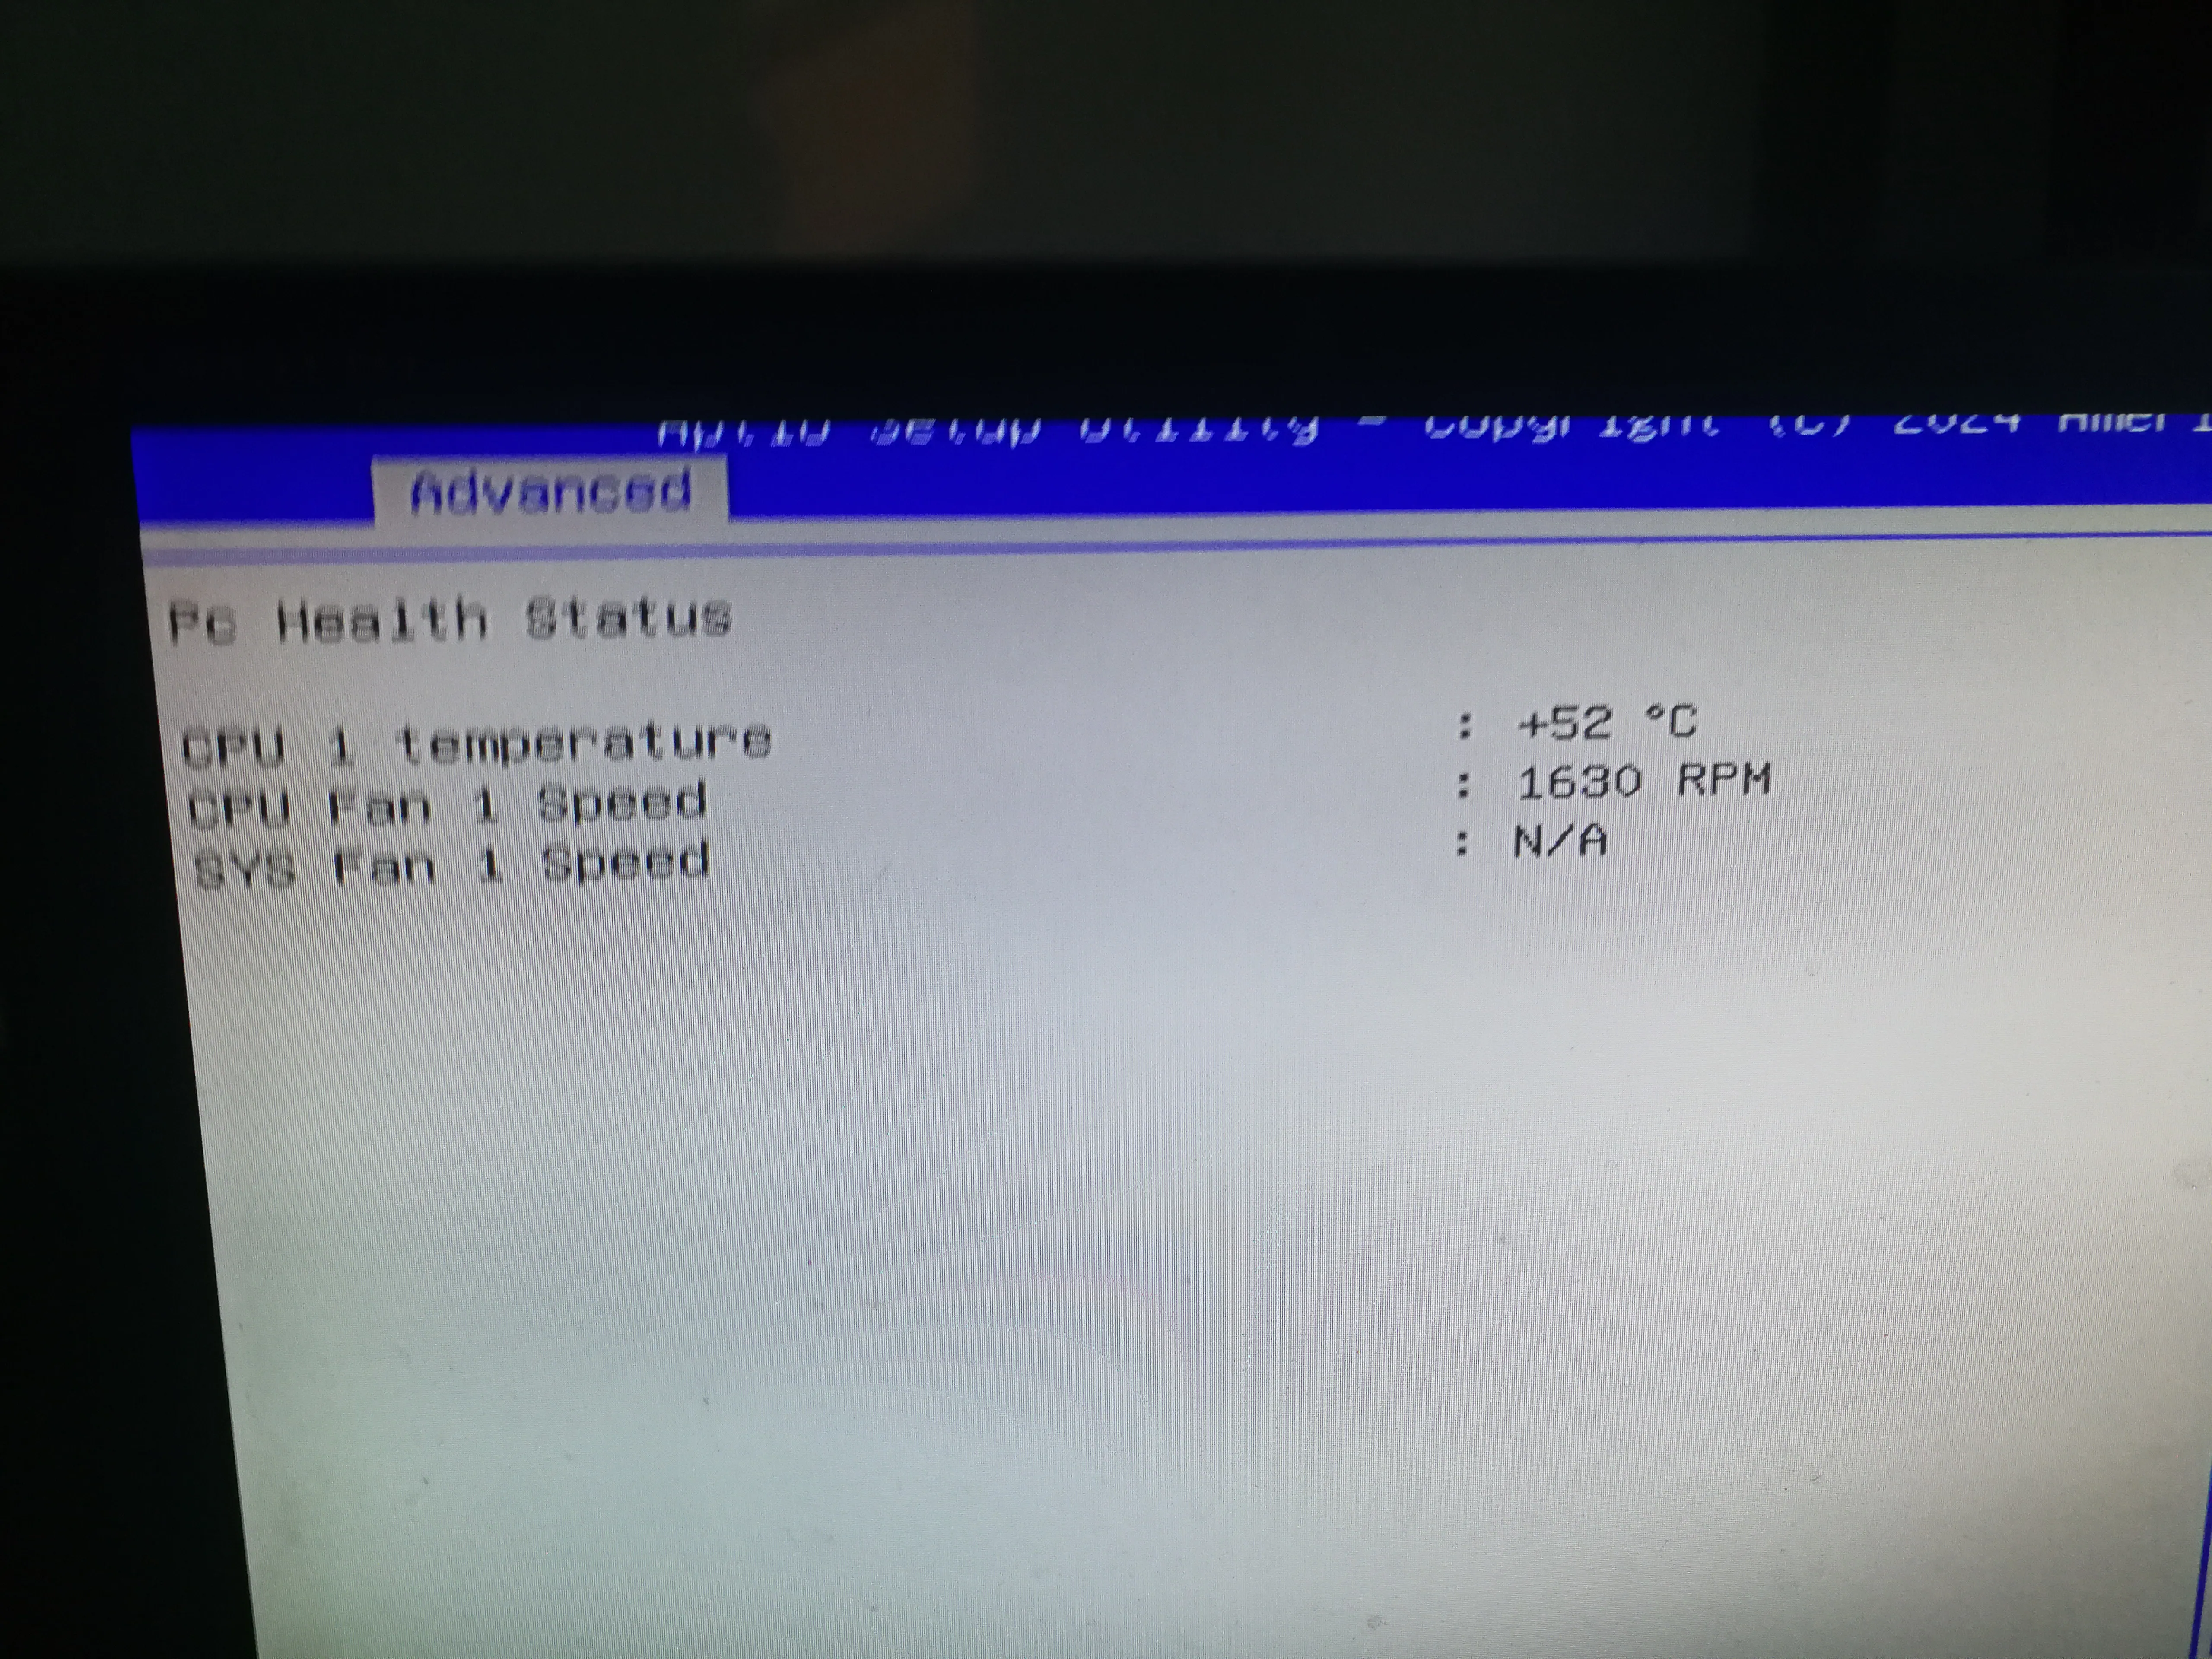
# Enter the BIOS to adjust the parameters


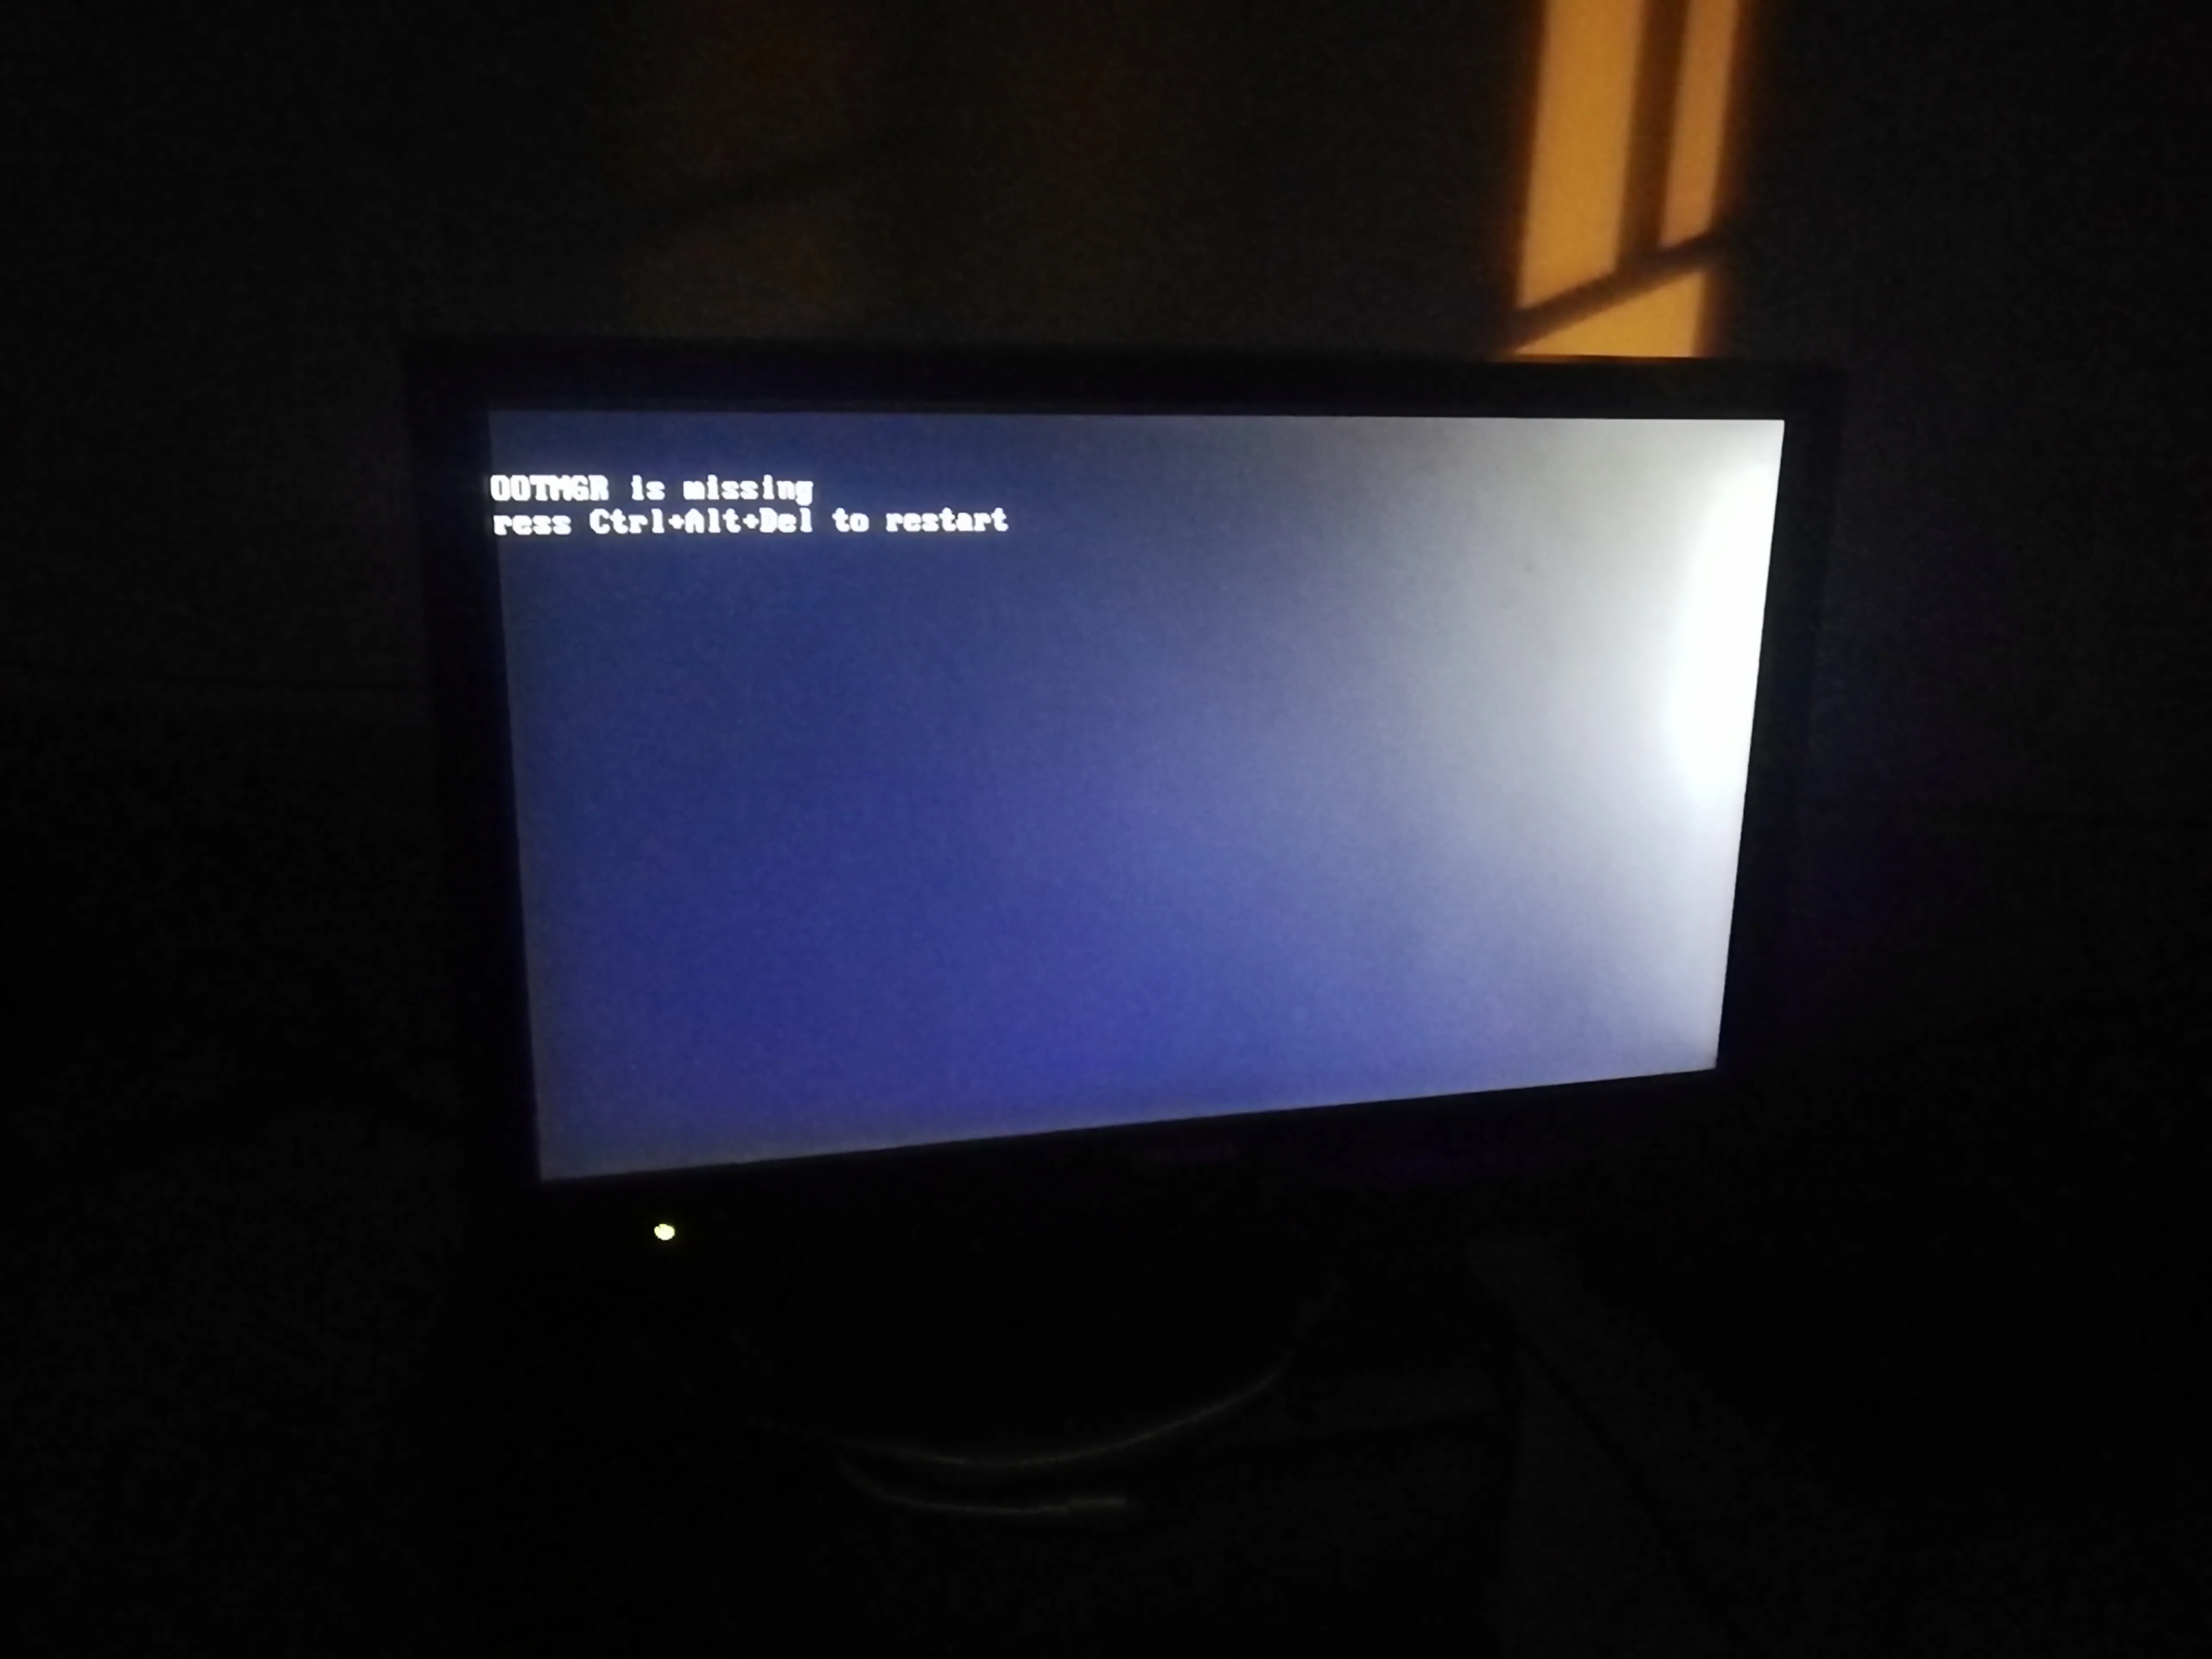

# Repair system

# test